To steam milk without a thermometer, focus on listening for the changing sounds from the steam wand—start with a gentle hiss and progress to a steady, gentle screech. Feel the pitcher to make sure it’s warm but not too hot to hold, and watch for a shiny, silky surface as microfoam forms. Keep an eye on bubbles and adjust your position to create a smooth whirlpool. If you’re curious about more tips, you’ll find helpful details ahead.
Key Takeaways
- Listen for a gentle hissing sound at the start, then a steady screech indicating proper steaming.
- Feel the pitcher’s warmth; it should be hot but comfortable to hold, signaling correct temperature.
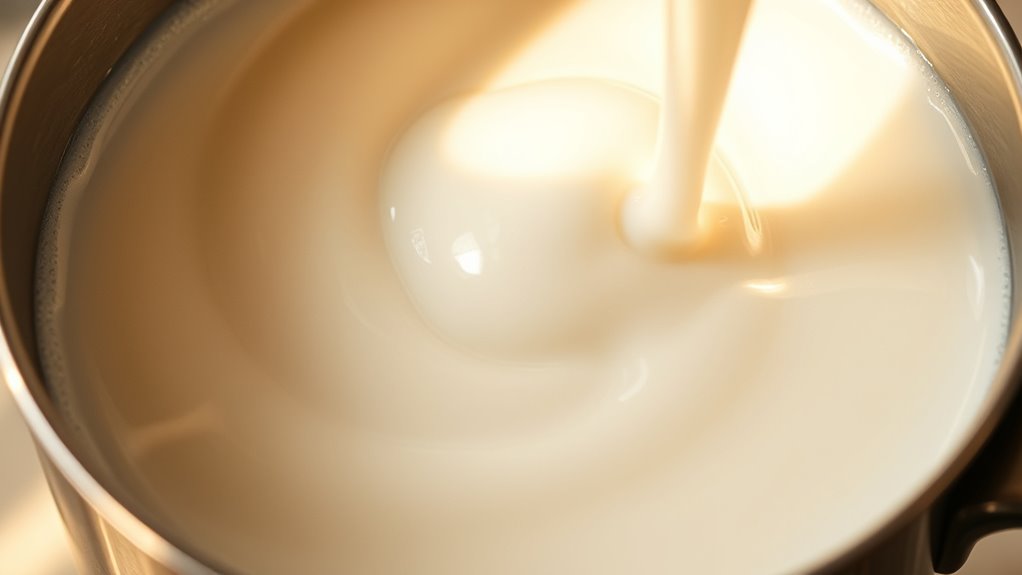
- Observe milk’s surface for a shiny, silky appearance and tiny bubbles for proper microfoam.
- Keep the steam wand just below the surface to create a whirlpool and introduce air for velvety foam.
- Use visual and tactile cues, such as volume increase and pitcher warmth, to gauge when milk is heated and textured correctly.
Steaming milk is an essential skill for making lattes, cappuccinos, and other specialty coffee drinks. While using a thermometer can help you achieve the perfect temperature, it’s not always necessary if you know the right cues and techniques. Instead, focus on milk frothing techniques that rely on visual and tactile cues to guide you through the process. One effective approach is to listen for the sound of the steam wand. As you begin steaming, you’ll hear a gentle hissing or a consistent hissing sound. When this sound changes—becoming more of a steady, gentle screech—it indicates that the milk is reaching the right temperature and texture. You’ll also want to pay attention to the feel of the milk pitcher; as the milk heats up, the pitcher will become warm to the touch, but it shouldn’t be too hot to hold comfortably. This tactile feedback is a useful alternative steaming method that allows you to gauge when your milk is ready.
Another key milk frothing technique involves positioning the steam wand just below the surface of the milk, creating a whirlpool effect that incorporates air into the milk for a creamy, velvety texture. You should see a steady stream of tiny bubbles forming, indicating you’re frothing correctly. As the milk expands and warms, gradually submerge the wand deeper to continue heating without introducing too much foam. Keep the pitcher at a slight angle to promote smooth, even frothing. You can also observe the milk’s appearance; it should develop a shiny, silky surface with fine microfoam. When the milk reaches a velvety consistency and the pitcher feels warm, it’s usually a sign that you’ve frosted it adequately. Additionally, understanding the textile line concept can help you perfect your technique by emphasizing precision and consistency in your steaming process. If you don’t have a steam wand or want alternative steaming methods, you can use a microwave or a stovetop with a glass jar. For instance, heating milk in a microwave for about 30-45 seconds, then shaking it vigorously in a tightly sealed jar, creates a frothy top. While this method doesn’t provide the same microfoam as steaming, it’s a quick and easy alternative that produces a decent froth for lattes or hot chocolate. Similarly, heating milk on the stovetop and then whisking vigorously can also generate foam. The key is to look for visual cues—like the milk’s increased volume and shiny surface—and tactile cues such as temperature to ensure your milk is steamed to perfection, even without a thermometer. Mastering these techniques will help you craft professional-quality drinks at home with confidence.
Frequently Asked Questions
Can I Steam Milk Without Any Special Equipment?
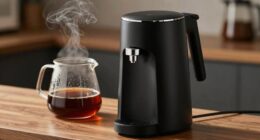
Yes, you can steam milk without special equipment. Use a jar with a lid or a microwave-safe container, fill it halfway with milk or milk alternatives, then shake vigorously to create froth. Heat the container in the microwave or on the stove, but don’t let it boil. Use steaming techniques like swirling or tapping the container to help develop smooth, creamy milk. Practice makes perfect for great latte art!
What Type of Milk Works Best for Steaming Manually?
You should use whole milk for steaming manually because its higher milk fat content creates a richer, creamier frothing texture. The fat helps develop better microfoam and enhances the milk’s stability during steaming. Skim or low-fat milk won’t produce as much froth or a smooth texture, making whole milk your best choice for achieving that ideal frothing consistency without a thermometer.
How Do I Prevent Milk From Overflowing While Steaming?
Think of your steaming pitcher as a delicate vessel, like a boat crossing calm waters. To prevent milk foam from overflowing, keep the tip of your steam wand just below the surface, gently creating a whirlpool with your steaming techniques. Listen for a soft hissing, and watch for tiny bubbles forming—this means you’re on the right track. Remove the wand as soon as the milk reaches the desired temperature to avoid spills.
Is There a Way to Judge Milk Temperature Without a Thermometer?
You can judge milk temperature by observing its texture and steaming techniques. When you steam milk, it should become velvety and smooth, with a slight shimmer, indicating it’s around 140-150°F. Feel the pitcher’s side; it should be warm but not hot to touch. As you master steaming techniques, you’ll develop a natural sense for the right temperature, ensuring perfect milk texture without needing a thermometer.
How Long Should I Steam Milk for Optimal Froth?
You should steam milk for about 20-30 seconds to achieve ideal froth, aiming for a velvety, creamy texture. Trust your senses over a timer; listen for a gentle hissing sound and feel the pitcher for slight warmth. Use milk frothing techniques like positioning the steam wand correctly and maintaining a steady motion. Steaming tips include reducing steam power if needed and stopping once the milk is warm to avoid overheating.
Conclusion
Now that you know how to steam milk without a thermometer, you’re practically a barista superhero! With just a little patience and a bit of practice, you’ll be creating latte art that could make even the most famous baristas jealous. Imagine pouring silky, perfectly heated milk that transforms your coffee into a masterpiece—people will swear you’ve got magic in your fingertips! So go ahead, impress everyone with your steaming skills and turn every cup into a work of art!