

To master small pitcher technique for precision steaming, start by filling your pitcher about one-third full to control air intake and prevent spills. Position the steam wand just below the surface at a slight angle, adjusting for ideal aeration, and keep the pitcher steady. Watch for a glossy, smooth microfoam as you gently swirl. Maintain consistent wand placement, keep the milk between 140-150°F, and listen for a gentle hissing sound. If you continue practicing, you’ll perfect velvety microfoam every time.
Key Takeaways
- Fill the small pitcher about one-third to allow precise air introduction and prevent overflow during steaming.
- Position the steam wand just below the milk surface at a slight angle for optimal microfoam development.
- Maintain a steady, angled pitcher position and wand placement to control airflow and prevent turbulence.
- Monitor milk texture for glossy, smooth microfoam with fine bubbles, adjusting wand depth as volume increases.
- Heat to around 150°F with gentle hissing, then swirl and pour immediately for best microfoam integration.
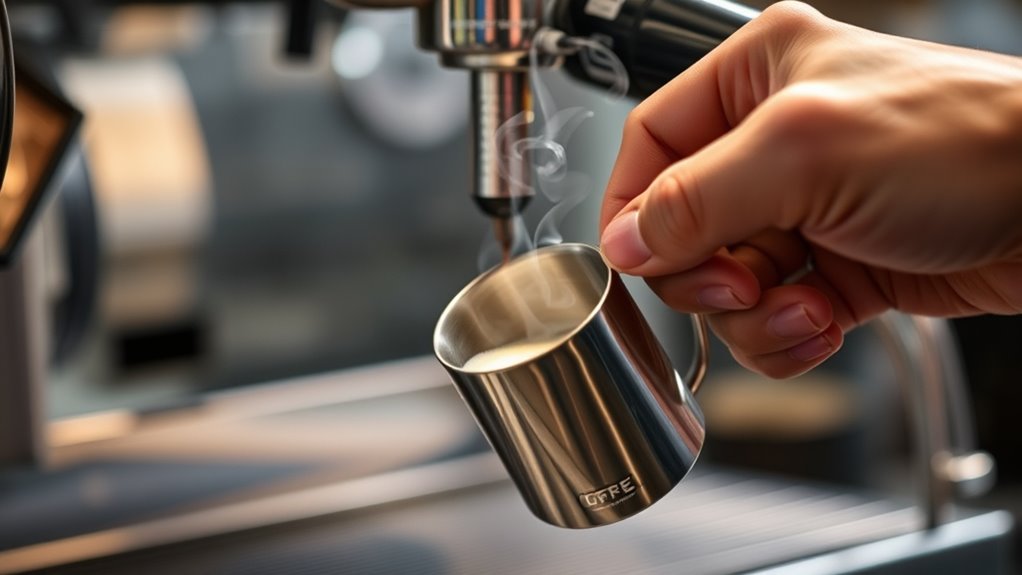
Ever wondered how baristas achieve perfectly textured milk with a small pitcher? It’s all about understanding milk texture and mastering steaming tips that maximize your pitcher’s potential. Using a small pitcher isn’t just about saving space; it’s about precision and control. When steaming milk for a single cup, you need to pay close attention to how the milk moves and reacts to heat, ensuring you create that silky, velvety microfoam essential for latte art and a smooth sip. The key lies in how you handle the steam wand and manipulate the milk.
Mastering small pitcher steaming transforms your coffee with silky microfoam and precise control.
Start by filling your small pitcher only about one-third full. This gives you enough room to introduce air and create the right texture without overflowing or losing control. As you begin steaming, position the wand just below the milk’s surface at a slight angle. This is vital for introducing a small amount of air, which helps develop the milk’s microfoam. Use steaming tips such as adjusting the wand’s depth and angle to control how much air enters and how the milk spins. This ensures you achieve a fine, even texture rather than large bubbles or uneven foam.
Keep a close eye on the milk’s movement. The milk should initially swirl gently, and you’ll notice a slight stretching or elongation of the liquid. This stage is where you’re building the milk texture—microfoam that’s glossy and smooth. As soon as you see a thin, shiny surface and the milk has increased in volume, lower the wand slightly deeper into the pitcher to start heating the milk evenly. Your goal is to reach a temperature of around 150°F (65°C) without overheating, which can ruin the texture and taste.
Throughout the process, it’s essential to listen and feel. You want a steady, gentle hissing sound and a smooth flow of heat, not a loud sputtering or excessive turbulence. Steaming tips include keeping the pitcher at an angle, maintaining a consistent position of the wand, and avoiding abrupt movements. Once the milk is heated and textured, turn off the steam and give the pitcher a firm tap on the counter to eliminate any remaining large bubbles. Swirl the milk a few seconds to integrate the texture, then pour immediately for the best results.
Achieving consistent results also depends on the contrast ratio of your steaming setup, as a higher contrast ratio can help you better gauge the heating process and ensure the microfoam remains glossy and smooth. Mastering milk texture with a small pitcher demands practice and attention to detail. When you follow these steaming tips, you’ll produce velvety microfoam that elevates your coffee craft, whether for beautiful latte art or simply a superior sip. With patience and precision, you’ll find that small pitchers can deliver big results every time.
Frequently Asked Questions
Can Small Pitcher Technique Be Used for Different Types of Milk?
Yes, you can use the small pitcher technique for different types of milk. When milk frothing, pitcher sizing is key—you want a pitcher that allows enough room for the milk to expand and create microfoam. Adjust your steaming technique slightly depending on the milk type, like using gentler movements for plant-based milks. This approach guarantees you achieve smooth, creamy textures regardless of the milk you choose.
What Are the Best Pitcher Materials for Precise Steaming?
Imagine holding a magic wand—your pitcher material influences your ability to cast perfect steamed milk. For precision steaming, stainless steel pitchers are your best bet. They offer excellent heat conduction, helping you maintain consistent steaming temperature and a firm pitcher grip. The smooth surface allows better control, making it easier to create silky microfoam. Choose a sturdy, well-balanced stainless steel pitcher for peak results in your latte art mastery.
How Does Ambient Temperature Affect Small Pitcher Steaming?
Ambient temperature impacts your small pitcher steaming by affecting temperature stability and steam consistency. Warmer environments can cause the milk to heat unevenly, making it harder to maintain steady steam. Cooler spaces may require extra effort to keep the temperature stable, risking inconsistent foam. To counter this, pre-warm your pitcher and monitor your steam carefully. This way, you guarantee your milk heats evenly, producing smooth, consistent foam every time.
Is There a Risk of Over-Foaming With Small Pitchers?
Yes, there’s a risk of over-foaming with small pitchers if you’re not careful. When you over-steam, the foam can become overly airy and lose its smooth consistency, affecting the drink’s quality. Keep an eye on your pitcher capacity, ensuring you don’t fill it too much, which helps control foam consistency. Practice controlling your steam wand and pitcher size to maintain perfect microfoam without over-foaming.
How Do I Clean and Maintain My Small Pitcher for Optimal Use?
Think of your small pitcher as a trusted friend that needs regular care. To keep it in top shape, follow cleaning routines after each use, rinsing thoroughly and using gentle brushes if needed. Pay attention to pitcher material care—stainless steel is durable, but avoid abrasive scrubbers, while ceramic needs gentle handling to prevent chips. Proper maintenance guarantees smooth steaming and a long-lasting, reliable tool for your coffee craft.
Conclusion
Mastering the small pitcher technique can elevate your coffee game, ensuring perfectly steamed milk every time. Did you know that baristas who use precise steaming techniques reduce milk temperature errors by 30%? By focusing on small pitcher skills, you’ll enjoy more consistent, velvety textures and richer flavors in your drinks. So, keep practicing this precise method, and soon you’ll notice a noticeable difference in your espresso creations—making each cup a true masterpiece.