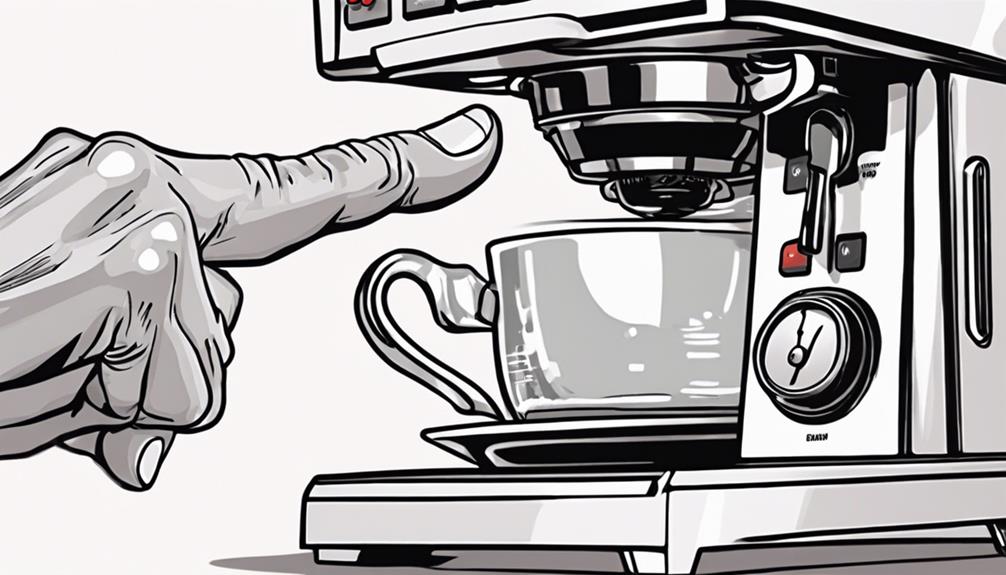

Put together your Hydro Flask coffee lid by arranging all the components and tools neatly. Position the lid over the bottle opening, press down firmly to secure it, and utilize the flip tab for convenient access. Tighten it with a screwdriver or Allen key. Enjoy spill-free coffee while you’re out and about! If you are a fan of brewing large quantities of coffee, the Hydro Flask coffee lid is ideal for keeping your coffee hot and safe during your travels. Its innovative design ensures that your coffee remains in the bottle, preventing spills on your clothes or car interior. With this lid, you can confidently bring your favorite hot drink wherever you go.
Key Takeaways
- Lay out lid parts and tools before assembly.
- Align lid carefully with the bottle opening.
- Utilize required tools like screwdriver or Allen key.
- Double-check connections for a leak-proof seal.
- Clean lid components and maintain regularly.

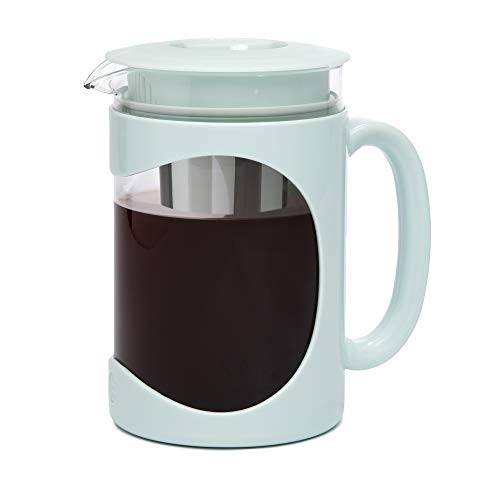
OVALWARE Airtight Cold Brew Iced Coffee Maker Pitcher (& Iced Tea Maker) with Spout – 1.5L/ 51oz Brewing Glass Carafe with Removable Stainless Steel Filter
HEALTHIER & SMOOTHER COFFEE, NOW BIGGER AND BETTER – Cold brewing is 70% less acidic than hot brewing....
As an affiliate, we earn on qualifying purchases.
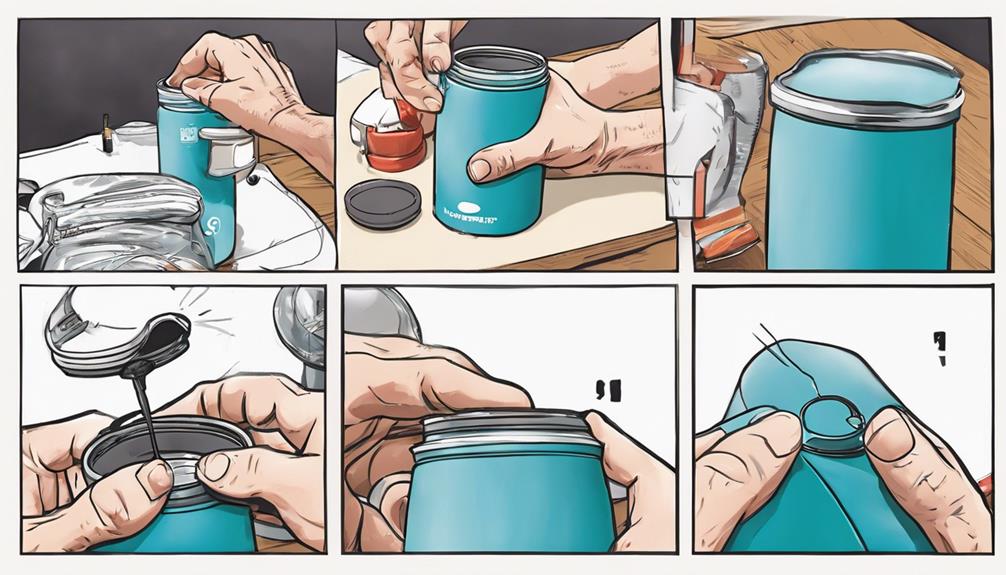
Organize Parts and Tools
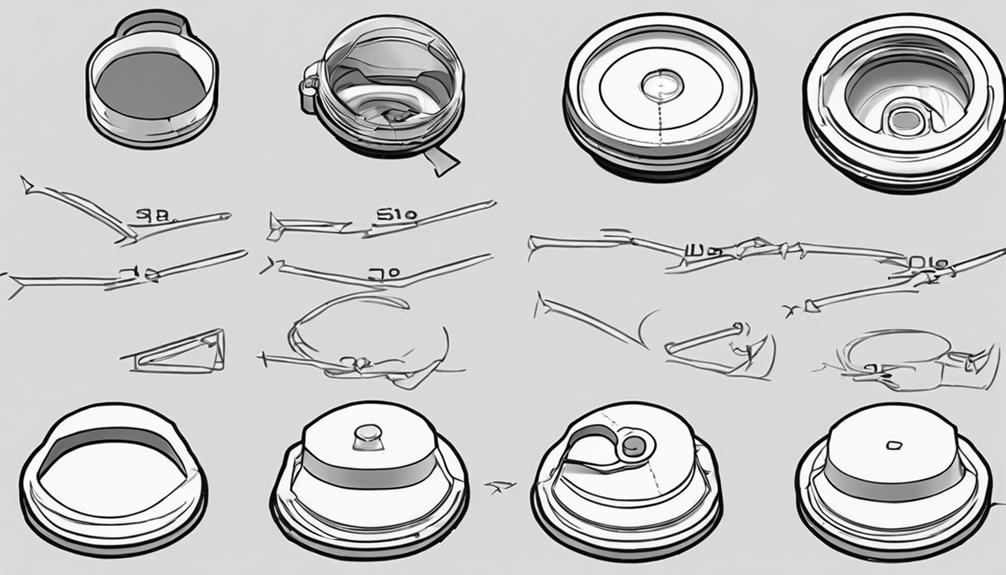
Gather all the Hydro Flask coffee lid parts neatly before starting the assembly process. Lay out the lid, gasket, and cap in an organized manner to make sure you have everything you need. It's crucial to have a screwdriver or Allen key on hand to tighten the components securely.
Before assembling, take a moment to consult the Hydro Flask assembly manual for specific instructions on how to put together the coffee lid correctly. Once you have familiarized yourself with the assembly manual, make sure you have all the necessary pieces and tools on hand before starting. Take your time to carefully follow the step-by-step instructions to ensure a proper fit and seal. For additional pour over coffee brewing tips, visit our website for expert advice and recommendations on achieving the perfect cup of coffee at home.
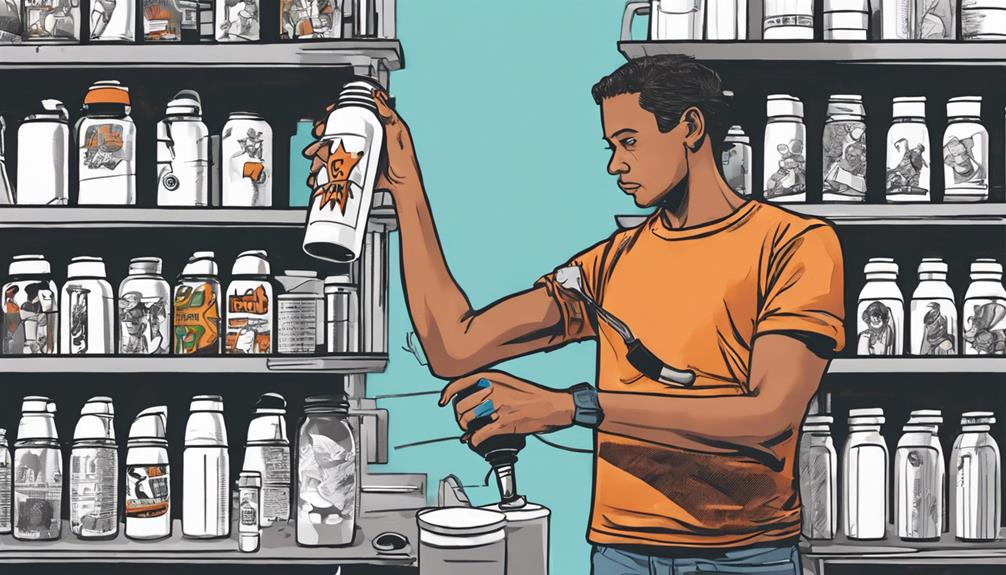
To maintain cleanliness, use a cleaning cloth to wipe down all the parts. This step ensures that your assembled coffee lid will be free from any dirt or debris that could impact its functionality.
Additionally, if you wish to add a personal touch, consider incorporating optional accessories like stickers or decorative elements during the assembly process. Personalizing your coffee lid can make it uniquely yours and add a fun twist to your Hydro Flask.

VA1KENE Cold Brew Coffee Maker 64oz, Iced Coffee Maker with 304 Stainless Steel Filter, Mason Jar Pitcher with Lid and Spout (Black)
Durable Cold Brew Pitcher: Crafted from thick, high-quality, food-grade soda-lime glass, this cold brew coffee maker is built...
As an affiliate, we earn on qualifying purchases.
Follow Step-by-Step Instructions
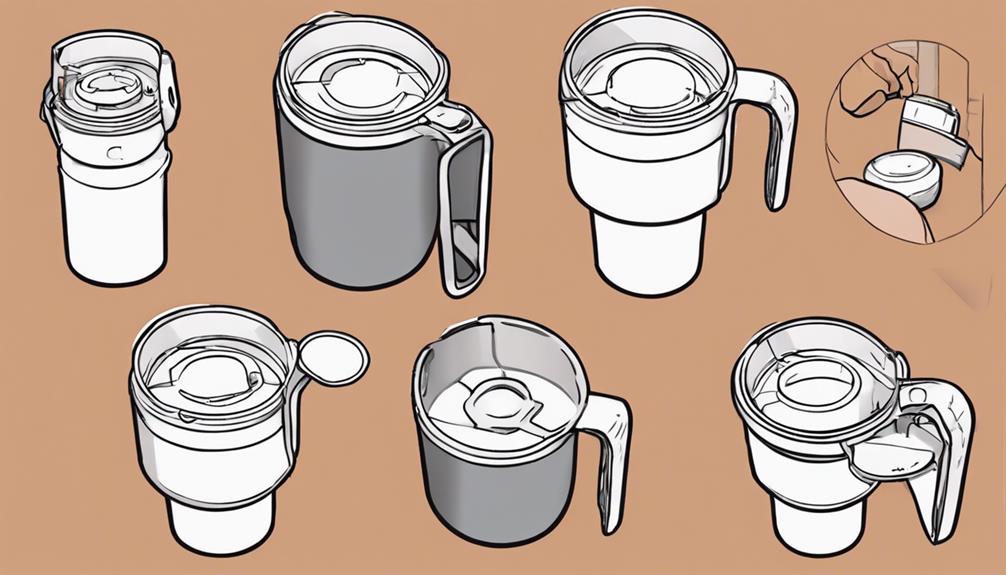
To begin assembling your Hydro Flask coffee lid, make certain you have all the parts laid out neatly and consult the assembly manual for specific instructions.
Start by verifying that you have a compatible Hydro Flask coffee lid. Align the lid carefully with the opening on your Hydro Flask bottle. Press down firmly on the lid to secure it in place.
Once the lid is attached, you can use the flip tab to easily open and close it for quick access to your coffee. This will guarantee that your lid is securely assembled and ready for use.
Now, you can enjoy your favorite coffee on the go without worrying about spills or leaks. Following these step-by-step instructions will help you assemble your Hydro Flask coffee lid efficiently and correctly, enhancing your coffee-drinking experience wherever you are.

Bodum 51oz Cold Brew Coffee Maker, Black - Made in Portugal
Cold coffee brewer that brews smooth, refreshing, naturally sweet coffee that’s less acidic that traditionally brewed coffee.
As an affiliate, we earn on qualifying purchases.
Utilize Required Tools
Make certain you have the necessary tools on hand for assembling your Hydro Flask coffee lid, such as a screwdriver and an Allen key. These tools will help you efficiently put together your coffee lid according to Hydro Flask's instructions. Here is a table detailing the required tools for assembling your Hydro Flask coffee lid:
| Required Tools | Description |
|---|---|
| Screwdriver | Used for fastening screws |
| Allen key | Essential for specific bolts |
| Cleaning cloth | Wipe down components |
| Optional accessories | Enhance functionality/appearance |
Having these tools ready will streamline the assembly process and guarantee a secure fit for your coffee lid. Before you begin assembling, refer to the Hydro Flask manual for detailed step-by-step instructions. Remember to wipe down the lid components with a cleaning cloth for a hygienic final product. Considering optional accessories can further enhance your Hydro Flask coffee lid's functionality and look. By utilizing the required tools and following the provided instructions, you'll have your Hydro Flask coffee lid ready for use in no time.
Primula Burke Deluxe Cold Brew Iced Coffee Maker, Comfort Grip Handle, Durable Glass Carafe, Removable Mesh Filter, Perfect 6 Cup Size, Dishwasher Safe, 1.6 qt, Aqua
Note: 1)Too coarse a grind, too little coffee, or insufficiently tamping the grounds before brewing can all lead...
As an affiliate, we earn on qualifying purchases.
Double-Check Each Connection
Verify the rubber gasket is properly seated in the lid to prevent leaks and maintain insulation before proceeding to double-check each connection.
To confirm a secure and leak-proof assembly, follow these steps:
- Align the threads: Ensure the threads of the lid and the bottle are aligned correctly. This prevents cross-threading, which can damage the lid.
- Tighten securely: Hand-tighten the lid firmly to create a leak-proof seal. Avoid over-tightening to prevent damage to the threading.
- Listen for the click: When closing the lid, listen for an audible click. This affirms that the lid is securely attached to the bottle.
- Test for leaks: After assembling the lid, tip the bottle upside down to check for leaks. If there are no leaks, your Hydro Flask lid is ready for use.
Troubleshooting Tips

Inspect your Hydro Flask coffee lid for any missing parts.
Verify the alignment of the threads.
Refer to the manual for guidance.
These steps can help troubleshoot common issues and guarantee your coffee lid functions smoothly.
Following these points will help you enjoy your beverage hassle-free.
Missing Parts Checklist
Check all essential components for assembling your Hydro Flask coffee lid are present by checking for the lid itself, the gasket seal, and the rotating tab.
To confirm a successful assembly process, follow this checklist:
- Check for the lid, gasket seal, and rotating tab: Make sure these key parts are included in your package before commencing the assembly.
- Confirm the lid size and compatibility: Validate the lid fits your specific Hydro Flask model to prevent any issues during assembly or usage.
- Inspect the parts for damages or defects: Before assembling, carefully examine each component for any signs of damage that could impede the functionality of the lid.
- Verify the color and design: Validate the lid matches your style preferences to enhance your overall experience.
If any parts are missing or if you encounter difficulties during the assembly process, reach out to Hydro Flask customer support for assistance.
Alignment Verification Steps
To guarantee proper alignment of your Hydro Flask coffee lid, align the tab on the lid with the corresponding opening on your Hydro Flask. Check for any obstructions or misalignments that may hinder the lid from sealing correctly.
Confirm the gasket is in the correct position without any twists or damages that could compromise the seal. Tighten the lid securely to prevent leaks and maintain the desired temperature of your beverage.
Test the lid by gently tipping the Hydro Flask to confirm a proper seal and functionality. If the lid doesn't align properly, try realigning it and checking for any issues that may be affecting the seal.
Manual Reference Guidance
For best guidance on troubleshooting and assembly, refer to the detailed manual provided with your Hydro Flask coffee lid. The manual serves as a valuable resource for addressing any issues that may arise during the assembly process.
Here are some tips to help you effectively use the manual:
- Check Troubleshooting Section: Look for a dedicated troubleshooting section in the manual to identify common problems and their solutions.
- Follow Step-by-Step Instructions: Make sure you follow the step-by-step instructions provided in the manual to correctly align and connect all components.
- Contact Customer Support: If you encounter persistent issues that aren't resolved by the manual, don't hesitate to reach out to customer support for assistance.
- Use as a Reference Guide: Utilize the manual as a reference guide to streamline the assembly process and increase the likelihood of a successful outcome.
Functional Testing
Be sure to fill your Hydro Flask with hot liquid and tightly secure the coffee lid before checking for leaks.
Tilt the flask at different angles to confirm the lid's security and spill-proof design.
Test the lid's functionality by opening and closing it repeatedly to guarantee smooth operation.
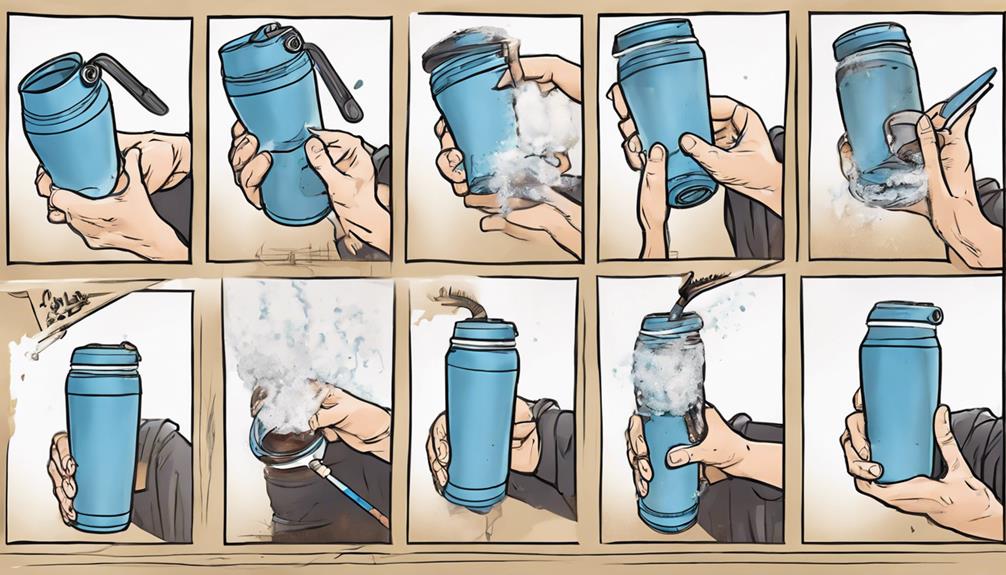
Leak Testing
Performing leak testing on your Hydro Flask involves filling it with water, tightly closing the lid, and then turning it upside down to check for any leaks.
To verify your flask is leak-proof, follow these steps:
- Fill to the Brim: Fill your Hydro Flask with water up to the brim and make sure the lid is securely tightened.
- Upside Down Test: Turn the filled Hydro Flask upside down to check for any leakage. Rotate the flask in different directions to simulate movement while securing the lid.
- Check for Water Droplets: Observe for any water droplets or leaks around the lid seal or openings. Any signs of leakage indicate a need for lid adjustment or replacement.
- Repeat with Hot Liquids: If using the coffee lid for hot beverages, repeat the leak testing process with hot liquids to confirm the seal can withstand the temperature.
Seal Inspection
To guarantee the proper functioning of your Hydro Flask coffee lid, start by examining the seal for any signs of damage or misalignment. Check that the silicone seal is intact, without any tears or damage that could compromise its efficiency. Confirm the seal is aligned correctly with the lid to prevent leaks and spills during use.
Test the seal by securely pressing it onto the lid to confirm a snug fit. Verify that when the lid is closed, the seal creates a secure closure to maintain the temperature of your beverage. If you observe any issues with the seal not working as anticipated, reach out to customer support for a replacement to ensure your Hydro Flask coffee lid performs at its best.
Proper seal inspection is essential for ensuring your Hydro Flask lid keeps your coffee hot and prevents any undesired leaks.
Cleaning and Disposal
For thorough cleaning of your Hydro Flask coffee lid, disassemble the components by removing the gasket, silicone stopper, and other parts. Here's how to clean and dispose of your lid components effectively:
- Use warm, soapy water and a cleaning brush to scrub the lid components, ensuring all coffee residue and stains are removed.
- Once cleaned, allow the lid components to air dry completely before reassembling to prevent mold or mildew growth.
- Dispose of any damaged or worn-out lid components responsibly by recycling or following local waste disposal guidelines.
- Regularly cleaning and properly disposing of your Hydro Flask coffee lid components can help maintain the functionality and hygiene of your lid for long-term use.
Feedback and Enjoyment
Wondering how your experience with the assembled Hydro Flask coffee lid has been so far? Your feedback is valuable in helping the manufacturer improve their products.
Enjoy the convenience of a fully assembled coffee lid for on-the-go coffee enjoyment. Take pride in completing the assembly process and using your customized Hydro Flask coffee lid. The satisfaction of a successful assembly and the benefits of a functional coffee lid for your Hydro Flask enhance your coffee-drinking experience.
Share your thoughts on the lid's performance, durability, and overall usability. Your input can contribute to refining future designs and ensuring customer satisfaction. Embrace the improved functionality that a properly assembled coffee lid brings to your daily routine.
Frequently Asked Questions
How Do You Put a Hydro Flask Coffee Lid Back Together?
To put a Hydro Flask coffee lid back together, make sure the gasket is seated, align components carefully, follow instructions or tutorials, tighten screws properly without overdoing it, and test for leaks with water before using hot drinks.
How Do You Take Apart a Hydro Flask Tumbler Lid?
You take apart a Hydro Flask tumbler lid by first removing the rubber gasket. Then, unscrew the lid by twisting it counterclockwise. Carefully detach the plastic locking tab inside. Clean all parts thoroughly and reassemble in reverse.
How Do You Clean a Hydro Flask Coffee Cap?
To clean your Hydro Flask coffee cap, disassemble the lid by removing the gasket and flip lid. Soak the parts in warm, soapy water, scrub with a brush, rinse well, and air dry before reassembling for use.
How Does a Hydro Flask Flex Cap Work?
You just twist, flip, sip – that's how the Hydro Flask Flex Cap works! Its smart design keeps your drink at the perfect temp, prevents leaks, and lets you easily add ice or flavorings. Enjoy!
Conclusion
Now that you've assembled your hydro flask coffee lid, it's time to take a sip of that delicious brew and enjoy!
Remember, a well-made lid can make all the difference in keeping your drink hot or cold for hours.
So sit back, relax, and savor every sip knowing you've got a perfectly assembled lid to keep your drink just the way you like it.
Cheers to a job well done!