
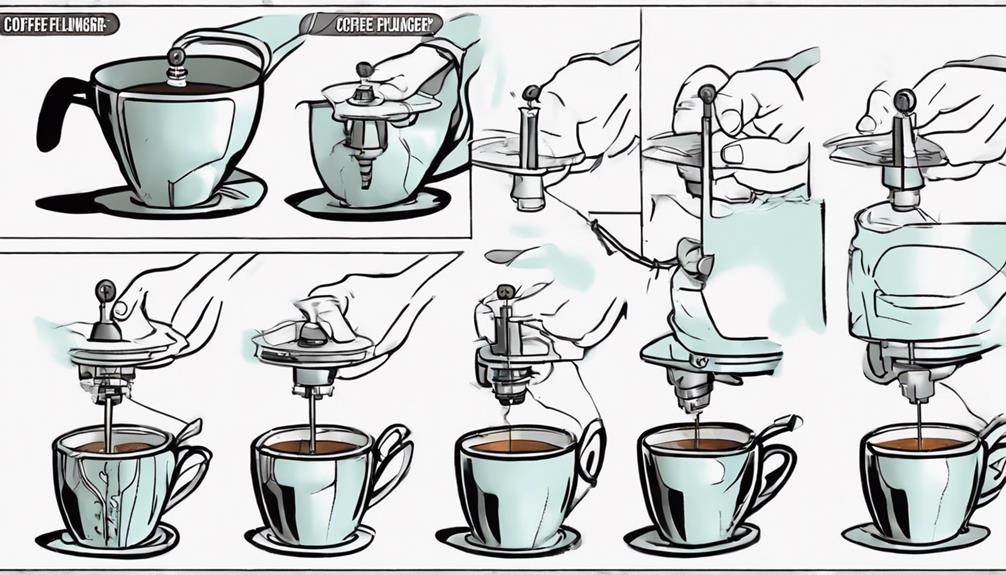
Please put together your coffee plunger starting with the piece at the bottom. Place the filter on top and assemble all parts in the proper sequence. Make sure to secure the rod in the base for stability and firmly tighten the bottom screw. Double-check that everything fits securely after reassembling. Learning this straightforward process ensures a flawless brewing experience.
Key Takeaways
- Secure plunger rod into base with a few turns.
- Tighten bottom screw securely to prevent leaks.
- Confirm overall tightness and fit of connections.
- Verify seamless fitting of all components.
- Avoid overtightening during the assembly process.
Disassembly Steps
To begin disassembling the coffee plunger, unscrew the entire contraption carefully in the correct order of pieces. Start by removing the top filter, then take out the plunger and the spiral plate. It may take a little bit of time, but be patient and confirm each piece is detached gently.
Once you have all the components separated, you can clean them thoroughly to maintain the quality of your coffee maker.
Remember that each piece plays an essential role in the functionality of the coffee plunger, so keep them organized during the disassembly process. By following the correct order of pieces and handling them with care, you'll make the reassembly steps much simpler.
Take your time and pay attention to details to ensure a smooth disassembly experience. With practice, you'll become more efficient at disassembling and reassembling your coffee plunger.
Reassembly Steps
When reassembling your coffee plunger, remember to place the piece at the bottom before adding the filter on top.
Make sure to screw all components back together in the correct order for a secure fit.
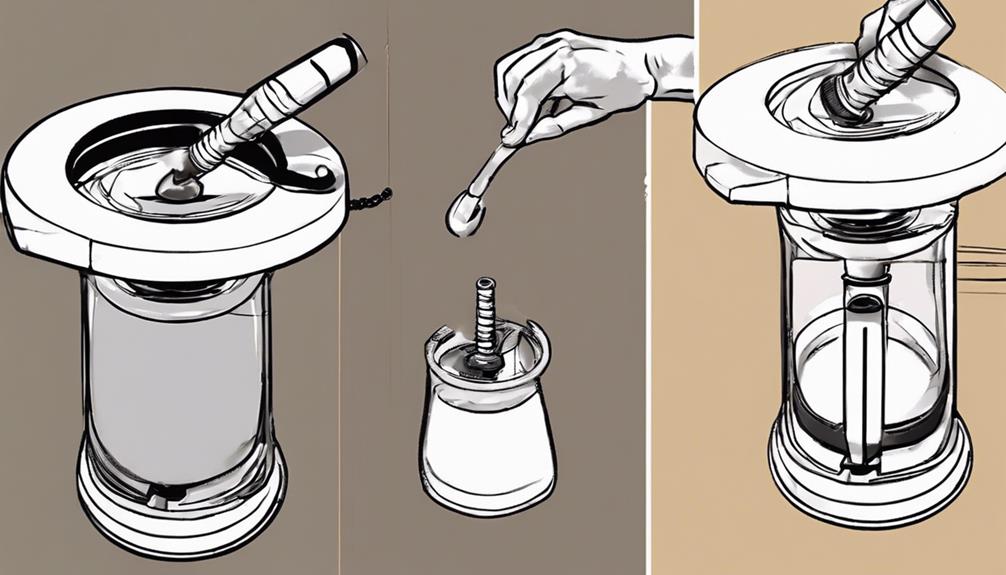
Attach the rod into the base with a few turns to guarantee stability.
Order of Reassembly
During the reassembly process of the coffee plunger, remember to place the piece at the base before adding the film on top for a secure fit. This step is essential to make sure that the plunger functions correctly without any leaks.
Next, carefully screw all pieces back together in the proper sequence. Make sure to secure the rod into the base with a few turns to keep the coffee plunger intact. Once this is done, tighten the bottom screw until it's firmly in place to prevent any leaks or spills during use.
Securing Components
Begin by placing the component on the bottom before layering the film on top when reassembling the coffee plunger. Make sure to screw all the components back together in the correct order to guarantee a secure fit.
Next, secure the rad into the base with a few turns to keep the plunger stable. Remember to tighten the bottom screw until it's secure, but avoid overtightening to prevent damage.
Once everything is assembled, confirm that all parts are in place and check for a good fit.
Properly securing the components is essential to avoid any leaks or malfunctions when using the coffee plunger. By following these steps attentively, you make sure that the plunger is reassembled correctly and functions effectively.
Taking the time to secure each part adequately will result in a smooth brewing process and a durable coffee plunger for your daily use.
Key Disassembly Tips
To disassemble the coffee plunger, start by unscrewing the contraption completely. It's important to follow the correct order of pieces during disassembly.
Begin by placing the piece on the bottom, and then add the film on top. This sequence guarantees an organized breakdown process.
When it comes to reassembly, ensure a secure fit by screwing everything back together. Make sure to secure the rad into the base with a few turns.
It's vital to use the right number of turns when tightening the bottom screw during assembly.
After reassembling the coffee plunger, confirm the tightness of all components. Check for a good fit once everything is put back together.
Key Reassembly Tips
When reassembling your coffee plunger, remember the importance of securing a proper fit by following the correct order of pieces.
Make sure you tighten the base screw with a few turns to prevent leaks and spills during use.
Secure Fit Importance
Securing a snug fit during reassembly is crucial for preventing leaks and upholding the proper functioning of your coffee plunger. To achieve this, follow these key steps:
- Correct Order of Pieces: Make certain you assemble the coffee plunger components in the correct sequence to ensure a firm and secure fit.
- Proper Number of Turns: When fastening the pieces back together, use the appropriate number of rotations to maintain the integrity of the assembly.
- Verification of Tightness: Once reassembly is complete, verify the tightness of the parts to ensure a leak-free and effective coffee plunger.
Proper Screw Turns
For a secure assembly of your coffee plunger, accurately determine the number of screw turns needed for each piece to guarantee a tight fit. Start by securing the rod into the base with a few turns to prevent any leaks.
Then, follow the correct order of pieces to make sure everything fits together properly. When tightening the bottom screw, make sure to do so until it's secure to keep the coffee plunger functioning correctly. This step is essential to prevent any potential issues when using the plunger later on.
Final Tightness Check
To guarantee a well-assembled coffee plunger, meticulously inspect the tightness of all pieces before proceeding with its use. After reassembling the plunger, make sure everything is securely in place to avoid any mishaps. Here are some key points to ponder for your final tightness check:
- Double-check the snugness of the bottom screw to prevent potential leaks when brewing.
- Confirm that the rod is properly secured into the base to ensure the functionality of the coffee plunger.
- Use the correct number of turns when reassembling to avert any issues with the plunger's operation.
Performing a final tightness check at the end of the assembly process will give you peace of mind that your coffee plunger is ready to use without any unexpected surprises.
Overall Assembly Process
To assemble the coffee plunger properly, follow the correct sequence of pieces and ensure a secure fit throughout the reassembling process. Begin by securing the plunger rod into the base with a few turns, making sure it is snug. Next, tighten the bottom screw until it is secure, but be careful not to overtighten. Once the main components are in place, verify the tightness of all connections. Confirm that each piece fits together seamlessly, guaranteeing there are no loose parts that could affect the plunger's functionality. Below is a table summarizing the key steps in the overall assembly process:
| Assembly Steps | Description |
|---|---|
| Secure plunger rod into the base | Turn to secure the rod into the base. |
| Tighten bottom screw | Ensure the bottom screw is securely fastened. |
| Confirm overall tightness and fit | Check all connections for a secure assembly. |
Disassembling the Contraption
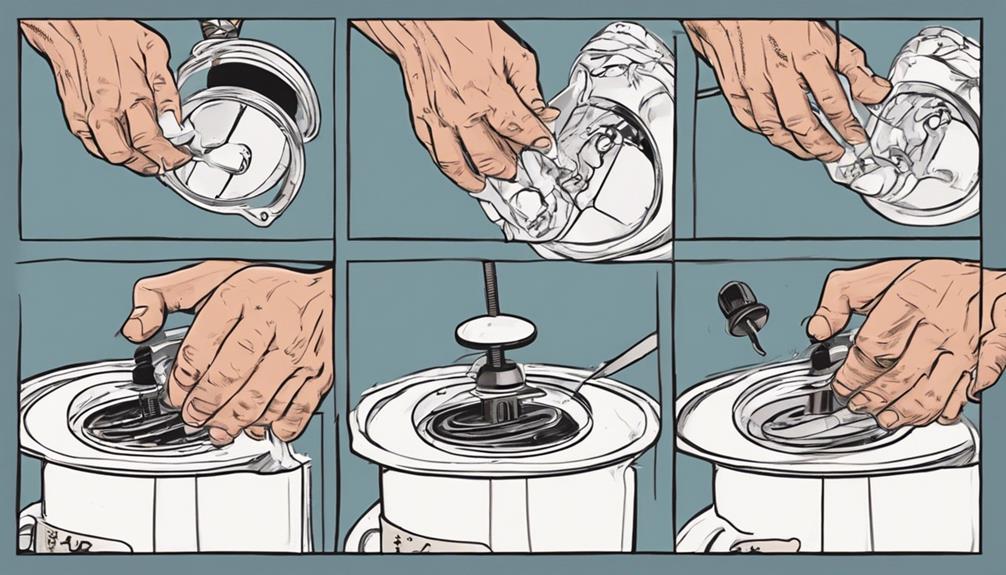
When disassembling the coffee plunger contraption, your first step should be unscrewing the entire piece.
To guarantee a smooth disassembly process, follow these steps:
- Place the piece on the bottom, then add the film on top before screwing everything back together.
- Secure the rad into the base with a few turns to assure a proper fit.
- Follow the correct order of pieces during disassembly to avoid any confusion during reassembly.
Reassembling the Contraption
Start by placing the piece on the bottom of the coffee plunger before adding the film on top.
Be sure to screw all the pieces back together in the correct order to reassemble the contraption properly.
Secure the rod into the base with a few turns to guarantee stability.
Next, tighten the bottom screw until it's securely fastened to complete the reassembly process.
It's crucial to confirm that everything is correctly assembled and fits together snugly before using the coffee plunger.
Frequently Asked Questions
How to Put a Coffee Plunger Back Together?
To put a coffee plunger back together, start by placing the filter piece at the bottom, adding the filter film on top, and securely screwing everything together. Maintain stability by tightening the plunger rod into the base.
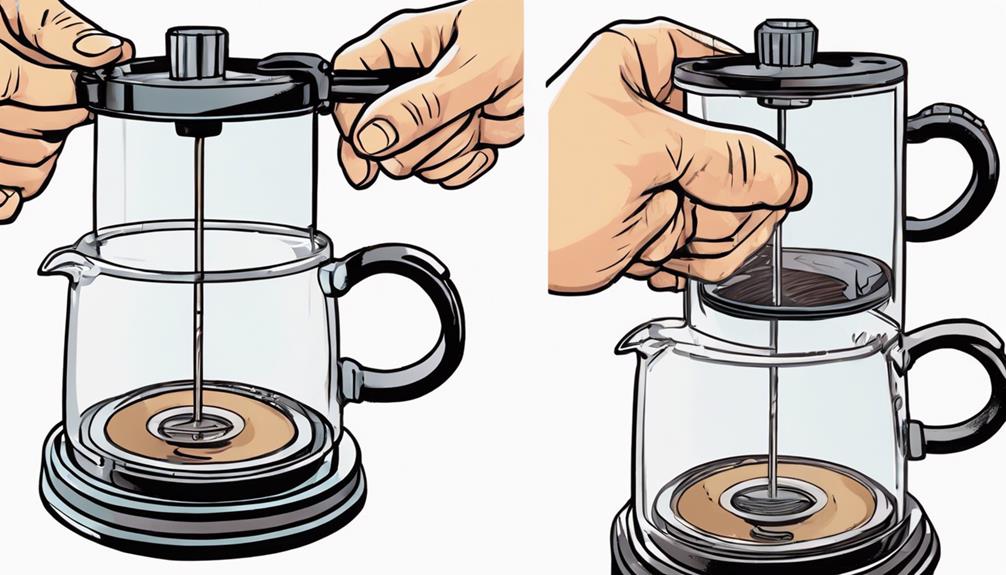
How to Assemble the Top of a French Press?
To assemble the top of a French press, first, securely attach the top knob onto the cross plate. Confirm a snug fit by sliding the cross plate onto the metal spring. Double-check the assembly before plunging.
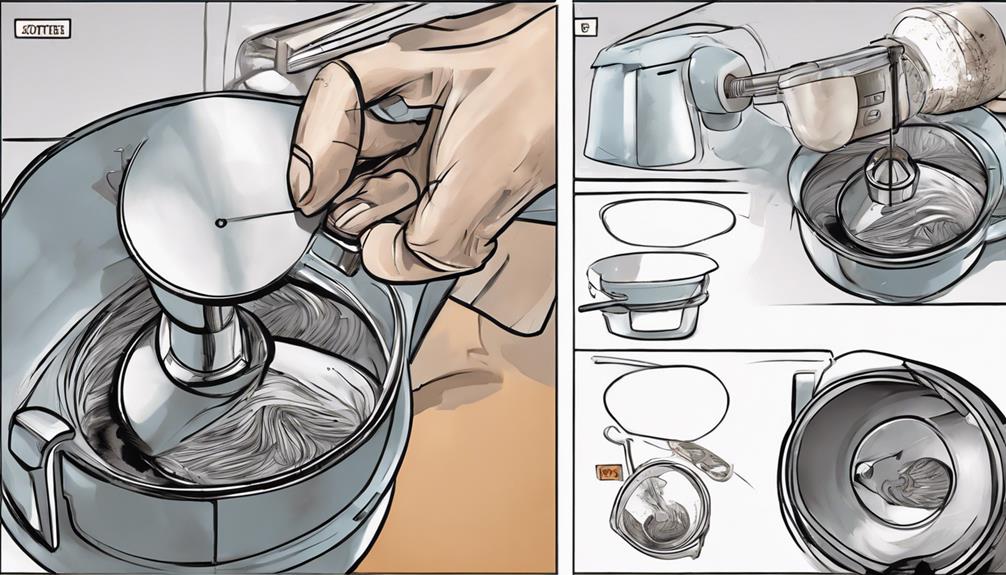
How Do You Use a Basic Coffee Plunger?
To use a basic coffee plunger, add coffee grounds, pour hot water, stir gently, then cover without pressing down. Wait a few minutes, then slowly press the plunger to separate grounds from liquid. Enjoy your coffee!
What Are the Parts of a French Press?
The parts of a French press are a plunger, frame, filter, lid, and carafe. The plunger pushes grounds to the bottom, the filter separates them from the coffee, the lid retains heat, and the carafe holds the brew.
Conclusion
To sum up, assembling a coffee plunger is a breeze! Just follow the simple steps outlined in this guide to easily disassemble and reassemble the contraption. If you’re looking for an equally easy task, try the hydro flask coffee lid assembly. Just follow the provided instructions and you’ll have your coffee ready to go in no time. With these simple steps, you’ll be able to enjoy your favorite hot beverages without any hassle.
Remember to take your time and follow the key tips provided for a smooth assembly process. With a little practice, you'll be enjoying freshly brewed coffee in no time.
Happy brewing!