
To clean your coffee maker, fill the water reservoir with a 50-50 vinegar and water mixture, then run a brewing cycle. Halfway through, turn it off and let it soak for 30-60 minutes before completing the cycle. Afterward, run two full cycles with fresh water to flush out residues. Wipe exterior parts and clean removable components regularly. Following these steps helps keep your machine functioning well and your coffee tasting great—learn more to perfect your cleaning routine.
Key Takeaways
- Regularly run a vinegar-water cycle to dissolve mineral buildup and maintain optimal machine performance.
- Use a filter during brewing and soak for 30-60 minutes to break down internal deposits.
- Flush the machine with two cycles of fresh water to remove vinegar residues and prevent taste contamination.
- Clean removable parts like the filter basket and carafe frequently to prevent mold and stains.
- Perform a deep cleaning once a month to extend your coffee maker’s lifespan and ensure high-quality brewing.
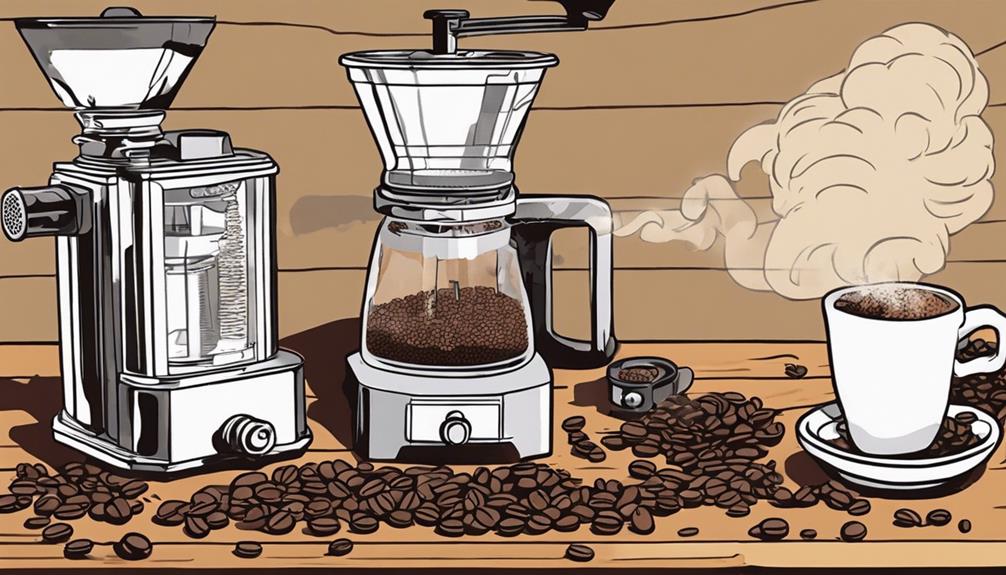
Cleaning your coffee maker regularly is essential to keep it functioning properly and to guarantee the best-tasting brew. When you want to clean your coffee maker effectively, using vinegar is one of the simplest and most affordable methods. Vinegar helps break down mineral buildup, which can accumulate over time and affect the brewing process.
To start, fill the water reservoir with a 50-50 mixture of white vinegar and water. If your machine has heavy mineral deposits, you can adjust the ratio to include more vinegar for a deeper clean. This solution will help remove any residues that might interfere with the brewing process, resulting in a cleaner, fresher-tasting coffee.
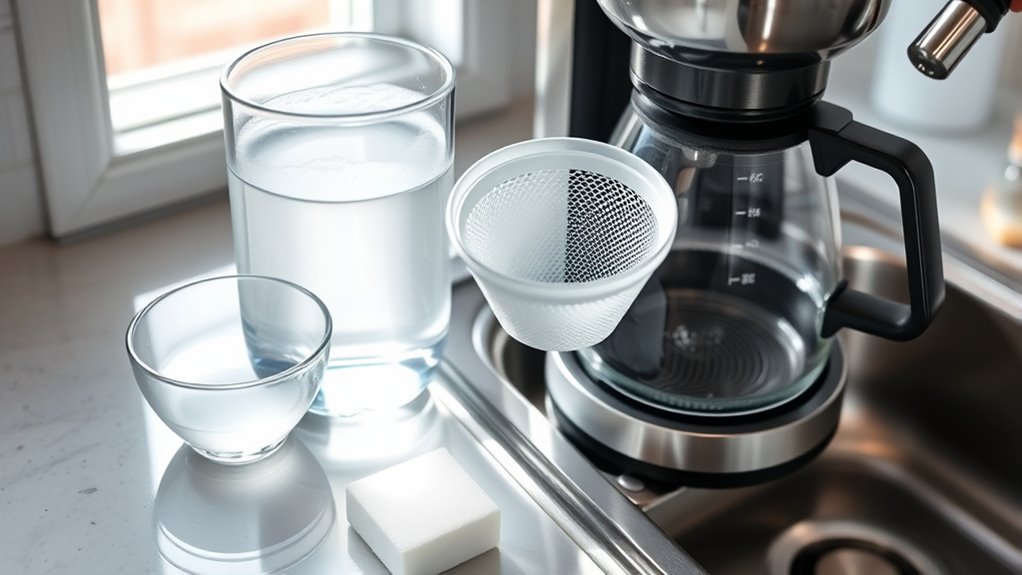
Fill your water reservoir with a vinegar-water mix for a thorough coffee maker clean.
Next, insert a filter into the basket and begin a brewing cycle. When the machine is halfway through, turn it off and let the vinegar solution soak for 30 to 60 minutes. This pause allows the vinegar to penetrate and loosen any mineral buildup or grime inside the internal components. Automation in maintenance can make this process more efficient by reminding you when to start cleaning.
After the soaking period, turn the coffee maker back on to complete the cycle. Once finished, discard the used filter and the vinegar solution. It’s important to run two full cycles with fresh water afterward to flush out any remaining vinegar scent and residue. This step ensures your coffee tastes as it should—rich and clean—without any lingering vinegar flavor.
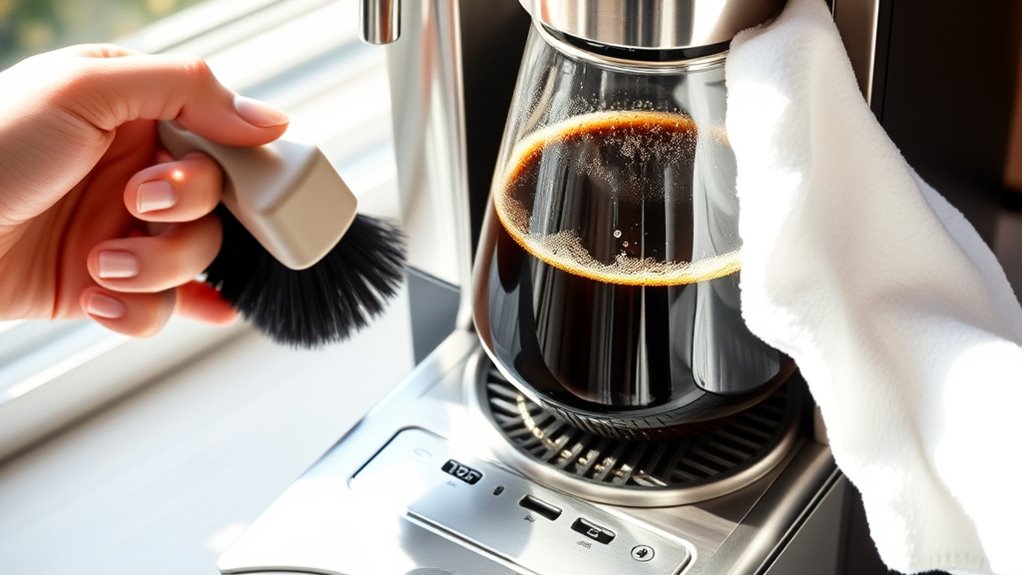
Don’t forget to wipe down the exterior surfaces and the coffee pot with a clean cloth. Regular cleaning of these parts helps remove stains, fingerprints, and any residual buildup that can affect the cleaning process or the appearance of your machine.
Paying attention to the removable parts, like the filter basket and carafe, makes it easier to keep your entire coffee maker in good shape, preventing mold and bacterial growth.
Incorporating regular cleaning into your routine, typically once a month, prolongs the lifespan of your coffee maker. It also improves the flavor of your coffee by preventing mineral buildup that can alter taste.
Vinegar’s acidity is highly effective at breaking down deposits, but always ensure you flush out residue thoroughly. This routine maintenance keeps your machine running smoothly, produces consistently clean coffee, and helps maintain the quality of your brewing process.
Following these steps will ensure your coffee maker remains a reliable part of your daily routine, delivering great-tasting coffee every time.

SHARDOR Conical Burr Espresso Coffee Grinder Electric with Precision Timer 2.0, Touchscreen Adjustable Burr Mill with 51 Precise Settings for Home Use, Anti-static, Stainless Steel
Premium 40 Millimeter Stainless Steel Conical Burr: Designed to minimize grinding heat and protect the essential oils in...
As an affiliate, we earn on qualifying purchases.
Frequently Asked Questions
How Much Vinegar Do You Put in a 12 Cup Coffee Maker to Clean It?
You should fill your 12-cup coffee maker with a mixture of equal parts vinegar and water, which means using about 6 cups of each.
If there’s heavy mineral buildup, increase the vinegar to 75%, or roughly 9 cups vinegar and 3 cups water.
Always fill the reservoir to the 12-cup line and run a couple of water cycles afterward to rinse thoroughly.
How Should I Clean My Coffee Maker?
To clean your coffee maker, start by disassembling removable parts like the brew basket and carafe, then wash them with warm, soapy water.
Use a 1:1 vinegar and water mixture to descale the internal components, running a cycle and then rinsing with clean water several times.
Wipe down the exterior with a damp cloth.
Do this every 3-6 months to keep your machine fresh and functioning well.
Is It Better to Clean a Coffee Maker With Vinegar or Baking Soda?
When deciding whether to clean your coffee maker with vinegar or baking soda, vinegar is the better choice for descaling. Its acidity breaks down mineral buildup like lime and calcium effectively.
Baking soda helps with odors and surface stains but isn’t as powerful against mineral deposits.
For thorough cleaning, use vinegar to descale, and save baking soda for deodorizing and surface cleaning.
Combining both can keep your machine fresh and functioning well.
How to Descale a Coffee Maker With Vinegar?
To descale your coffee maker with vinegar, start by filling the water reservoir with equal parts white vinegar and water.
Run a brewing cycle without coffee, then pause halfway to let it soak for 30 to 60 minutes.
Afterward, complete the cycle, discard the vinegar, and run several clean water cycles to rinse thoroughly.
Finally, wipe down the exterior and removable parts for a spotless, well-functioning machine.
AMZCHEF Coffee Grinder, Coffee Bean Grinder for Home Use with Precise Grinding, LED Control Panel, Detachable Funnel Stand, Anti-static Design, 48 Grind Settings, Silver
DESIGN FOR ESPRESSO:We provide portafilter holder ,Portafilter holder pad and photophobic coffee ground container. It is compatible with...
As an affiliate, we earn on qualifying purchases.
Conclusion
Now that you know how to clean your coffee maker, you’ll enjoy fresher, better-tasting coffee every time. Regular cleaning prevents buildup and keeps your machine running smoothly. Just remember to descale and wipe down the parts regularly. With a simple routine, your coffee maker will stay in top shape, saving you money and ensuring each cup tastes its best. Cheers to delicious coffee and a cleaner brew every day!

Coffee Grinder, Viesimple Gen 4, Single Dose Burr Coffee Grinders with Magnetic Dosing Cup, Electric Coffee Bean Grinder with Anti-Static Design, Espresso Grinder Compact & Quiet for Home Use Black
THE DO-IT-ALL GRINDER:The electric coffee grinder is a powerful all-purpose coffee grinder featuring 5-blade of 48 mm conical...
As an affiliate, we earn on qualifying purchases.

Gevi Coffee Grinder Electric,Coffee Bean Grinder with 35 Grind Settings for Espresso,Drip,French Press,Burr Coffee Grinder for Home Use,Anti-static Design,Black
Precision Grind Settings: Offers 35 adjustable grind settings for fine-tuning coffee powder thickness.
As an affiliate, we earn on qualifying purchases.