To start home coffee roasting, you’ll need a dedicated roaster or household items like a popcorn popper, stovetop skillet, or oven that allow temperature control and visibility of the beans. A thermometer helps monitor heat, ensuring consistent results. Using these tools, you can experiment with different roast levels and develop your perfect flavor profile. If you want to learn more about the best equipment choices and tips, keep exploring the essentials to perfect your home roasting skills.
Key Takeaways
- Use a dedicated home coffee roaster, popcorn popper, skillet, or oven that allows observation and temperature monitoring.
- Incorporate a thermometer or built-in temperature controls for precise heat management.
- Ensure the equipment can handle high temperatures (370°F to 480°F) and allows for quick cooling after roasting.
- Select high-quality green coffee beans to customize flavor profiles during roasting.
- Choose equipment that enables visual and auditory cues, such as color changes and crack sounds, for better roast control.
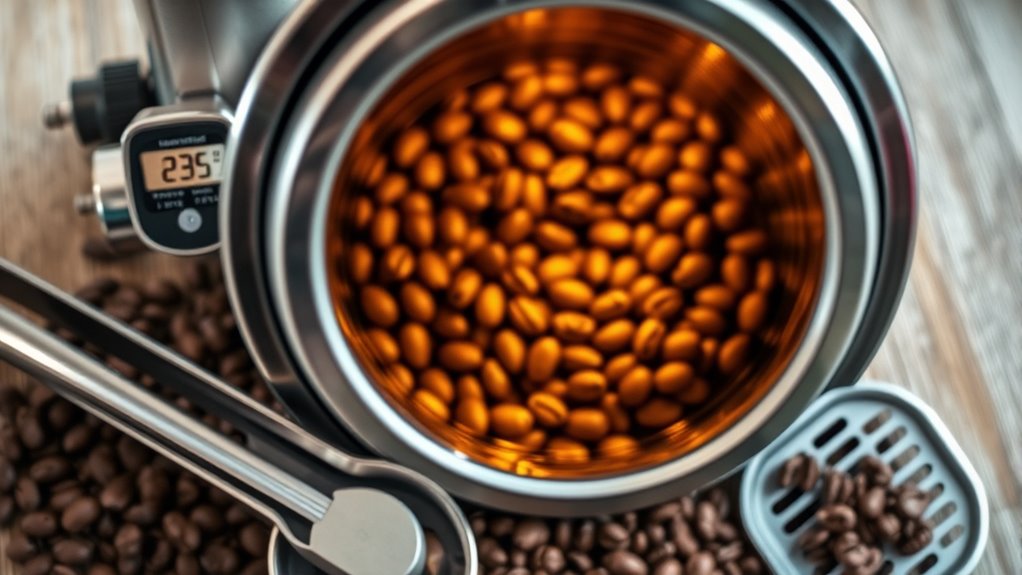
Ever wondered how to enjoy truly fresh coffee right at home? The secret lies in understanding the basics of home roasting, starting with sourcing high-quality green coffee beans. Green coffee is unroasted, preserving the beans’ natural flavors and allowing you to personalize your roast. When you choose green coffee, you gain full control over the roasting process, ensuring each batch matches your taste preferences. The key to bringing out the best flavors is managing the roasting temperature carefully. Your aim should be to reach the right temperature at the right time, which can vary depending on the bean type and your desired roast level. Typically, roasting temperature ranges from about 370°F to 480°F, and monitoring this is essential to prevent under- or over-roasting.
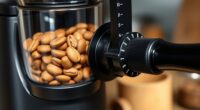
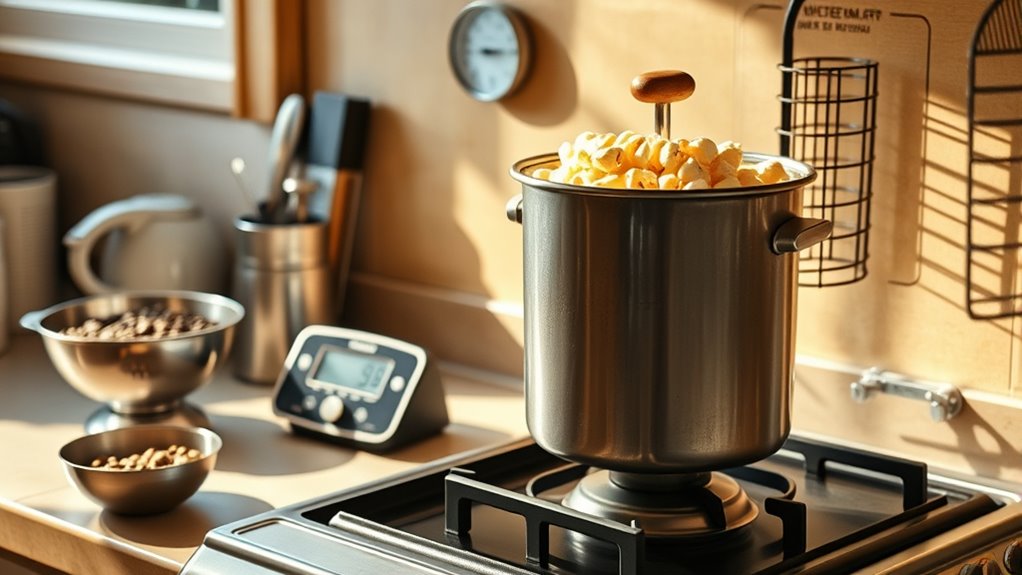
To get started, you’ll need some basic equipment. A dedicated home coffee roaster is ideal, as it offers precise temperature control and consistent results. However, if you’re just beginning, you can use a popcorn popper, stovetop skillet, or even an oven. Whichever method you choose, make sure it allows you to observe the beans as they roast and adjust the heat accordingly. A thermometer or a built-in thermometer on a specialized roaster will help you keep track of the roasting temperature, so you don’t accidentally burn the beans or stop too early.
As you begin roasting, you’ll notice the beans change color from green to various shades of brown. This color transition is a visual cue that your beans are developing flavor. During the process, you’ll hear the “first crack,” a series of popping sounds indicating the beans have reached a light roast, and later the “second crack” for darker roasts. These sounds, along with your temperature readings, guide you to achieve your desired roast profile. It’s important to keep the roasting temperature steady and consistent throughout, as fluctuations can lead to uneven roasting and inconsistent flavor profiles. Controlling roasting temperature is crucial for developing complex and rich flavors in your coffee.
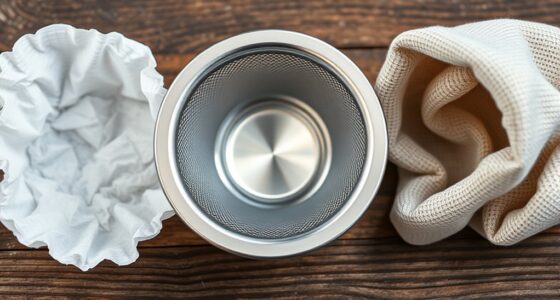
Once you’ve reached the desired roast level, you should cool the beans quickly to halt the roasting process. Transfer them into a colander or a cooling tray and shake or stir to remove residual heat. Proper cooling stabilizes the flavor and prevents over-roasting. Remember, each bean type responds differently to roasting temperatures, so experimenting with small batches helps you learn what works best for each green coffee variety.
Mastering the art of home roasting involves understanding your green coffee and carefully controlling the roasting temperature. With patience and practice, you’ll unleash rich, fresh flavors that surpass anything pre-packaged. Roasting your own coffee is a rewarding journey that puts you in control of your brew’s flavor profile, making every cup uniquely yours.
Frequently Asked Questions
Can I Roast Coffee Beans in a Microwave?
You can try microwave roasting, but it’s not recommended due to safety concerns. Microwaves aren’t designed for roasting coffee beans, which can cause uneven heating or even fire hazards. Kitchen safety is essential, so using proper equipment like a popcorn popper or oven is much safer and more effective. Microwave roasting may seem convenient, but it risks damaging your microwave or creating unsafe conditions. Stick to dedicated methods for better results.
How Long Does It Take to Roast Coffee at Home?
While the journey from green to roasted coffee beans varies, you’re typically looking at a roasting duration of 10 to 15 minutes. You’re monitoring coffee bean temperature closely, aiming for about 370°F to 540°F, depending on your desired roast level. This process demands patience and attention, as even slight differences in roasting time can profoundly affect flavor. So, expect to spend a few minutes actively roasting to achieve your perfect brew.
Is Home Roasting Safe Without Proper Ventilation?
You might wonder if home roasting is safe without proper ventilation. It’s important to prioritize ventilation safety because roasting produces smoke and odors that can affect your indoor air quality. Without good airflow, you risk inhaling fumes and creating a hazardous environment. Always make certain your roasting environment is well-ventilated by using exhaust fans or opening windows. This keeps the air clean, reducing health risks and making your roasting experience safer.
What Are the Best Beans for Beginners to Roast?
Imagine you’re stepping into the future of coffee, and for beginners, light to medium roast levels are your best friends. You’ll want beans with clear bean origin, like Latin American or African varieties, to learn their unique flavors. These beans are forgiving and reveal their true character without complex roasting. Start with a small batch, experiment with roast levels, and soon you’ll master the art of home roasting.
How Do I Store Roasted Coffee to Keep It Fresh?
To keep your roasted coffee fresh, store it in airtight storage containers, preferably opaque ones that block light. Avoid clear containers or plastic bags that let in air and light, which can degrade coffee freshness. Keep the container in a cool, dark place away from heat and humidity. Proper storage preserves flavor and aroma, ensuring your home-roasted coffee stays delicious longer.
Conclusion
Now that you know the essentials, you’re ready to start your home roasting journey. Remember, Rome wasn’t built in a day, so don’t get discouraged if things aren’t perfect at first. With patience and practice, you’ll master the art of roasting coffee just the way you like it. Keep experimenting, stay curious, and enjoy the process—because the best coffee is the one you make yourself, and that’s worth its weight in gold.