
Ready to upgrade your living space? Create a coffee table that is both trendy and storage-savvy! By using plywood, oak, and some basic tools, you can construct a table complete with hinges, latch hardware, and a lifting mechanism for extra storage. Improve the design with trim work methods and finish off with staining tips for a sleek appearance. The adaptable dual-purpose of this table provides a roomy storage compartment, ideal for compact living areas. Begin this DIY project to introduce both functionality and style into your home!
Key Takeaways
- Utilize PureBond Plywood and solid oak for durability and aesthetics.
- Incorporate hinges and latch hardware for functional storage compartments.
- Construct a lifting framework for easy access to the ample storage area.
- Apply edge banding and trim work techniques for a polished finish.
- Finish with ZAR Moorish Teak stain and water-based poly for protection and style.

Amazon Basics Basket Coffee Filters for 8-12 Cup Coffee Makers, White, 200 Count, Packaging May Vary
- Package Quantity: 200 white basket filters
- Compatibility: Fits 8-12 cup coffee makers
- Filtration Quality: Excellent sediment removal
As an affiliate, we earn on qualifying purchases.
Materials and Tools Required
To construct the coffee table with storage, gather the necessary materials and tools, including PureBond Plywood, solid oak, a saw, drill, screwdriver, sandpaper, measuring tape, hinges, latch hardware, wood glue, and screws.
When starting on this DIY coffee table project, the key materials like PureBond Plywood provide a sturdy base, while solid oak trim adds a touch of elegance to the design. With the right tools such as a saw for cutting the wood, a drill for making holes, a screwdriver for assembling parts, sandpaper for a smooth finish, and a measuring tape for precision, you're well-equipped for the task ahead.
Hinges and latch hardware are essential components for the storage functionality of the table. They allow the top to swivel, providing easy access to the concealed storage compartment beneath. Remember to use wood glue and screws for secure assembly, ensuring that your coffee table not only looks great but also functions perfectly for storing your essentials.
Building Components Overview

Gather the necessary building components to construct the coffee table with storage. Start by gluing edges of boards to create the side panels and shelf. Drill pocket holes for the shelf assembly, ensuring a secure attachment of the shelf boards.
Construct the coffee table sides by drilling pocket holes in the cross supports and attaching panels with glue for added strength.
To build a sturdy frame, secure the legs to the cross supports. This step is essential in ensuring the overall stability of the coffee table. Additionally, install aprons at the base of the table to further enhance its stability and structural integrity.
Trim Work Techniques
Now, let's talk about the trim work techniques involved in creating a sleek coffee table with storage.
Learn how to expertly apply edge banding, attach custom trim pieces securely, and fill nail holes for a flawless finish.
These steps will elevate the look of your coffee table and give it a professional touch.
Edge Banding Application
For a professional and polished finish on your coffee table with storage, mastering the technique of edge banding application is vital. Edge banding is a method used to cover the exposed edges of plywood to give it the appearance of real wood.
When applying edge banding veneer, use an iron to adhere the banding to the plywood edges. Once the banding is applied, trimming off the excess is necessary for achieving a clean and seamless look.
Trimming the edge banding carefully ensures that the edges blend smoothly with the surface, enhancing the overall appearance of the table. Additionally, attaching trim to the coffee table box further elevates its look and provides a polished finish.
To achieve a professional result, fill any nail holes in the trim with wood filler and sand them down to create a smooth surface. Mastering these edge banding techniques will help you create a coffee table that's both functional and aesthetically pleasing.
Trim Attachment Methods
Attaching trim to your coffee table with storage involves customizing pieces with adhesive and brad nails to achieve a personalized and polished finish. To guarantee a seamless and professional look, consider the following trim attachment methods:
- Adhesive Squeeze Technique: Apply a small line of wood adhesive along the edge of the trim piece before pressing it onto the coffee table. The adhesive squeeze method helps create a strong bond between the trim and the table surface.
- Clamping for Precision: Once the trim is positioned, use clamps to hold it securely in place while the adhesive dries. This step ensures that the trim stays aligned and adheres properly to the table.
- Finish with Brad Nails: After the adhesive has set, reinforce the attachment by driving brad nails through the trim into the coffee table. Be sure to countersink the nails slightly and fill the holes for a clean finish.
Nail Hole Filling
To achieve a seamless finish on your coffee table with storage, start by filling nail holes with wood filler. Use a putty knife to apply the filler, ensuring uniform coverage. Allow the filler to dry completely before proceeding. Once dry, gently sand it down for a smooth surface. This step is crucial for preparing the surface for staining or painting.
Sanding the filled nail holes will ensure a polished and professional appearance for your coffee table. After sanding, wipe away any excess wood filler dust for a clean surface. Taking the time to fill and sand nail holes properly is essential for the overall aesthetic of your finished coffee table with storage.
Finishing and Staining Tips
When it comes to finishing and staining your coffee table, make sure to sand and dust the surface thoroughly for a clean finish.
Consider using ZAR Moorish Teak stain for a rich and vibrant color.
Opt for a water-based poly finish to protect the wood and achieve a polished look.
Staining Techniques
Consider experimenting with different staining techniques to achieve the desired finish on your coffee table with storage. Staining not only enhances the appearance of the wood but also provides protection from wear and tear. Here are some staining techniques to help you achieve a professional look:
- Layered Staining: By applying multiple layers of stain with varying tones, you can create depth and richness in the finish of your coffee table. This technique works well to mimic the look of expensive hardwoods.
- Blotching Prevention: To prevent uneven absorption of stain, especially on plywood or veneer surfaces, consider using a pre-stain wood conditioner. This will help the stain penetrate more evenly for a uniform finish.
- Faux Finishing: Edge banding can be stained to resemble real wood and give your coffee table a polished look. Use techniques like glazing or distressing to add character and uniqueness to the piece.
Finishing Tips
Experiment with applying ZAR Moorish Teak stain for a rich color on your coffee table. Ensure uniform coverage by using a brush or cloth in the direction of the wood grain. Allow the stain to permeate for the recommended time before wiping off any excess to achieve the desired shade.
After the stain has fully dried, it's time to apply the water-based poly finish. This finish provides a protective coating that's resistant to water and scratches, making it ideal for a coffee table. Use a clean brush to apply thin, even layers of polyurethane, sanding lightly between each coat for a smooth finish.
Once the final layer of water-based poly finish has dried, consider adding alternative hardware options to personalize your coffee table further. Sand the surface for any imperfections before exploring edge banding or moulding strips to give your table a polished look.
These finishing touches will enhance the overall appearance of your storage-savvy coffee table.
Design and Construction Details
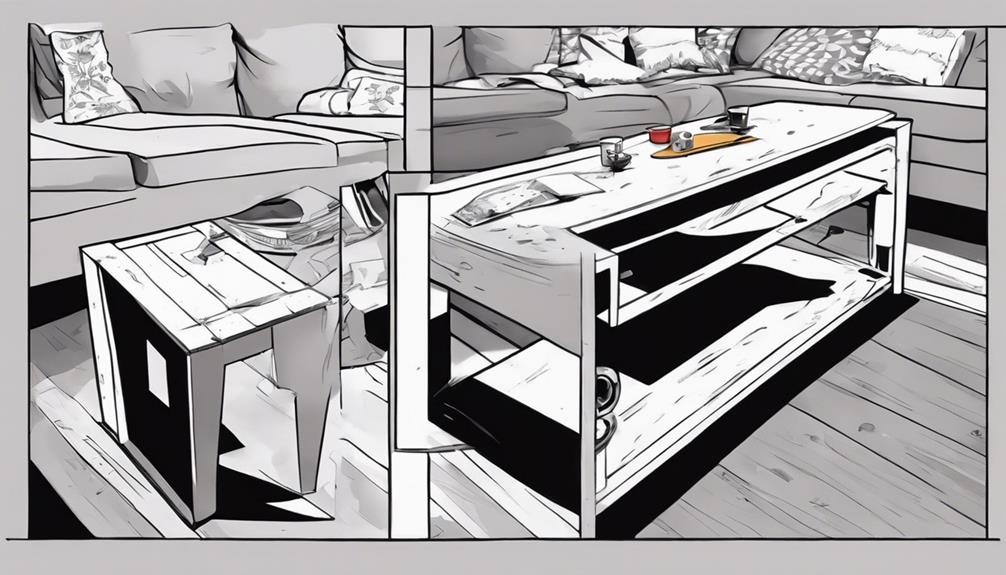
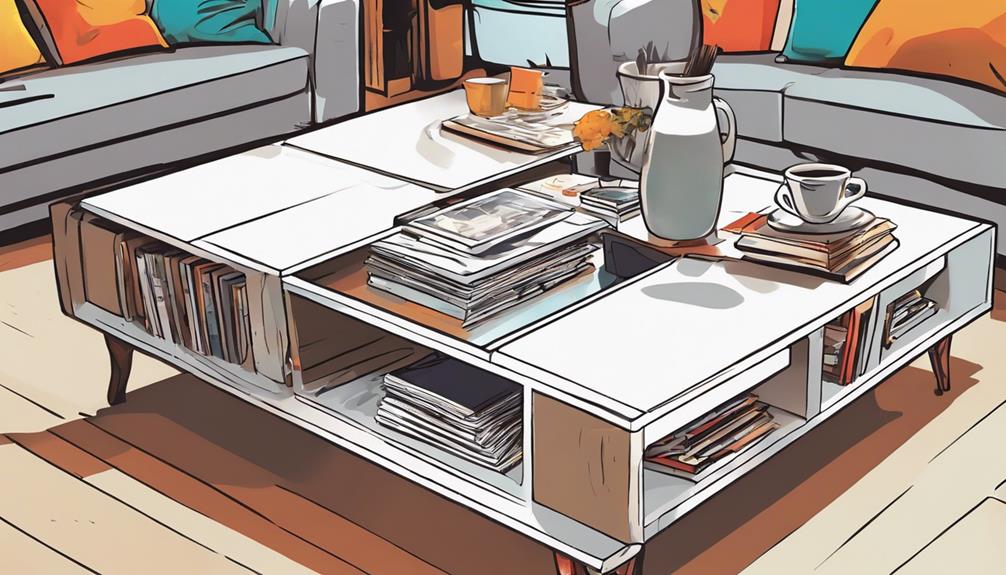
Explore the intricate design and construction details of the coffee table with storage, highlighting its innovative features and functionality. The coffee table isn't just a piece of furniture but a versatile storage solution that maximizes space in a stylish and practical way. Here are some key design and construction details to ponder: The coffee table features a sleek and modern design with a lift top that reveals a hidden storage compartment, perfect for stowing away remotes, magazines, and other living room essentials. The sturdy construction and high-quality materials ensure durability and longevity, making it a valuable addition to any living space. And if you’re feeling particularly handy, you can even build your own lift top coffee table to customize the design to your exact specifications.
- Lifting Framework: The coffee table boasts a unique lifting framework that allows for a double-layered desktop, providing ample space for storage and organization. This innovative feature enhances the functionality of the table, making it ideal for small living spaces.
- Large Storage Area: Beneath the desktop, there's a spacious storage area designed to help you keep your items neatly organized and easily accessible. This feature guarantees that your living room remains clutter-free while offering convenient storage solutions.
- Side Cave: The coffee table also includes a side cave for storing family-shared objects conveniently. This additional storage space adds to the table's versatility, allowing you to keep important items within reach without compromising on style.
Installation Process Breakdown

To begin the installation process breakdown for constructing the coffee table with storage, drill pocket holes in the shelf ends to ensure secure attachment. This step establishes a strong connection between the shelf and the table structure.
Next, mark the positions for shelf installation on the table's solid wood base to confirm proper alignment. Once marked, apply glue to the shelf ends and clamp them in place during assembly. This helps in keeping the shelf steady while attaching it securely with pocket screws, enhancing the overall stability of the table.
Additionally, install aprons at the base of the table to provide extra support and structural integrity. These aprons not only add to the aesthetic appeal but also contribute to the durability of the table.
Assembly Steps Simplified

Simplify the assembly process for constructing a coffee table with ample storage by following these step-by-step instructions:
- Cutting and Joining:
Begin by following detailed guidance to cut the pieces for the coffee table box to size. Utilize proper joining techniques to assemble the box securely, guaranteeing it can support the weight of items stored inside.
- Adding Bottom:
Learn how to attach the bottom to the box using a combination of glue and screws for added strength and durability. This step is essential to secure the stability of the coffee table with storage.
- Customization and Trim Work:
Explore customization tips for trim work to personalize the coffee table to match your unique style preferences. Whether you prefer a sleek modern look or a more rustic feel, adding trim can enhance the aesthetic appeal of the table.
Usage and Benefits Overview
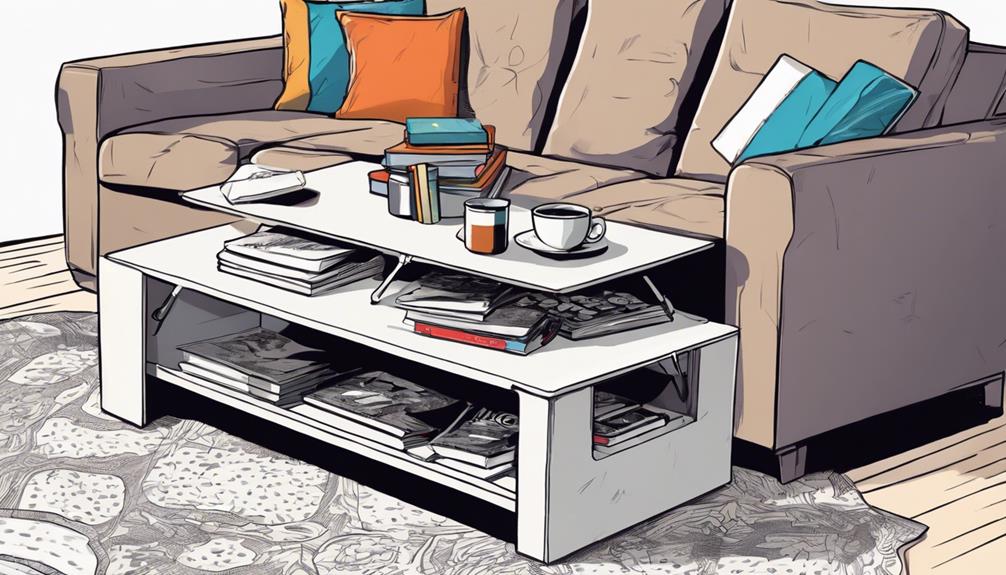
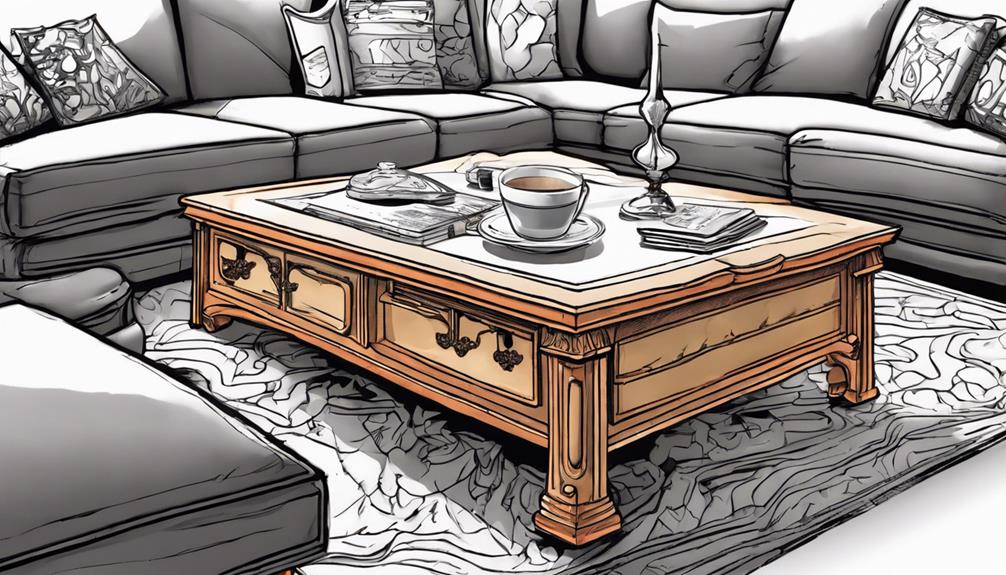
Discover the practicality and versatility of the lift top coffee table for maximizing space and functionality in your living area. Coffee tables with storage are a game-changer, offering a double-layered desktop that transforms into a convenient desk when needed.
Beneath the tabletop, a spacious storage area provides ample room for books, games, and snacks, while a side cave offers a perfect spot for storing family-shared items. Perfect for small living spaces, this table not only serves as a place for your morning coffee but also provides convenient support for your laptop, making it ideal for work or leisure activities.
Customers praise the lift top coffee table for being affordable, multifunctional, and suitable for a variety of activities. With an assembly time of around 45 minutes, this table offers quality and convenience at a reasonable price point, making it a valuable addition to any home.
Customer Review and Features
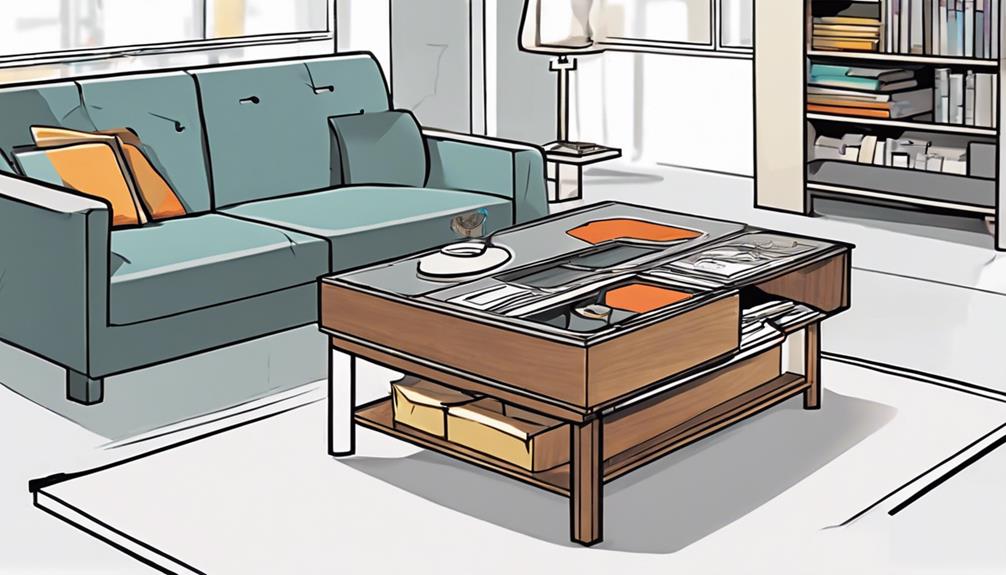
Explore what customers have to say about the lift top coffee table and its impressive features. Customers have praised the lift top coffee table for its versatility and practicality in small living spaces.
Here are three key features highlighted by satisfied users:
- Dual Functionality: The ability of the coffee table to transform into a desk has been a standout feature for many customers. It offers a convenient workspace that can easily be hidden away when not in use.
- Ample Storage: The large storage area beneath the tabletop has been commended for its capacity to store various items, keeping the living space organized and clutter-free.
- Family-Friendly Design: Users have appreciated the side cave feature of the coffee table, which provides a designated space for storing commonly shared items within easy reach for all family members.
Frequently Asked Questions
How to Build a Storage Ottoman Coffee Table?
To build a storage ottoman coffee table, measure and cut wood for the frame. Attach hinges for the top lid and casters for mobility. Upholster the piece with fabric of choice, adding a hidden compartment for storage.
How Do You Pack a Table for Storage?
To pack a table for storage, disassemble it by removing legs or shelves. Wrap components in protective material. Use cardboard or wood panels to shield the tabletop. Store in a clean, dry area. Label parts for easy reassembly.
How Do You Make a Coffee Table Stable?
To make a coffee table stable, guarantee a sturdy frame, quality materials, and even weight distribution. Use traditional joinery techniques for added support. Test its stability by applying pressure and checking all components. Stay grounded with these tips!
How Much Space Do You Need for a Coffee Table?
You need 12 to 18 inches around the coffee table for comfortable movement. Consider the room size and furniture layout. Leave 18 inches between the table and sofa for legroom. Tailor the table size to fit the room's layout and your preferences.
Conclusion
Now that you've built your own coffee table with storage, you'll be amazed at how much easier it's to keep your living room organized.
And did you know that 85% of people feel more relaxed and at ease in a clutter-free environment?
With this stylish and functional piece of furniture, you can enjoy a tidier space and a more serene atmosphere.
Happy building and organizing!