
To construct a butcher block coffee table, gather necessary materials such as wood filler, stain, saw, and sandpaper. Begin by cutting the butcher block, assembling boards for the tabletop, and securely attaching the legs. Finish by sanding and applying polyurethane for protection. For additional advice, ensure a strong design by using high-quality adhesive, thorough sanding, and multiple coats of sealer. Seek guidance and inspiration from DIY resources and the community. Learn wood cutting, gluing, and sanding techniques for a polished final product. Continuously improve your skills for future projects.
Key Takeaways
- Use high-quality wood and adhesive for durability.
- Sand tabletop thoroughly before sealing.
- Apply multiple sealer layers for protection.
- Connect with DIY community for tips and inspiration.
- Follow detailed assembly steps for a beautiful table.

Amazon Basics Basket Coffee Filters for 8-12 Cup Coffee Makers, White, 200 Count, Packaging May Vary
- Package Quantity: 200 white basket filters
- Compatibility: Fits 8-12 cup coffee makers
- Filtration Quality: Excellent sediment removal
As an affiliate, we earn on qualifying purchases.
Materials and Tools
To construct a butcher block coffee table, gather the necessary materials and tools, such as a butcher block piece, wood filler, sandpaper, and stain, along with a saw, sander, and brush for the project. Once the materials and tools are gathered, begin by measuring and cutting the butcher block piece to the desired dimensions. Next, use the wood filler to fill in any cracks or imperfections in the wood, then sand down the surface until it is smooth. After sanding, apply the stain using the brush, following the directions on the product. Once the stain is dry, the butcher block coffee table is ready to be used, either as a standalone piece or incorporated into a mobile coffee cart setup for a unique and functional piece of furniture.
The butcher block style provides a sturdy and durable surface for your coffee table. In addition to the materials mentioned, you'll also need wood glue to securely attach the butcher block piece.
You can purchase the butcher block from home improvement stores like Menards. When working with the butcher block, it's important to use wood filler to fill in any gaps or imperfections to make sure a smooth surface.
Sandpaper will be essential for prepping the surface before applying the stain, giving your coffee table a polished and finished look. The saw will help you cut the butcher block to your desired dimensions, while the sander will assist in smoothing out any rough edges.
Building Process
Now let's get into the nitty-gritty of the building process.
You'll first gather the necessary materials and then follow the step-by-step building instructions to create your butcher block coffee table. Next, you’ll need to sand and finish the butcher block to ensure a smooth and polished surface. Once your coffee table is complete, you can also repurpose the materials to create other furniture pieces, such as a mobile coffee cart setup. This versatile DIY project allows you to showcase your woodworking skills and add a unique piece to your home decor. Additionally, building a mobile coffee cart setup allows you to expand your creativity and craftsmanship by incorporating different design elements and functionalities. With the same materials used for the butcher block coffee table, you can customize the cart to fit your specific needs and aesthetic preferences. This project not only adds a practical piece to your home, but also provides the opportunity to explore new woodworking techniques and create a cohesive look throughout your living space.
Materials Needed
Gather hardwood boards, glue, corner brackets, and polyurethane to start assembling your butcher block coffee table. Hardwood boards are vital for creating a sturdy and durable tabletop. The glue acts as a bonding agent, holding the wood pieces together securely. Corner brackets will provide added support and stability to the table structure. Polyurethane is necessary for finishing the table, offering protection against wear and tear while enhancing its appearance.
To successfully complete this project, you'll also need tools such as pipe clamps, a table saw, circular saw, belt sander, tape measure, and a drill with bits. These tools will assist in cutting the wood into uniform strips, assembling the pieces with glue and clamps, and sanding the tabletop to a smooth finish.
Additionally, attaching robust oak legs with aspen skirt support and applying multiple coats of polyurethane will secure the long-lasting quality of your butcher block coffee table.
Building Steps
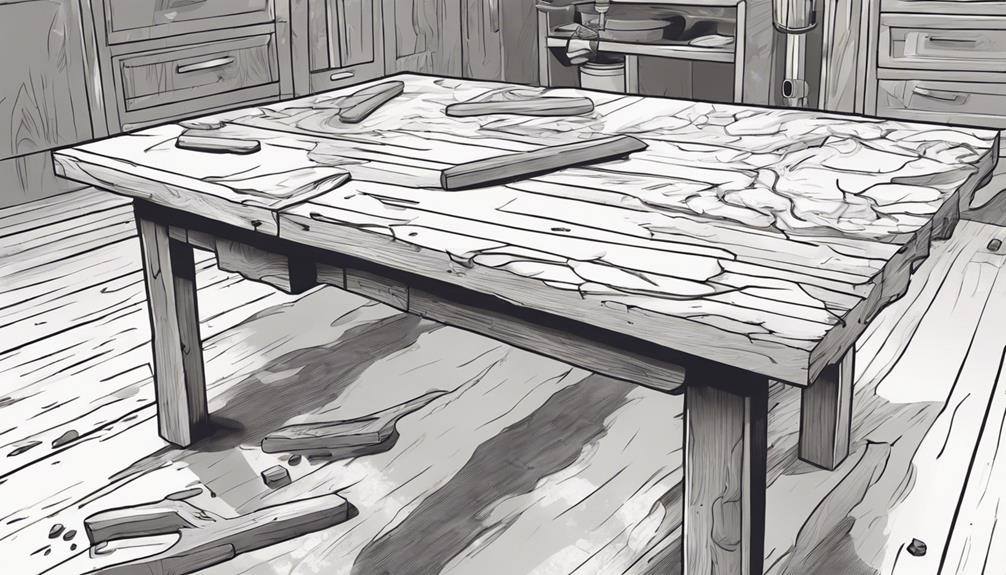
For the building process of your butcher block coffee table, start by cutting a 36×96 butcher block piece from Menards Home Improvement to serve as the tabletop.
Follow these steps to bring your project to life:
- Gluing the Boards: Begin by ripping the butcher block in half to thicken the legs and tabletop for increased durability. Apply wood glue to join the two halves securely, ensuring a strong bond that can withstand daily use.
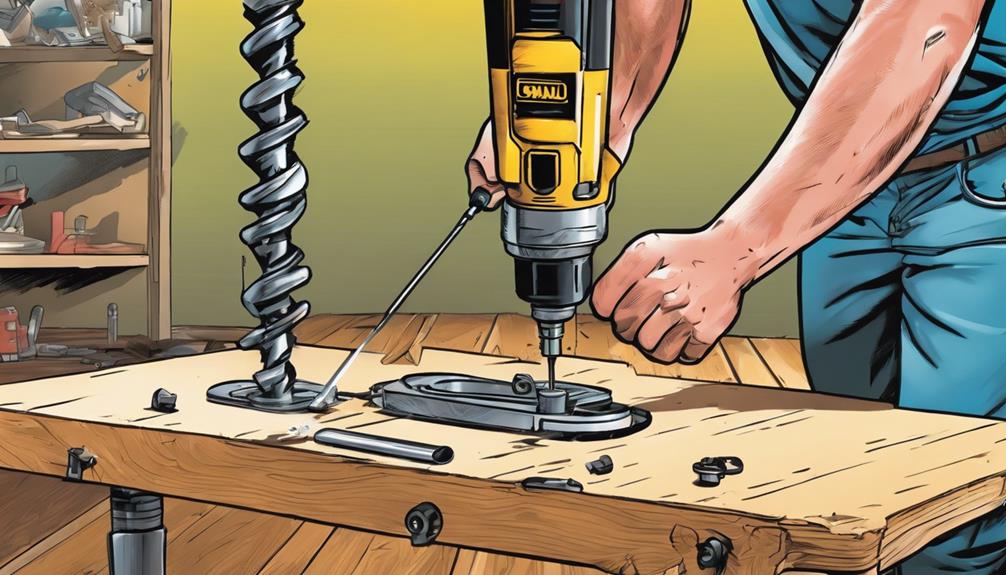
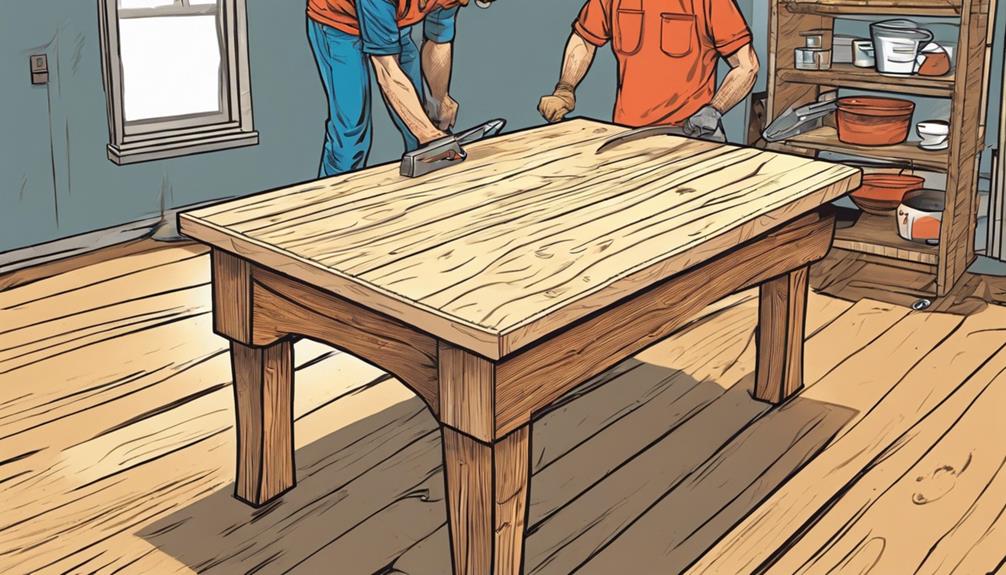
- Attach the Legs: Trim 6 inches from the block to create the table legs. Make 45-degree miter cuts on the legs to guarantee stability. Once the legs are ready, attach them to the tabletop using screws or brackets, securing them firmly to support the weight of the table.
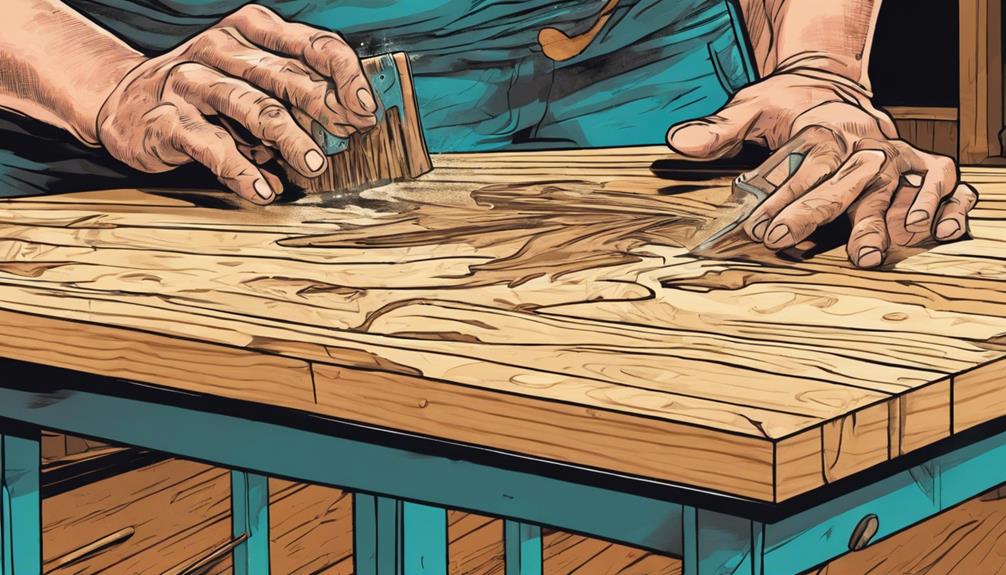
- Final Touches: After the structure is assembled, finish your butcher block coffee table with wood filler to conceal any gaps, sand it smooth for a polished surface, and apply a stain of your choice to enhance its appearance.
Enjoy your handmade masterpiece in your living space!
Assembly and Finishing
You're now ready to tackle the final steps of your butcher block coffee table project.
Surface preparation techniques, applying a protective finish, and final varnishing steps are essential to achieving a professional look.
Surface Preparation Techniques
To assure a smooth and professional finish on your butcher block coffee table, start by sanding the surface starting from a coarse grit like 60 and finishing with a fine grit like 240.
Here are some key steps to prepare the surface effectively:
- Sand Methodically: Begin with a coarse grit sandpaper to remove any rough spots or imperfections on the butcher block surface. Gradually progress to finer grits to achieve a polished finish that's ready for sealing.
- Polyurethane Application: Apply multiple coats of polyurethane, approximately 8 coats, to protect the tabletop from moisture and enhance the natural wood colors. This will also provide a durable and long-lasting finish.
- Finishing Touch: Sand lightly between each polyurethane coat to maintain a smooth surface and guarantee proper adhesion of the finish. Avoid using stain to retain the beautiful natural colors of the butcher block tabletop.
Applying Protective Finish
Achieve a long-lasting and protective finish on your butcher block coffee table by applying at least 8 coats of polyurethane. Sand lightly between each coat for a smooth and even surface.
To maintain the natural beauty of the wood, refrain from adding color with stain. Instead, opt for a clear coat if you have a mixed wood table to preserve its original colors.
Keep the tabletop smooth by using fine sandpaper to sand lightly between coats. This step guarantees that each layer of polyurethane adheres well and creates a seamless finish.
Final Varnishing Steps
For the final varnishing steps in assembling and finishing your butcher block coffee table, apply a minimum of 4 coats of varnish to provide the best protection against wear and tear.
To guarantee a professional finish, follow these necessary steps:
- Controlled Application: Use precise strokes when applying varnish to the tabletop. This technique helps achieve even coverage and minimizes the risk of bubbling, giving your coffee table a smooth and polished look.
- Drying Time: Allow each coat of varnish to dry completely before applying the next coat. This step is essential in preventing smudges or imperfections in the finish.
- Sanding Between Coats: Sand down the tabletop between varnish coats. This process helps create a seamless surface and promotes better adhesion between the layers of varnish, resulting in a more durable and well-finished coffee table.
Remember to let the final varnish coat dry for a minimum of 7 days before using the table to ensure proper curing and maximum protection for your DIY creation.
Tips and Recommendations

For a sturdy butcher block tabletop, glue the boards together using a high-quality wood adhesive. Make sure to use hardwood boards to guarantee a straight and even alignment. When cutting the boards to size, a circular saw is ideal for precision.
It's essential to allow the boards to properly cure before sealing them with polyurethane to prevent warping or cracking over time. Before sealing, thoroughly sand the tabletop to create a smooth surface for the finish.
When applying the sealer, consider adding multiple layers to achieve the desired level of protection and sheen. Each layer adds an extra barrier against spills and scratches, enhancing the longevity of your butcher block coffee table.
Taking these tips into consideration will help you create a beautiful and durable butcher block coffee table that will be a focal point in your living space for years to come.
Engagement and Community
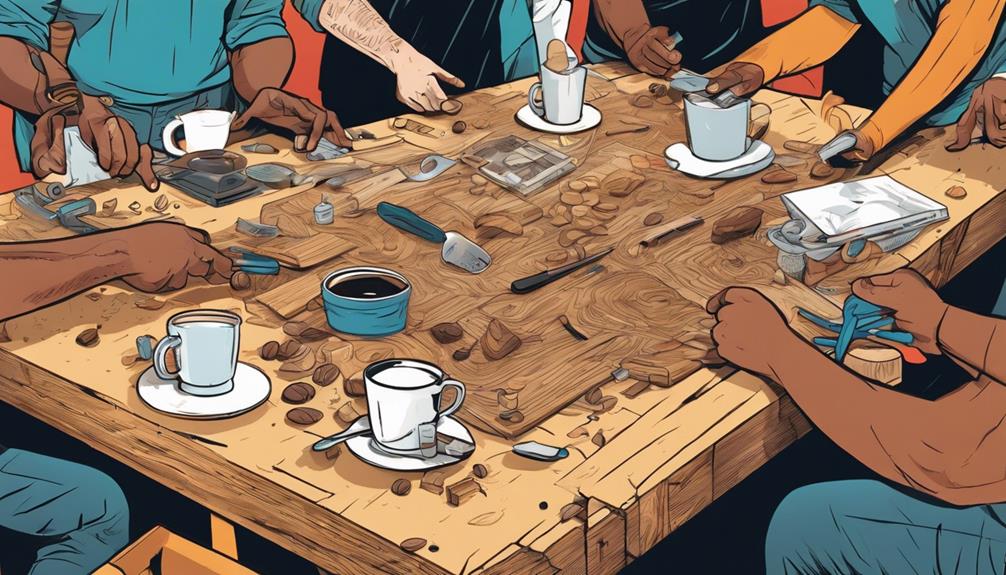
Engaging with the DIY community can enhance your skills and inspire new project ideas. By actively participating in the community surrounding woodworking and furniture building, you can benefit in various ways:
- Stay Updated: Subscribing to the content creator's channel guarantees you receive the latest updates, tips, and freebies related to DIY projects, including the construction of a butcher block coffee table.
- Connect and Collaborate: Engage with like-minded individuals by leaving comments or replies on the content creator's posts. This interaction can lead to valuable connections and potential collaborations on future woodworking projects.
- Inspiration and Ideas: Explore related projects on outdoor and upcycling themes within the community. By staying connected, you can discover innovative ideas that may ignite your creativity when designing your own unique table.
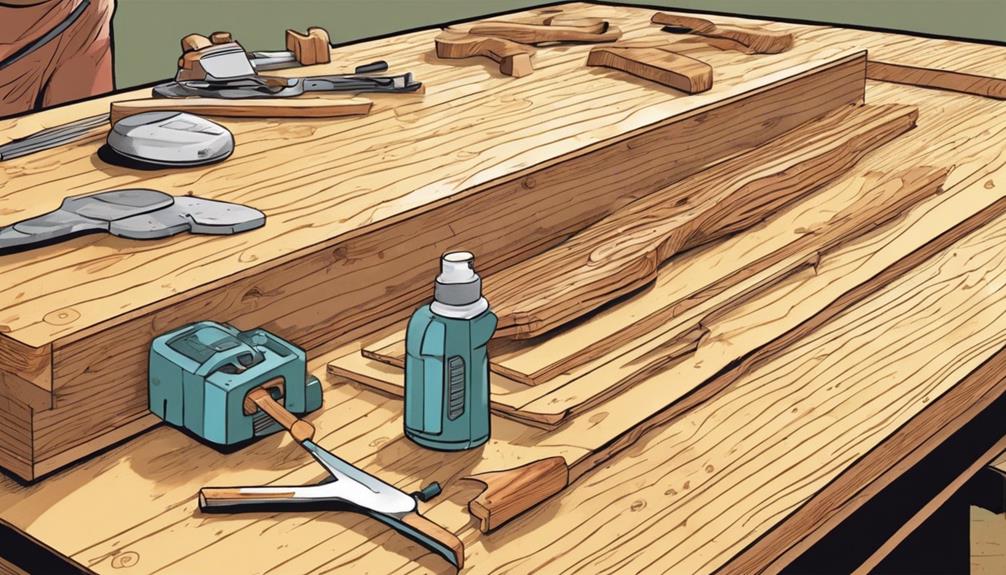
Cutting the Wood
To begin cutting the wood for your butcher block coffee table, make sure you cut the wood into uniform strips of the same height for the tabletop. This step is vital in ensuring a smooth and level surface for your table.
Arrange the wood strips on a workbench before moving on to the gluing process. Having the pieces organized will make it easier to assemble the tabletop later on.
When cutting the wood, focus on keeping the sides of the boards square to achieve a seamless finish. This attention to detail will enhance the overall look of your table.
Remember to separate wood pieces with similar colors to create a visually appealing random pattern on the tabletop.
Gluing the Pieces
When gluing the pieces of the butcher block coffee table together, make certain you use three pipe clamps for a secure hold.
Working on 5-6 rows at a time during the gluing process will help guarantee the boards are level.
Here are some key steps to follow:
- Clamp Placement: Position the pipe clamps evenly across the width of the butcher block to distribute pressure effectively.
- Checking Alignment: Regularly check and adjust the alignment of the boards as you add more rows to maintain a square shape.
- Helper Assistance: Since the table becomes heavy after gluing several rows, having a helper to assist in positioning and clamping the blocks can make the process smoother.
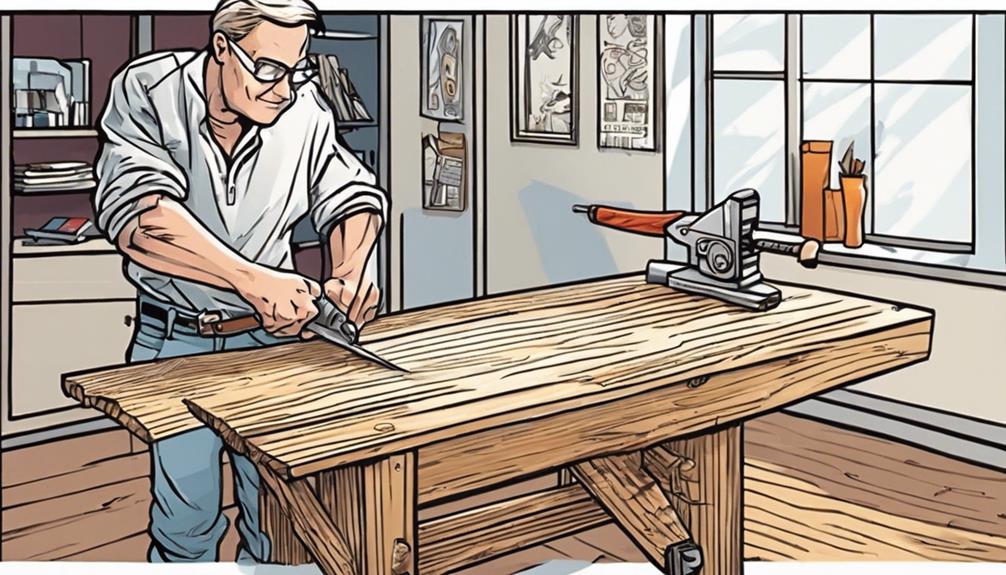
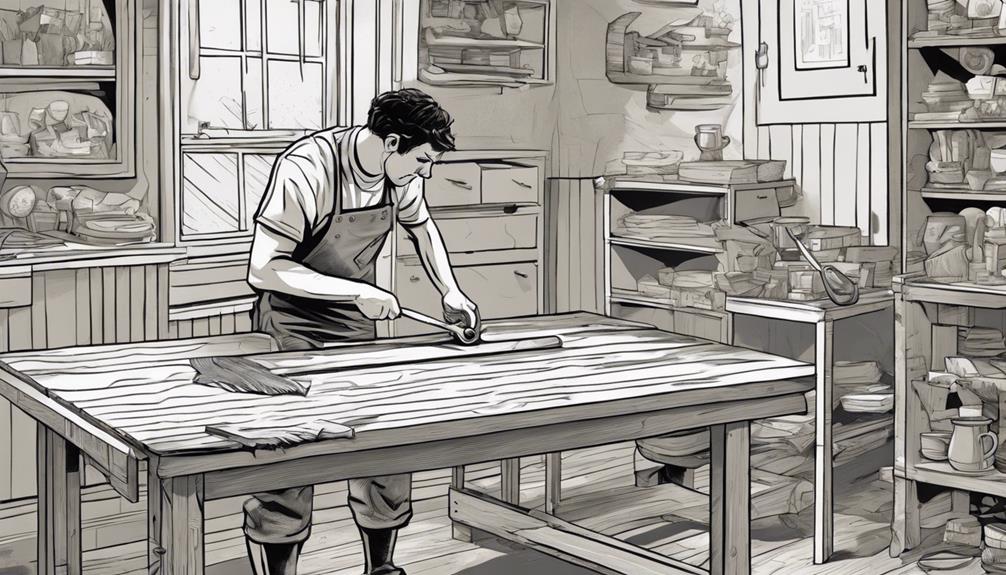
Sanding
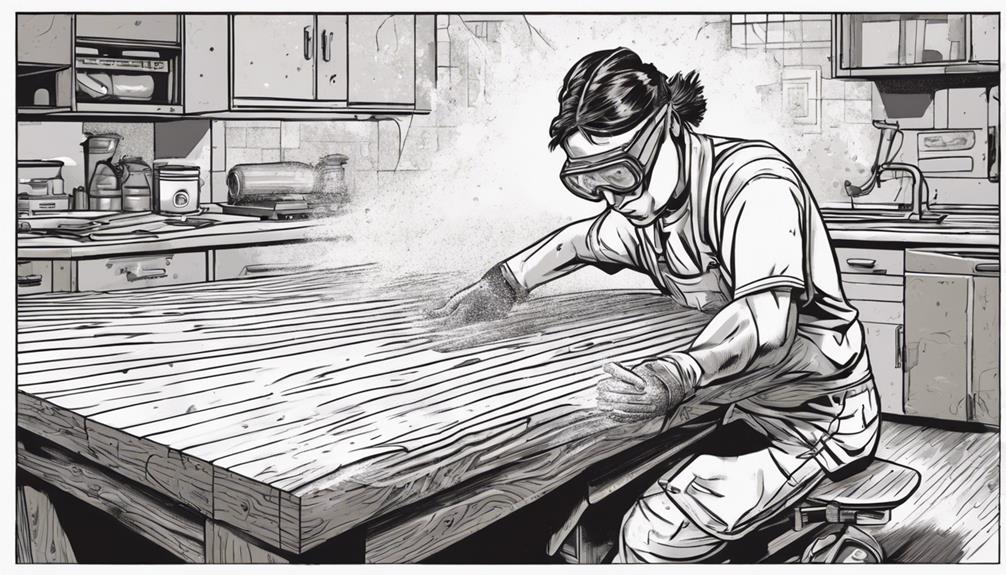
Begin sanding the butcher block coffee table with a coarse grit sandpaper, such as 60 grit, to eliminate rough patches and imperfections from the surface. Use an orbital sander for more efficient and uniform sanding. Gradually progress to finer grit sandpaper, like 180 or 240 grit, to achieve a smooth and polished finish. Sanding the butcher block not only enhances its appearance but also readies it for staining and sealing, ensuring a professional result. Take your time with each section of the table to ensure consistency and quality in the finish.
| Sandpaper Grit | Purpose |
|---|---|
| 60 | Eliminate rough patches |
| 180 | Smoothen the surface |
| 240 | Achieve a polished finish |
Attaching the Legs
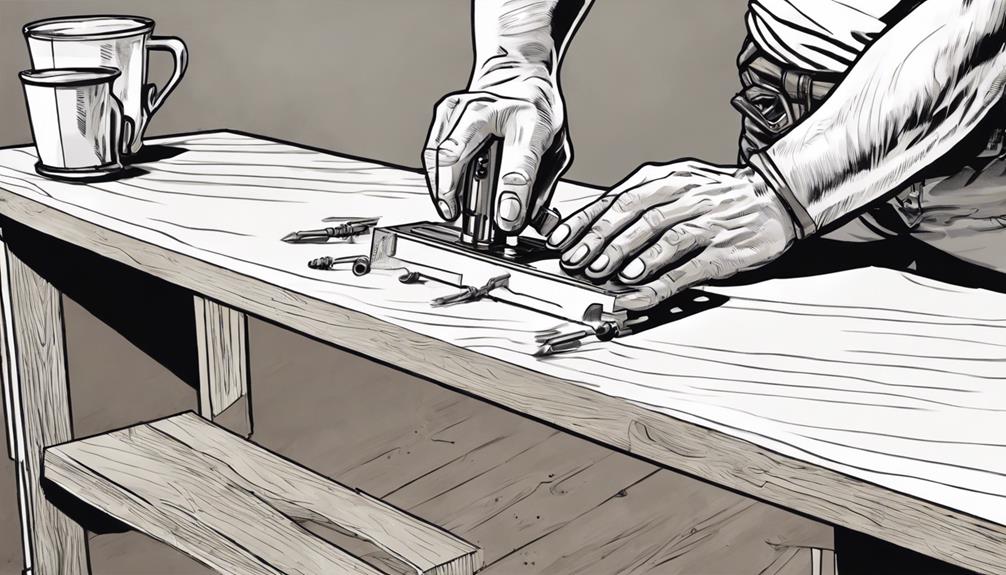
Start by aligning the legs at a 90-degree angle and attaching them using corner braces for stability.
When attaching the legs to your butcher block coffee table, follow these steps for a sturdy and polished finish:
- Secure Alignment: Confirm the legs are positioned precisely at a right angle to maintain the structural integrity of the table.
- Additional Support: Consider adding an aspen skirt inside the legs to provide extra reinforcement and a professional appearance to your butcher block coffee table.
- Efficient Assembly: Opt for gluing the legs during attachment to streamline the construction process while ensuring a dependable bond between the legs and the tabletop.
Frequently Asked Questions
How to Make a Table From a Butcher Block?
To make a table from a butcher block, cut it to your desired size, sand it smooth, attach legs securely, and consider adding a skirt for stability. You can customize it further with features like a walnut border.
Does Butcher Block Make a Good Table?
Butcher block makes an excellent table choice. It's durable, versatile, and adds warmth to your space. With proper care, it can last for years and develop a beautiful patina. Consider it for your next furniture project!
What Kind of Wood Is Used for Butcher Block Desks?
For butcher block desks, woods like maple, oak, walnut, and cherry are commonly used. Each offers durability, strength, and unique grain patterns. Your choice depends on personal preference, budget, and desired aesthetic for your workspace.
How Do You Cut a Butcher Block Table?
To cut a butcher block table, use a circular saw or table saw for precise cuts. Measure and mark carefully, and consider a straight edge guide for accuracy. Remember safety gear and secure the wood before cutting.
Conclusion
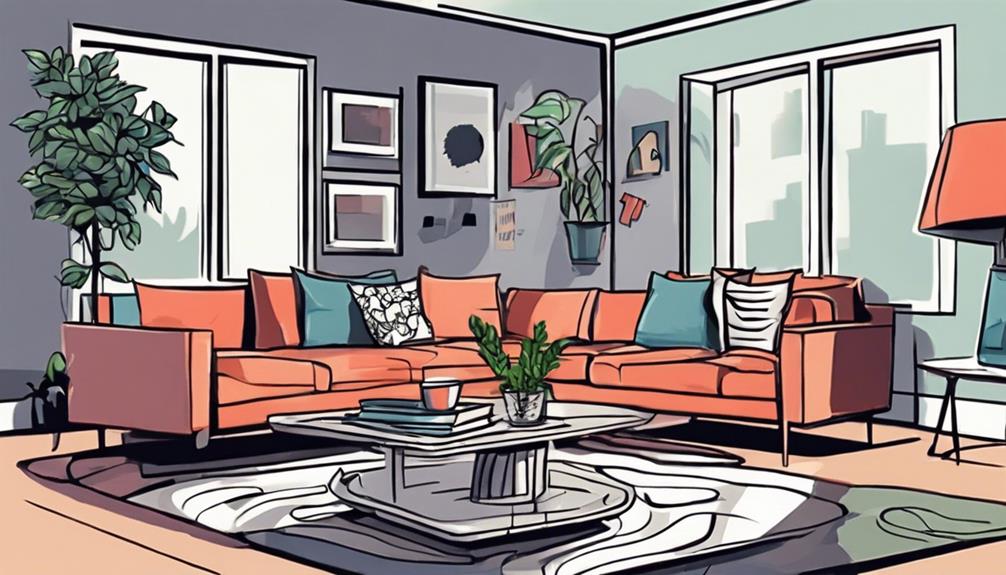
Congratulations on completing your butcher block coffee table! Now you can sit back with a cup of coffee and admire your handiwork, knowing that you have created a sturdy and stylish piece of furniture.
Just imagine the envy of your friends and family when they see this beautiful addition to your living room.
Keep up the good work and continue to enjoy the satisfaction of DIY projects!