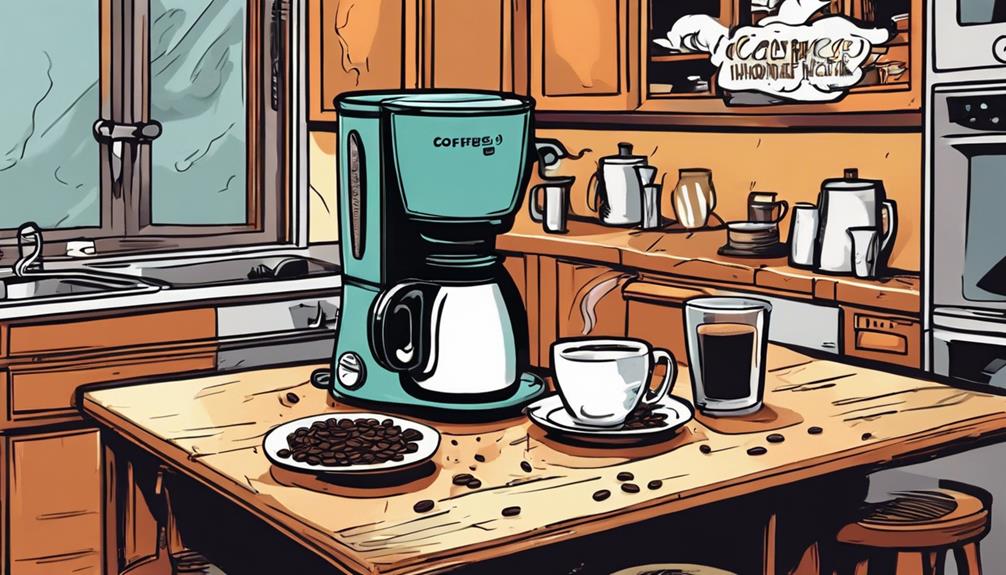

Gather all the necessary items to assemble your coffee maker: coffee maker, paper filter, and water. Prepare the filter, pour 45 oz of filtered water into the reservoir, and measure the coffee grounds precisely. Initiate the brew cycle to savor your ideal cup of coffee. Familiarize yourself with your coffee maker’s capacity and determine the appropriate amount for your preferred strength. Learn effective brewing techniques and safety measures for handling your coffee maker. Perfect your morning routine with these must-have essentials!
Key Takeaways
- Ensure to add 45 oz / 1250 ml filtered water to the reservoir.
- Use the correct coffee filter and ground coffee for optimal taste.
- Measure coffee grounds accurately according to desired strength.
- Start the brew cycle with the right amount of coffee grounds.
- Follow safety guidelines when assembling and handling the coffee maker.

Keurig K-Mini Single Serve K-Cup Pod Coffee Maker, 6 to 12oz Brew size, with Cord Storage, Perfect for Small Spaces, Black
- Compact Design: Fits small spaces under 5 inches wide
- Adjustable Brew Size: Brew 6-12oz cups with Keurig pods
- Removable Water Reservoir: Add fresh water for each brew
As an affiliate, we earn on qualifying purchases.
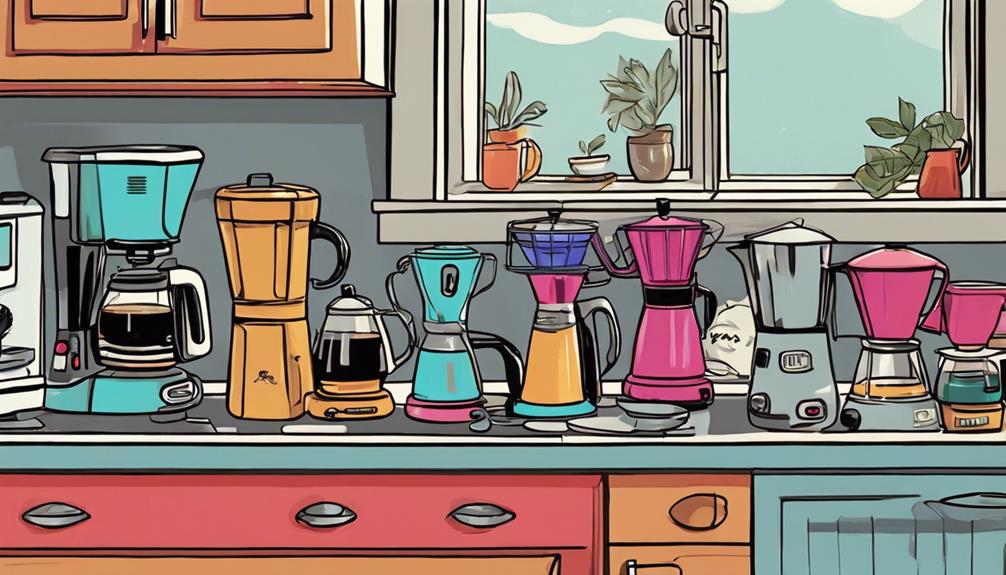
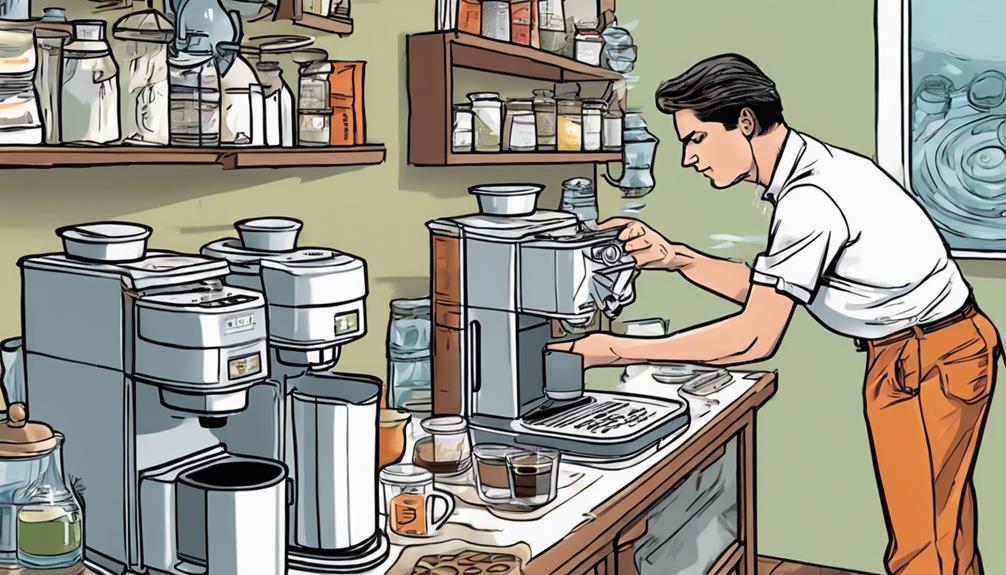
Gather Necessary Equipment
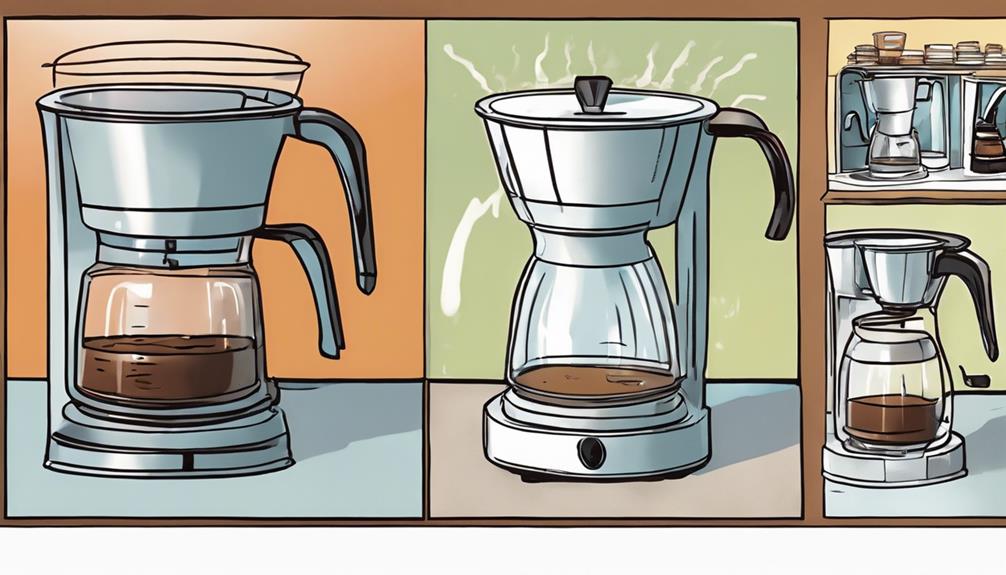
To begin brewing delicious coffee, make sure you have a 10-cup capacity coffee maker and a paper filter ready. The coffee maker will be the vessel for your brewing process, while the paper filter will guarantee that your coffee is smooth and free of any grounds.
Additionally, it's essential to use 45 oz / 1250 ml of filtered water for brewing. This will ensure that the water doesn't introduce any unwanted flavors or impurities into your coffee.
Having these essentials in place sets the foundation for a great cup of coffee. The 10-cup capacity coffee maker allows you to brew a generous amount of coffee, perfect for sharing or for multiple cups throughout the day.
The paper filter, whether cone or wavy basket, plays an important role in ensuring that your coffee is brewed to perfection. Finally, using filtered water will enhance the overall taste of your coffee, as it's free from any contaminants that could alter the flavor.
Preparing the Coffee Filter
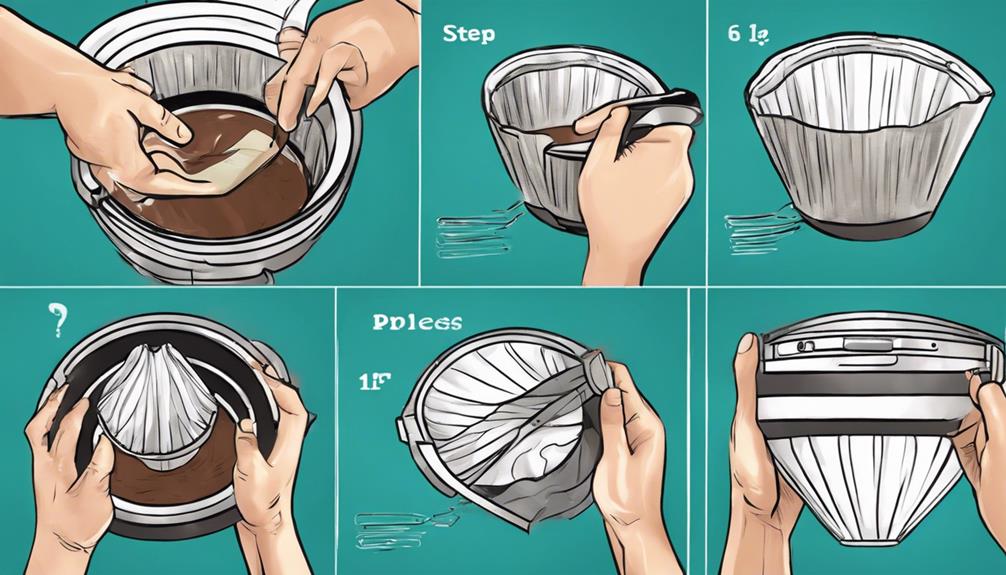
Ensure a proper fit by folding the edges of the cone filter or placing the flat filter in the basket before proceeding.
To achieve a delicious brew, follow these steps:
- Choose the Right Coffee Filter: Select either a cone filter or a flat filter that fits your coffee maker's basket snugly to prevent any grounds from escaping during the brewing process.
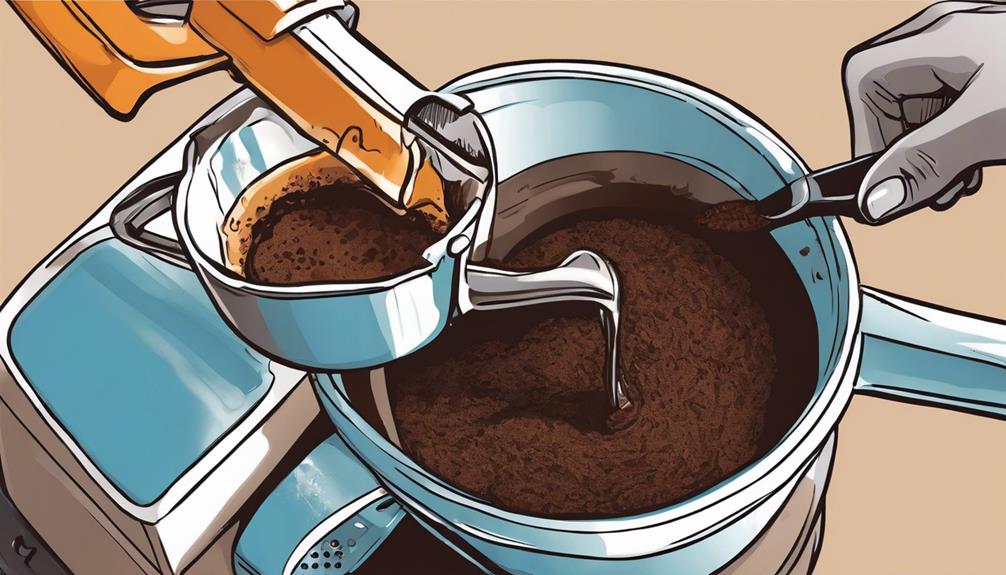
- Use the Correct Ground Coffee: Opt for medium ground coffee to allow for ideal extraction of flavors and aromas, enhancing the overall taste of your coffee.
- Measure the Coffee Grounds: Place the measured amount of ground coffee into the filter basket, ensuring a uniform distribution for a well-rounded flavor profile.
- Start the Brew Cycle: Initiate the brew cycle and allow the coffee maker to work its magic for 3-5 minutes, extracting the rich essence of the coffee grounds to perfection.
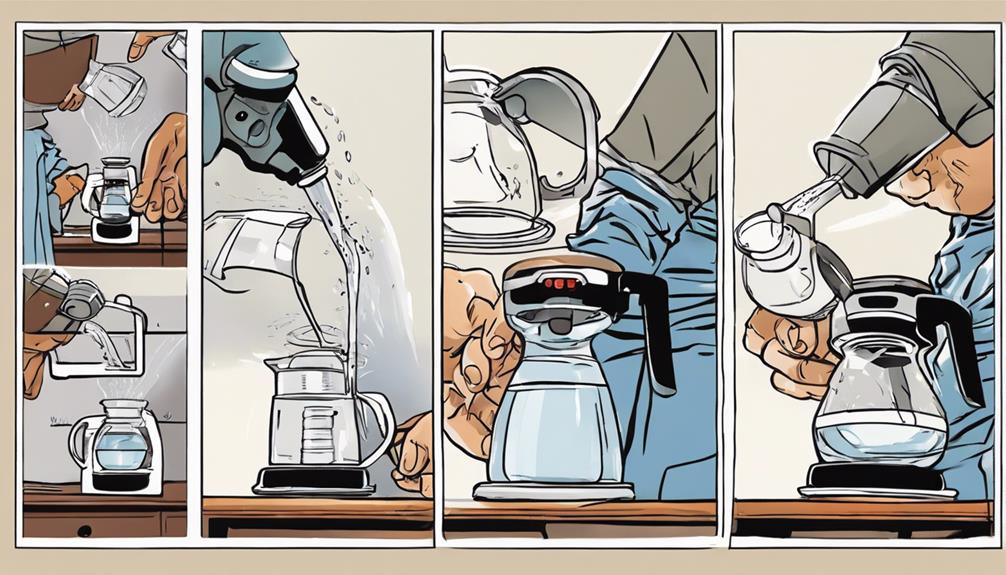
Adding Water to the Reservoir
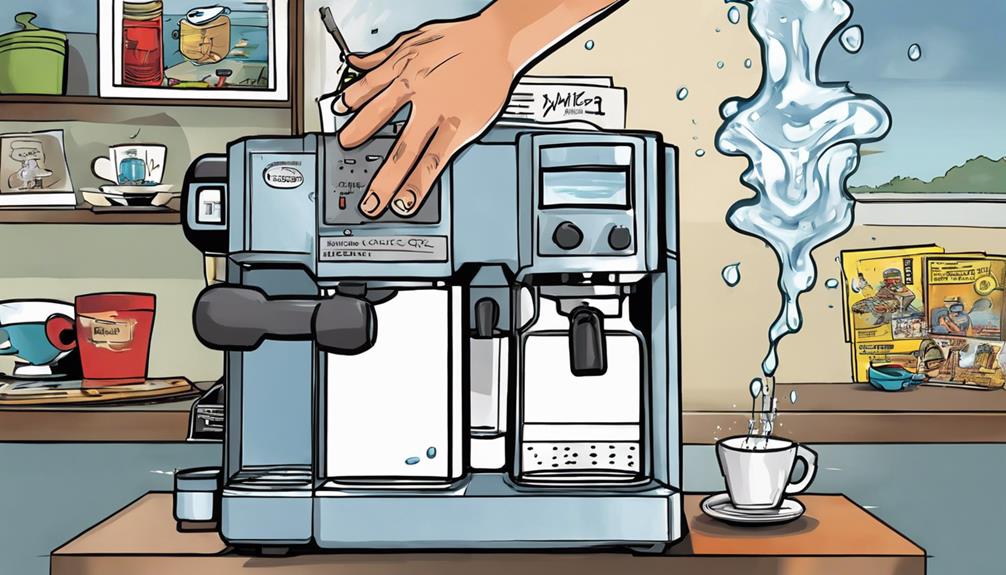
When filling the reservoir, use 45 oz / 1250 ml of cold, filtered water for optimal brewing results.
The water temperature plays a vital role in the taste and extraction of your coffee. Opting for cold water guarantees that the brewing process isn't compromised by any impurities or off-flavors.
Consider using a water filter or bottled water to enhance the overall taste of your coffee. Avoid using distilled water as it may not yield the best results for brewing coffee due to its lack of minerals.
If you plan on making iced coffee with your coffee maker, you may need to adjust the water amount accordingly to maintain the desired strength of your brew.
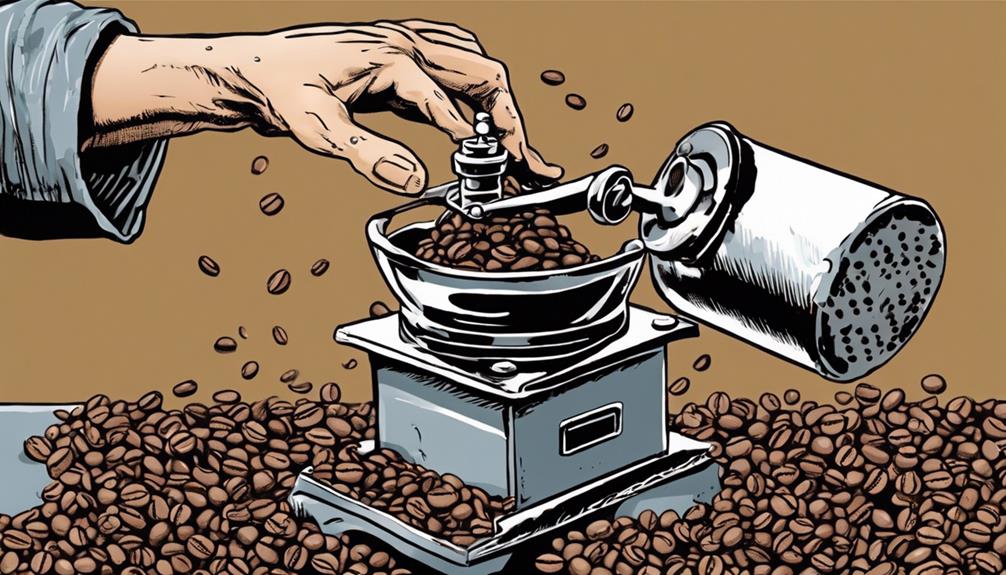
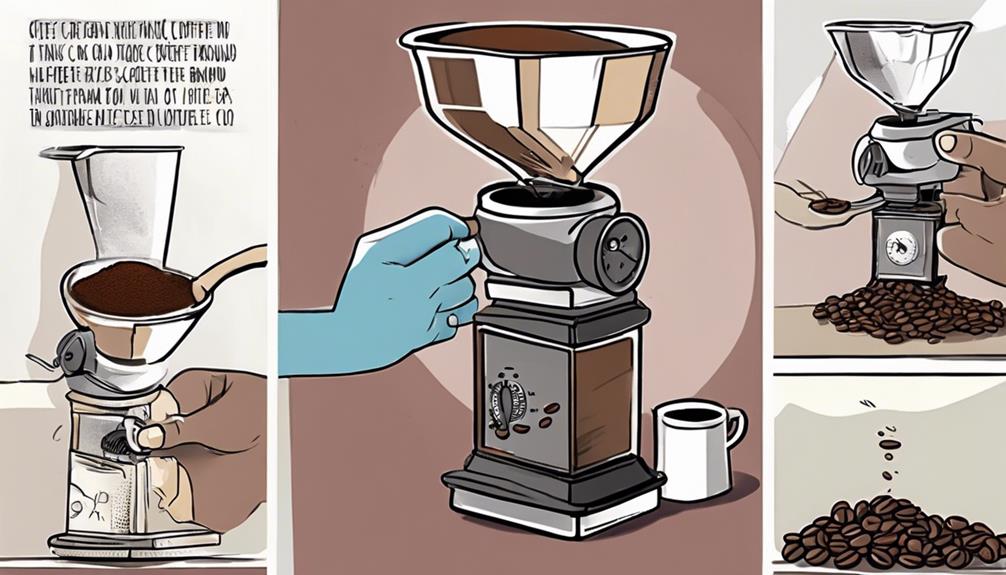
Measuring Coffee Grounds
To guarantee your coffee is just right, you'll want to pay attention to three key points:
the importance of grind size,
the ideal ratio of grounds to water,
and the consideration of brewing time.
By mastering these aspects, you'll be on your way to brewing the perfect cup of coffee every time.
Get ready to elevate your coffee game with these essential measuring tips!
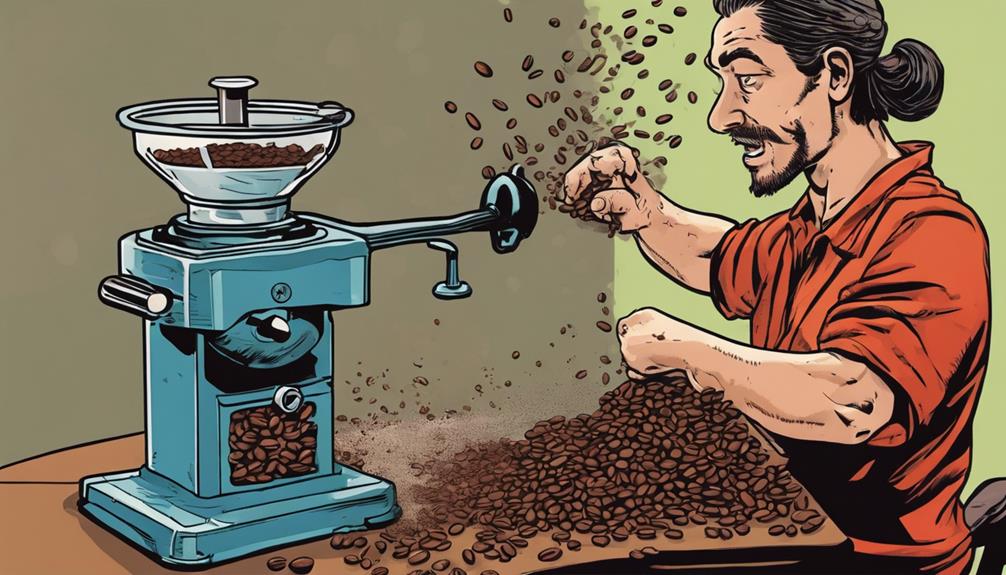
Grind Size Importance
Selecting the appropriate grind size is crucial in achieving the desired flavor and strength when brewing coffee. The grind size of your coffee grounds can greatly impact the taste of your cup of joe. Here's why grind size is important:
- Extraction Impact: The grind size affects how quickly water passes through the coffee grounds during brewing, influencing the extraction process and determining the flavor intensity.
- Brewing Method Compatibility: Different grind sizes are suited for specific brewing methods; for drip coffee makers, a medium grind size is ideal to achieve a balanced extraction.
- Flavor Customization: Adjusting the grind size allows you to tailor the taste of your coffee to your liking, whether you prefer a bolder flavor or a milder one.
- Consistency Matters: Uniform grind size ensures even extraction, leading to a uniform flavor profile in every cup you brew.
Understanding the impact of grind size on your coffee brewing process can help you fine-tune your coffee-making skills and savor the perfect cup every time.
Grounds to Water Ratio
Understanding the importance of the grounds to water proportion in measuring coffee grounds is crucial for brewing a consistently delicious cup of coffee. The standard ratio for brewing coffee is 1 to 2 tablespoons of coffee grounds per 6 ounces of water. This proportion provides a well-rounded and flavorful cup.
To adjust the strength of your brew, you can increase the quantity of coffee grounds per cup. Measuring your coffee grounds accurately ensures that each cup has the desired flavor and strength. Grind coffee to the appropriate size for your brewing method to achieve the best results.
Experimenting with different proportions allows you to customize your coffee to suit your preferences. Finding the perfect balance between the amount of coffee and water per cup will help you create a brew that satisfies your taste buds.
Brewing Time Consideration
Adjusting your brewing time according to the amount of coffee grounds used is key to achieving the perfect cup of coffee. When measuring coffee grounds, remember these essential tips:
- Calculate the correct amount: For a 10-cup coffee maker, aim for 2.75 oz / 65 g of medium ground coffee, which translates to about 1 tablespoon of coffee per cup. This ratio guarantees a well-balanced brew.
- Choose the grind wisely: Opt for a coarse grind when brewing directly in the basket without a filter. This grind size enhances the extraction process and elevates the coffee's flavor profile.
- Time it appropriately: Estimate about 1 minute of brewing time per cup to extract the best flavors from the grounds. Adjusting this time can greatly impact the taste of your coffee.
- Enhance the flavor: Consider adding an extra tablespoon or two of coffee when brewing larger quantities to intensify the coffee's flavor without compromising on the brewing time.
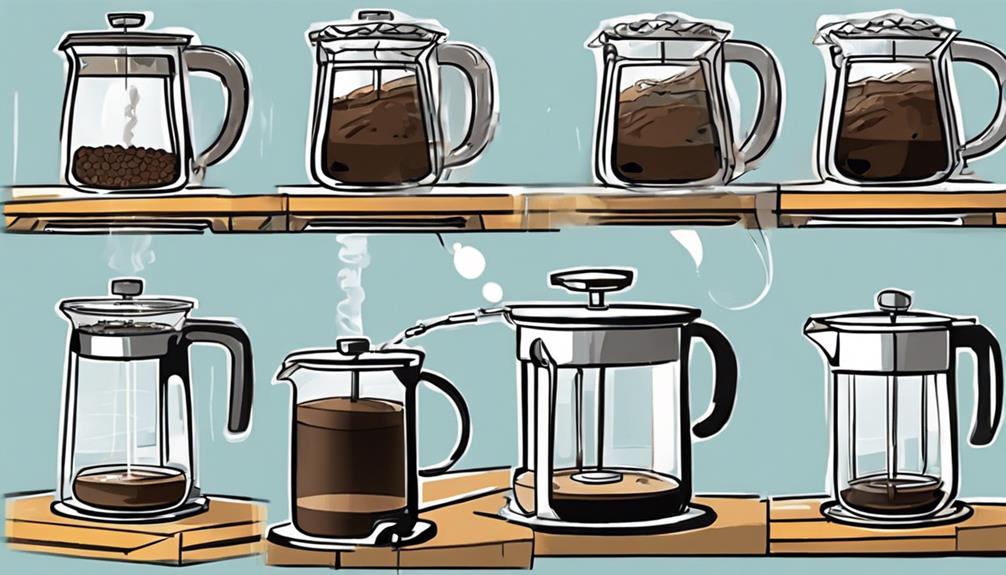
Starting the Brew Cycle
Now it's time to get your coffee brewing!
First, make sure you fill the water reservoir with the suggested amount for best flavor extraction.
Don't forget to prep your coffee grounds and filters before starting the brew cycle.
Water Reservoir Filling
To commence the brew cycle effectively, make sure the coffee maker's water reservoir is filled with 45 oz / 1250 ml of cold, purified water for optimal brewing results.
Here are some key pointers to enhance your coffee experience:
- Use Purified Water: Opt for purified or bottled water to guarantee a clean taste in your coffee.
- Avoid Distilled Water: Steer clear of distilled water as it may not bring out the flavors from the coffee grounds effectively.
- Adjust Water Quantity: Tailor the water amount to your preference, especially when experimenting with iced coffee variations.
- Significance of Proper Filling: Properly filling the water reservoir is essential for kickstarting the brew cycle and achieving a delightful cup of coffee.
Filter and Grounds Prep
To start the brew cycle smoothly, it's crucial to make sure the filter is properly placed in the basket and the coffee grounds are ready for extraction.
Whether folding cone filter edges or laying a flat filter in the filter basket, aim for a snug fit to prevent any grounds from escaping during the brewing process.
Opt for medium ground coffee to achieve the best flavor extraction as the brewing process unfolds. Pay attention to the grinder setting used for grinding the coffee beans to replicate the taste consistently.
Before starting the brew cycle, carefully place the coffee grounds in the filter basket to prepare for extraction.
Once everything is set, allow the brew cycle to run its course for 3-5 minutes to make sure a perfectly brewed pot of coffee.
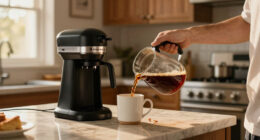
Serving and Storing Coffee
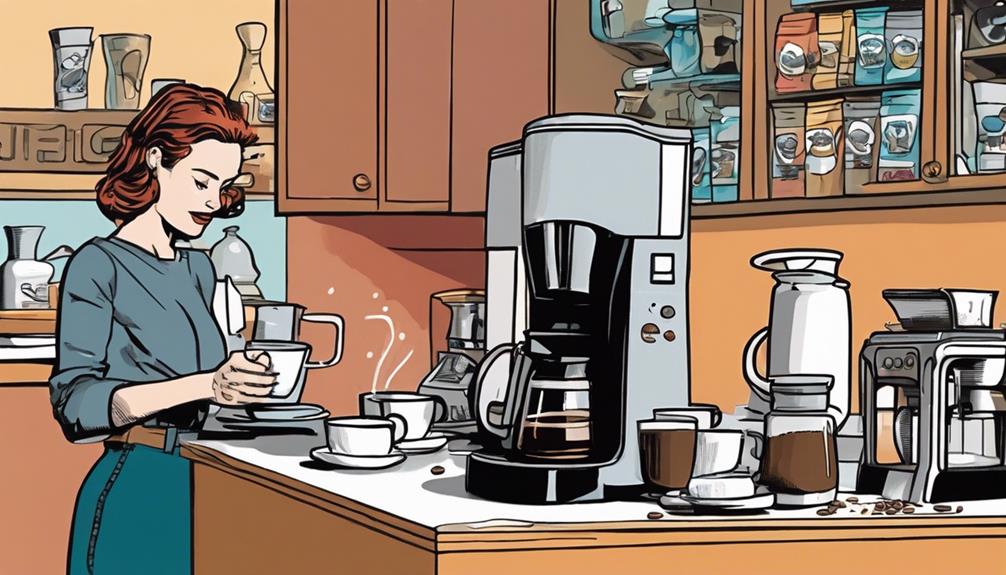
How should you best store and serve your freshly brewed coffee to maintain its quality and flavor? Here are some tips to help you enjoy the perfect cup every time:
- Transfer Leftovers to a Thermos: Keep your coffee warm and flavorful by pouring any leftover coffee into a thermos immediately after brewing.
- Avoid Leaving the Carafe on the Warming Plate: Prevent your coffee from becoming bitter and over-extracted by avoiding leaving the glass carafe on the warming plate for too long.
- Experiment with Grind Sizes: Adjust the grind size of your coffee beans to customize the flavor profile and find the perfect taste that suits your preferences.
- Adjust Coffee Amount for Strength: Use 1-2 tablespoons of coffee per 6 oz of water to achieve your desired strength level.
Understanding Coffee Maker Capacity
Understanding the capacity of your coffee maker is vital for achieving the perfect brew every time. When it comes to coffee brewing, the capacity of your coffee pot determines the number of cups you can make in one go. Commercial coffee urns often come with stamped measurements that make it easy to gauge the amount of coffee you can brew – typically ranging from 20 to 100 cups.
To get that perfect coffee, a general rule of thumb is to use one tablespoon of coffee per cup in a commercial coffee urn. This means if you have a 100-cup coffee pot, you'd need approximately 100 tablespoons of coffee grounds for a full brew.
Additionally, with the basket design of commercial coffee urns, you can place coarse ground coffee directly into the basket without the need for a filter.
Understanding your coffee maker's capacity guarantees you can brew just the right amount of coffee for yourself or a crowd without any guesswork.
Calculating Coffee Amount
Calculating the amount of coffee needed for your percolator is straightforward and ensures you brew the perfect batch every time. When brewing coffee at home, understanding how much coffee to use is crucial in achieving that ideal flavor. Here's a simple guide to assist you in determining the correct amount of coffee for your percolator:
- For a 40-cup percolator, utilize 1 tablespoon of coffee per cup.
- Determine the quantity of coffee required by dividing the total cups by 16.
- For 40 cups, you'd require 2.5 measuring cups of coffee.
- Consider adding a tad more coffee for enhanced flavor.
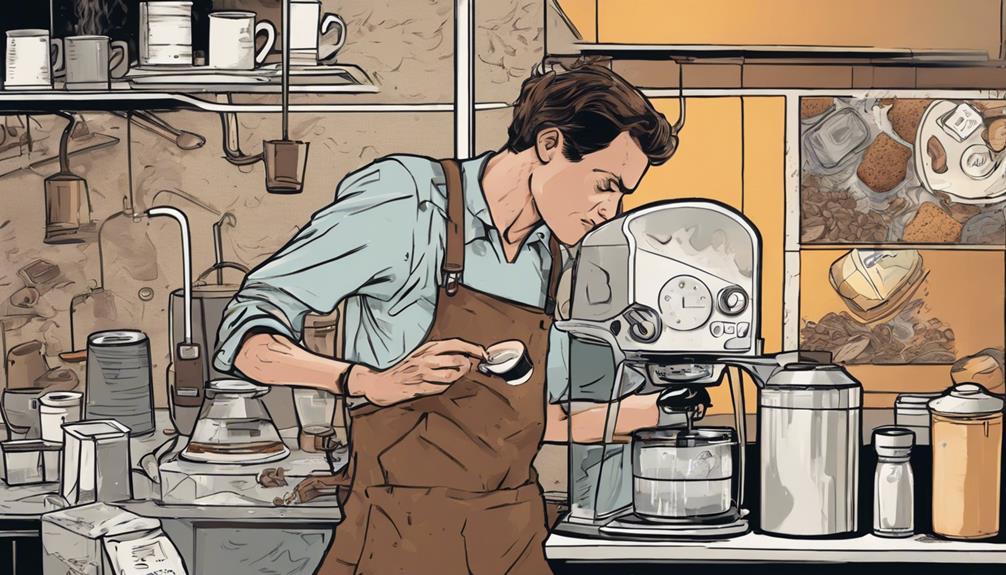
Efficient Brewing Tips
To ensure a smooth brewing process, utilize measuring cups for precision when preparing larger quantities of coffee. This guarantees consistency and eliminates the risk of miscalculations.
When brewing specialty coffee, it's important to pay attention to the details. Remember to grind your coffee beans to the appropriate coarseness using a quality coffee grinder to achieve the best flavor extraction.
Additionally, using hot water at the right temperature is vital for a delicious brew. Keep an eye on the brewing time and progress to make any necessary adjustments promptly.
Starting the brewing process with ample time before your event will prevent any last-minute rushes. Efficient brewing is all about timing and preparation; by following these tips, you can enjoy a perfect cup of coffee every time.
Moving and Handling the Coffee Maker
When it comes to handling your coffee maker, safety should be your top priority. Whether you're relocating your coffee maker to a new spot in your kitchen or cleaning it after brewing a fresh pot, following proper handling guidelines is essential for both your safety and the longevity of your appliance.
Here are some important tips to keep in mind:
- Always unplug: Before moving your coffee maker, make sure it's unplugged to avoid any electrical accidents.
- Use the handle: Hold the coffee maker by its handle to guarantee a secure grip and prevent any accidental drops.
- Avoid tilting: Keep the coffee maker level while moving it to prevent spills and potential damage.
- Place on a stable surface: When setting your coffee maker down, place it on a stable, flat surface to guarantee safe operation.
Frequently Asked Questions
How Do You Use a Coffee Maker Step by Step?
To use a coffee maker step by step, first, fill the water reservoir, add a paper filter with coffee, start the brew cycle, wait for brewing, then pour and enjoy your coffee. Don't forget to clean your coffee maker regularly.
How Do You Load a Coffee Maker?
Loading a coffee maker is a piece of cake! Just fill the reservoir, add a filter, dump in coffee, and brew. Remember, evenly spread those grounds for a perfect cup. Follow the maker's manual for the best results.
How to Make One Cup of Coffee in a Coffee Maker?
To make one cup of coffee in a coffee maker, use 1-2 tablespoons of coffee per 6 oz of water. Adjust grind size to taste. Fill water reservoir appropriately. Add paper filter to prevent grounds. Start brew cycle and wait for delicious coffee.
How to Use a Coffee Machine for the First Time?
When using a coffee machine for the first time, remember to fill the reservoir with cold water, use a filter for the coffee, and measure the grounds. Start the brew cycle, wait patiently, and enjoy your first aromatic cup of coffee.
Conclusion
Now that you know how to assemble your coffee maker, you're ready to brew the perfect cup of joe every time!
Just like a well-oiled machine, your coffee maker will work smoothly and efficiently with these simple steps. To start, make sure all the parts of your coffee maker are clean and in good condition. Then, follow the instructions for assembling your Keurig coffee maker, making sure to properly align all the pieces and secure them in place. Once assembled, add water and your favorite coffee pod, then simply press the brew button and enjoy a delicious cup of coffee in no time.
So go ahead, let the aroma of freshly brewed coffee fill your kitchen like a warm hug on a cold morning.
Happy brewing!