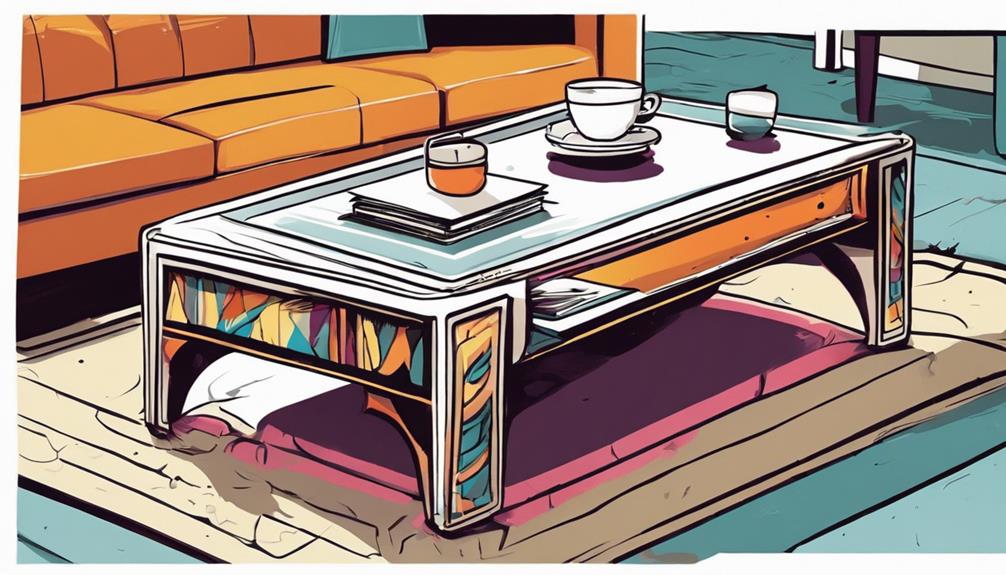
Upgrade your coffee table by adding a cushion for a stylish touch. Begin by measuring and cutting foam padding to size. Use a staple gun to secure it in place for added comfort. Stretch fabric tightly over the padding and staple it down. Secure stylish legs to give it a polished look. Experiment with different leg options to personalize your table. Enhance the design with decorative buttons or tufted details. Consider painting or staining the legs to match your decor. Adding a cushion to your coffee table will create a warm and welcoming atmosphere in your home. Are you ready to enhance your decor with this simple DIY project?
Key Takeaways
- Measure and cut foam padding for cushion comfort.
- Securely staple durable fabric over padding.
- Choose and attach suitable legs for stability.
- Adjust leg height for desired ottoman height.
- Add finishing touches like buttons or paint for style.

Amazon Basics Basket Coffee Filters for 8-12 Cup Coffee Makers, White, 200 Count, Packaging May Vary
- Package Quantity: 200 white basket filters
- Compatibility: Fits 8-12 cup coffee makers
- Filtration Quality: Excellent sediment removal
As an affiliate, we earn on qualifying purchases.
Materials Needed for the Project
What materials do you need for this project of adding a cushion to your coffee table?
To get started, you'll require foam padding to create a comfortable surface for your ottoman. Opt for a durable and visually appealing fabric that suits your decor style to cover the foam padding.
A staple gun is a must-have tool to securely attach the fabric to the base of your coffee table. Additionally, make sure you have legs that can elevate the coffee table to the desired height, transforming it into a functional ottoman.
Budget-Friendly Tips for Savings
Save money on your cushion project by utilizing cost-effective alternatives and smart shopping strategies. Look for second-hand coffee tables at thrift stores or online marketplaces to cut down on your initial investment.
Instead of purchasing new fabric, consider using leftover fabric from previous projects or repurposing old clothes for the cushion cover. To save on foam padding costs, opt for foam mattress toppers as a budget-friendly alternative.
Rather than buying expensive furniture legs, think about using wooden crates or sturdy boxes as a more economical option for ottoman support. Keep an eye out for discounts or coupons at fabric stores to reduce the cost of purchasing new fabric for your cushion project.
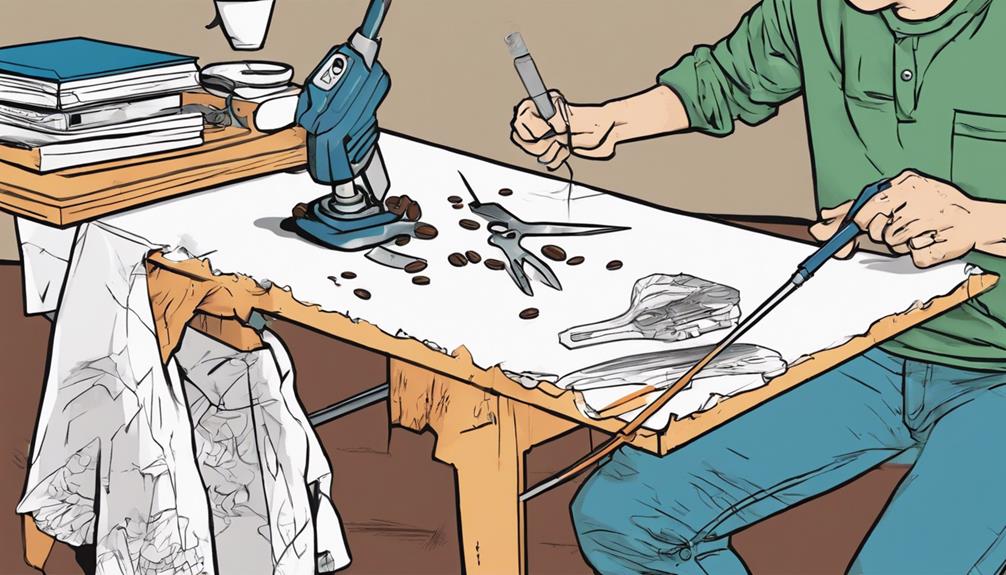
Essential Tools for DIY
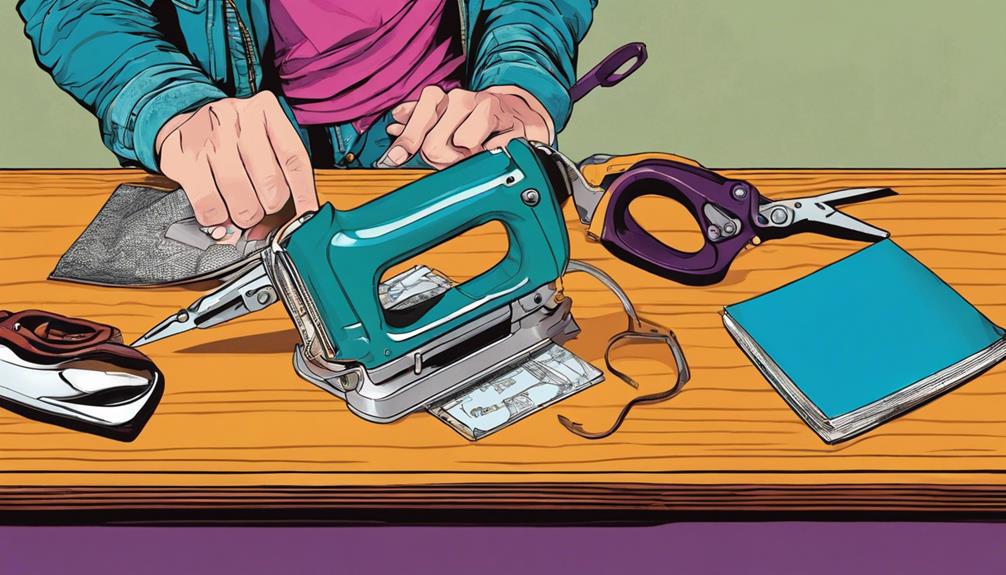
You'll want to make sure you have the right tools for the job ahead.
Consider selecting equipment that includes:
- A saw
- Scissors
- Measuring tape
- Screwdriver
- Pliers
This essential gear will help you achieve a professional finish on your DIY ottoman project.
Tool Selection Tips
To tackle this DIY project effectively, make sure you have essential tools like a staple gun, measuring tape, scissors, screwdriver, and pliers on hand.
The staple gun is essential for securing the fabric to the foam padding neatly.
Use the measuring tape to accurately determine the dimensions of the materials needed.
Scissors are necessary for cutting the fabric to the correct size and trimming any excess material for a clean finish.
Additionally, a screwdriver will come in handy for securely attaching the legs to the coffee table base.
If the legs require any tightening, keep pliers nearby to confirm they're properly secured.
Must-Have Equipment
When adding a cushion to your coffee table, having the right tools at your disposal is essential to achieving a polished final result. Necessary equipment for this DIY project includes a saw for adjusting the table size, scissors for cutting fabric, measuring tape for precise measurements, a screwdriver for attaching legs securely, and pliers for fixing any loose staples or fabric.
These tools will assist you in removing the table top, attaching foam padding to the base, wrapping and stapling fabric around the padding, and adding legs to create an ottoman. A staple gun is vital for securing the fabric in place, ensuring a neat and professional finish.
DIY Essential Gear
For a successful DIY project like adding a cushion to your coffee table, having essential tools at your disposal is pivotal. Tools such as a saw for adjusting the table size, scissors for cutting fabric, a measuring tape for accurate dimensions, a screwdriver for attaching legs, and pliers for securing loose ends are necessary for achieving a professional-looking result.
These tools not only make the process smoother and more efficient but also save you time and effort. Ensuring you have these tools ready before starting your project is essential for a seamless and enjoyable crafting experience.
Investing in quality tools won't only enhance the outcome of your current project but also equip you to tackle future DIY endeavors with ease. Remember, the right tools can make all the difference in the success and satisfaction of your DIY projects.
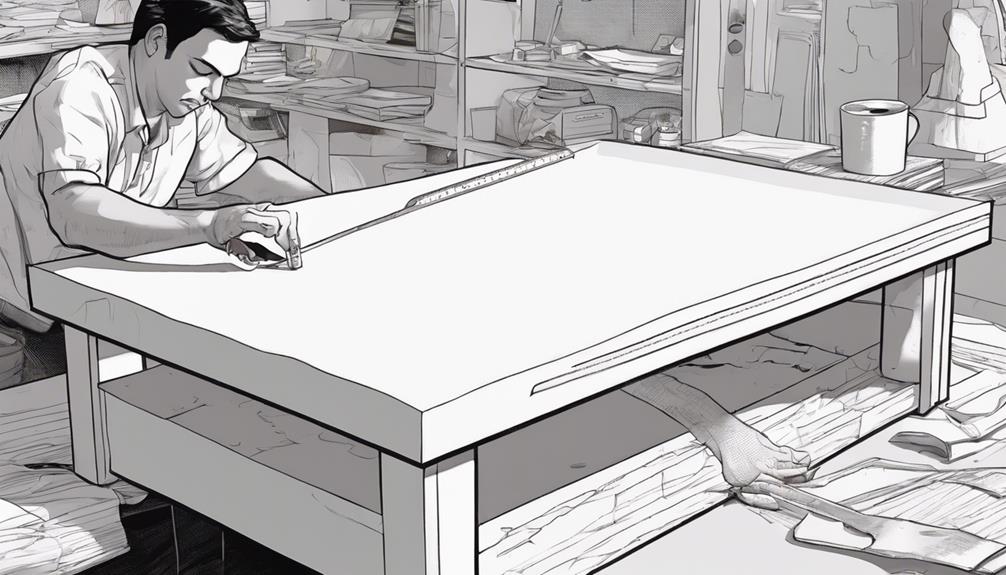
Step 1: Remove the Table Top
Carefully use a screwdriver to detach the table top from the base. Make sure you keep any screws or hardware in a secure place for reassembly later.
Removing the table top is essential as it allows access to the base for adding the foam padding and fabric. Before proceeding, take note of the table's dimensions to cut the foam padding and fabric accurately.
Inspect the table base for any damage or needed repairs before adding the cushion. This step ensures that the base is in good shape and can support the added weight of the cushion.
By carefully removing the table top, you set the stage for transforming your coffee table into a stylish and functional piece of furniture. Stay organized and methodical during this process to make the following steps easier.
With the table top removed, you're ready to move on to the next step of attaching the foam padding.
Step 2: Attach Foam Padding
Measure and cut the foam padding to the exact size of your table base, ensuring a snug fit.
Use a staple gun to securely attach the foam padding, smoothing out any imperfections for a comfortable surface.
This step lays the foundation for a sturdy and durable cushion, enhancing both the look and feel of your coffee table.
Foam Padding Attachment
Attach the foam padding to the table base using a staple gun for a secure and comfortable cushion. Begin by measuring and cutting the foam padding to fit the dimensions of the table base, guaranteeing a snug and precise fit.
Using the staple gun, secure the padding evenly to the base, making sure there are no lumps or bumps that could affect the comfort of the cushion. If the table base is particularly hard, consider adding multiple layers of foam padding for extra thickness and comfort. Smooth out any wrinkles or folds in the foam padding to create a seamless look.
Before moving on to the next step of wrapping the cushion with fabric, test the firmness and comfort of the foam padding to confirm it meets your expectations. This will help you make any necessary adjustments before completing the cushion for your coffee table.
Stapling Fabric Securely
To ensure a snug and professional finish on your coffee table cushion, securely staple the fabric over the foam padding attached to the table base. Confirm that the foam padding is evenly secured to the table base for a comfortable and uniform cushion.
With a staple gun, tightly fasten the foam padding in place to provide a secure hold. As you staple the fabric, pull it taut to create a smooth and wrinkle-free surface on the ottoman. Verify that the foam padding is fully covered by the fabric to prevent any lumps or unevenness in the finished cushion.
Trim any excess fabric and staples for a clean and professional-looking ottoman. In conclusion, follow these steps and pay attention to detail to achieve a polished and stylish coffee table cushion that adds both comfort and aesthetic appeal to your living space.
Step 3: Wrap and Staple Fabric
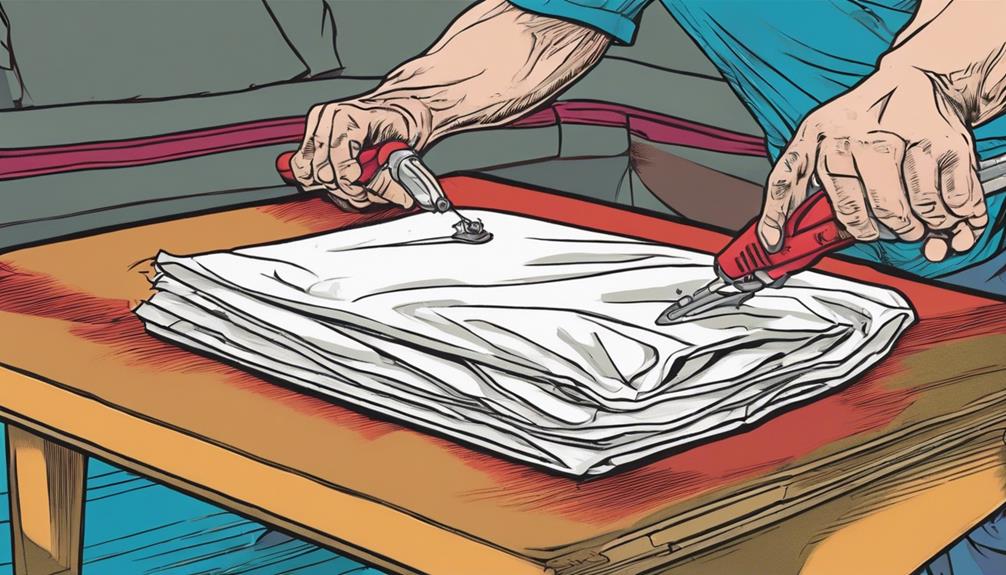
For a smooth and wrinkle-free surface, stretch the fabric tightly over the foam padding. Using a staple gun, secure the fabric to the underside of the coffee table, starting from the center of each side and working outwards.
Remember to pull the fabric taut while stapling to avoid any sagging or loose areas. Trim any excess fabric once you have stapled all around the table, ensuring a clean and neat finish.
Take a moment to inspect the fabric for any wrinkles or imperfections. If you spot any, adjust the fabric and restaple as needed to achieve a polished look. This step is essential in creating a professional and well-finished cushion for your coffee table.
Step 4: Add Legs to Ottoman

Now, let's consider the importance of choosing suitable ottoman legs that match your style and provide the necessary support.
You'll want to securely attach the legs, ensuring they're level and sturdy to bear the weight of the ottoman.
Don't forget to adjust the leg height accordingly for best comfort and functionality.
Choosing Suitable Ottoman Legs
Consider different ottoman leg options to find ones that complement your coffee table's look and style. When choosing ottoman legs, think about the height and style that would best match your existing furniture.
Wooden legs offer a classic and sturdy choice, perfect for traditional or rustic decor. On the other hand, metal legs provide a modern and sleek appearance, ideal for contemporary spaces. If you're aiming for a mid-century modern vibe, hairpin legs can add a unique and stylish touch to your ottoman.
For added convenience, adjustable legs could be a practical option. These allow you to level the ottoman on uneven surfaces or customize the height according to your preferences.
Keep in mind that regardless of the type of legs you choose, ensuring they're securely attached is essential. Proper fastening will prevent any wobbling or instability, making your ottoman both stylish and functional.
Attaching Legs Securely
When adding legs to your ottoman, make sure they're securely attached to maintain stability and prevent wobbling.
Choose legs that are sturdy and appropriate for the weight and height of the cushion.
Measure and mark the placement of the legs on the ottoman base, ensuring they're evenly spaced and aligned for a balanced look.
Use a screwdriver to firmly attach the legs to the ottoman base, preventing any potential instability.
To safeguard your floors and prevent scratches, consider adding felt pads to the bottom of the legs.
Before using the ottoman for seating or as a footrest, test its stability by gently rocking it back and forth.
Ensuring the legs are securely attached won't only enhance the overall look of your ottoman but also provide a safe and stable piece of furniture for your home.
Adjusting Leg Height
To ensure your ottoman is at the desired height for comfort and style, adjusting the leg height is necessary.
Choose legs that match the appropriate height to make sure your ottoman is comfortable to sit on or rest your feet.
Consider the overall aesthetic of your room when selecting legs; for example, sleek metal legs can give a modern look, while wooden legs provide a more traditional feel.
It's important to securely attach the legs to the ottoman base to prevent wobbling or instability.
If you desire flexibility in the ottoman's height, adjustable legs can be a convenient option.
Additionally, adding felt pads to the bottom of the legs can help protect your floors from scratches and damage.
Step 5: Secure Loose Ends
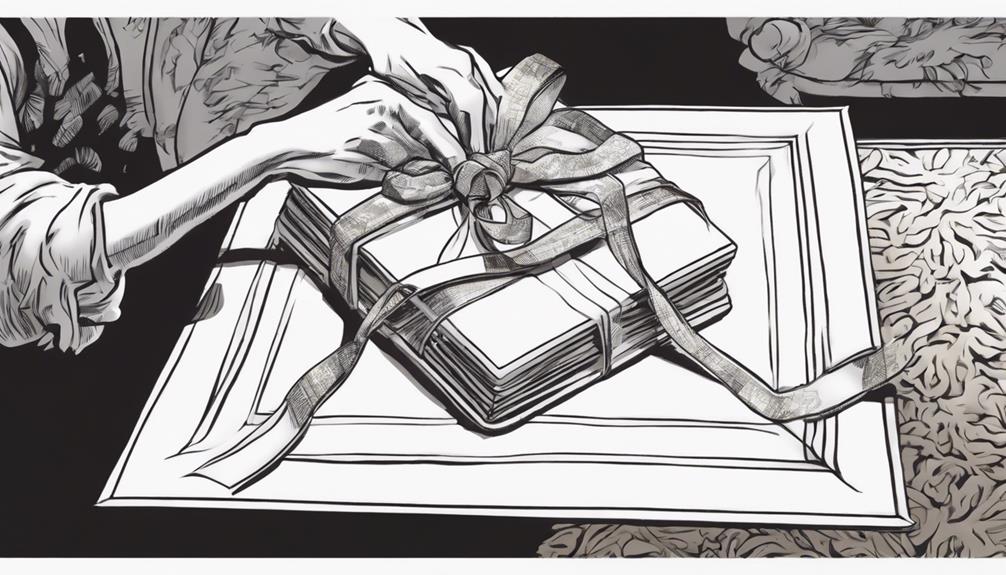
Use a staple gun to firmly fasten any loose fabric ends, ensuring a tidy and polished look for your coffee table cushion. This step is pivotal in maintaining the overall appearance of your cushion and preventing any fabric from coming loose over time.
Trim any excess fabric carefully to avoid fraying or unraveling, which could detract from the aesthetic appeal of your coffee table. It's important to double-check the stability of both the fabric and staples to eliminate any potential hazards, ensuring a safe and sturdy cushion for everyday use. Give the fabric a gentle tug to confirm it's securely fastened and won't shift with regular use.
Additionally, you may want to contemplate adding decorative trim or piping to cover any visible staples, elevating the style of your ottoman and giving it a personalized touch that complements your decor beautifully.
Finishing Touches for Style
Add a touch of elegance and personalization to your ottoman by incorporating stylish finishing touches. Adding decorative buttons in a pattern or creating tufting can bring a chic and elegant touch to your ottoman. Consider painting or staining the legs of your ottoman to match your existing decor or add a pop of color. Attaching wheels to the ottoman can provide easy mobility and versatility in moving it around your living space. Applying fabric protection spray will help keep your ottoman looking fresh and clean, especially if it will be used frequently. Additionally, placing a stylish tray on top of the ottoman can create a functional surface for drinks, snacks, or decorative items.
| Finishing Touches | Description |
|---|---|
| Decorative Buttons | Add elegance with a pattern or tufting |
| Painted/Stained Legs | Match decor or add a pop of color |
| Attached Wheels | Enhance mobility and versatility |
| Fabric Protection | Keep ottoman looking fresh |
| Stylish Tray | Create a functional surface |
Enhancements for Functionality
Enhance the functionality of your coffee table by incorporating a cushion to transform it into a versatile ottoman. This simple addition can offer extra seating or a comfortable footrest in your living room.
The cushion provides a cozy surface for sitting, lounging, or kicking up your feet, creating a welcoming atmosphere for both relaxation and entertaining guests. By adding a cushion to your coffee table, you can maximize its utility, making it a multifunctional piece of furniture in your home.
Switch effortlessly between using it as a standard table and a cozy ottoman to adapt to your needs and preferences. This enhancement not only adds practicality to your space but also introduces a touch of comfort and versatility.
Upgrade your decor by incorporating a cushion on your coffee table to elevate its functionality while maintaining style and comfort in your living area. Additionally, a cushion on your coffee table can serve as a convenient extra seat for guests or as a footrest for yourself. Not only does it add a touch of cozy charm to the room, but it also provides practicality in a compact space. Consider using the cushion as a protective barrier when packaging fragile coffee mugs for storage or transportation, ensuring they remain intact and secure.
Frequently Asked Questions
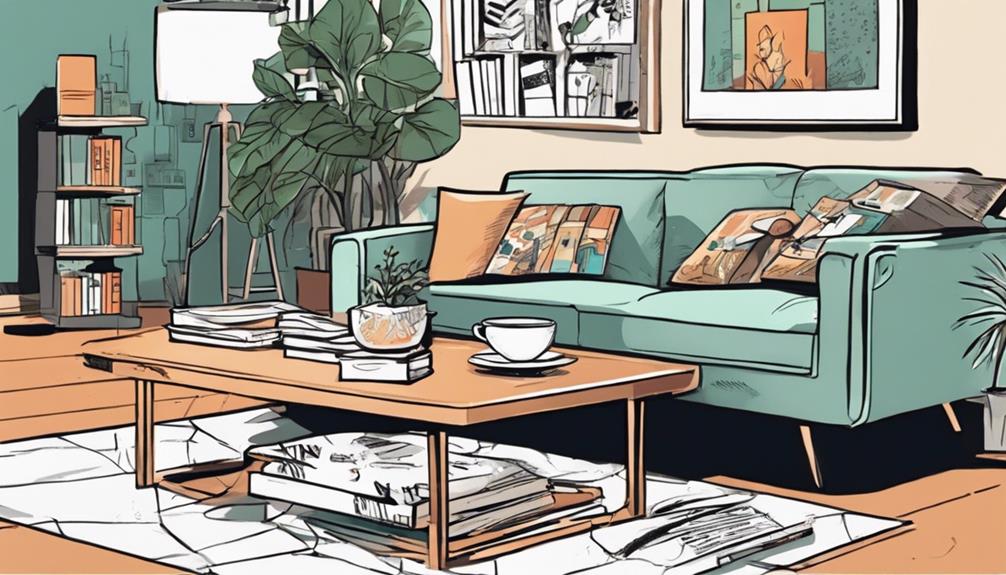
How Can I Make My Coffee Table Look Nice?
You can make your coffee table look nice by incorporating a cushion as a stylish and functional addition. This simple DIY project instantly elevates your decor, provides extra seating, and adds a cozy touch to your living room. If you’re looking for a fun weekend project, consider baking a coffee chiffon cake to enjoy with friends and family. The aroma of freshly baked cake will complement the cozy atmosphere of your living room, and the delicious dessert will be the perfect accompaniment to a cup of freshly brewed coffee. So, not only will your coffee table look nice with a cushion, but it will also be the perfect spot to relax and indulge in a delightful treat.
How to Make a Cushion for Your Coffee Table?
To make a cushion for your coffee table, start by choosing foam padding and fabric. Cut, wrap, and secure them with staples for a cozy look. Add legs for style and stability. Customize it to match your decor!
How Do You Make a Coffee Table Look Expensive?
To make a coffee table look expensive, choose a high-quality fabric with a luxurious texture and elegant pattern. Add decorative elements like tufting or piping and incorporate metallic or ornate legs. Coordinate colors for a cohesive design.
How Do You Dress a Rectangle Coffee Table?
Dress your rectangle coffee table by measuring for a cushion, choosing a fabric that matches your decor, securing foam padding with a staple gun, adding decorative buttons or tufting, and attaching legs for a chic look.
Conclusion
Now that you've added a cushion to your coffee table, your space is sure to feel cozier and more inviting.
So go ahead, sit back, relax, and enjoy the upgraded decor you've created.
With this simple DIY project, you've truly cushioned your space with comfort and style, turning your coffee table into a functional and stylish centerpiece that will impress all who see it.