
To make cold foam at home, start by choosing the right milk—whole, almond, or oat, depending on your preference—as higher fat content creates better foam. Froth the milk using a frother or shake vigorously in a jar, then microwave for a few seconds to stabilize the foam. Carefully spoon or pour the foam over your iced drink for a creamy, layered look. Keep exploring to discover tips for perfecting your cold foam technique.
Key Takeaways
- Use whole milk or plant-based alternatives like almond or oat milk for best microfoam results.
- Froth milk with a device or shake vigorously in a jar, then microwave briefly to stabilize the foam.
- Gently spoon or pour the microfoam over iced drinks to create layered, café-quality visuals.
- Incorporate flavorings or sweeteners before frothing for customized cold foam flavors.
- Practice and proper technique ensure smooth, stable microfoam that enhances your iced beverages.
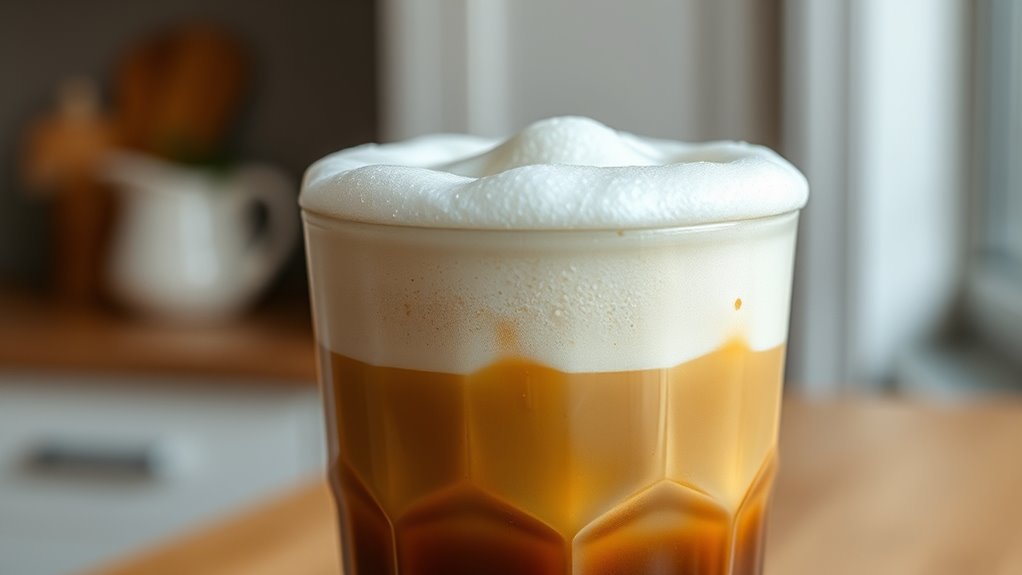
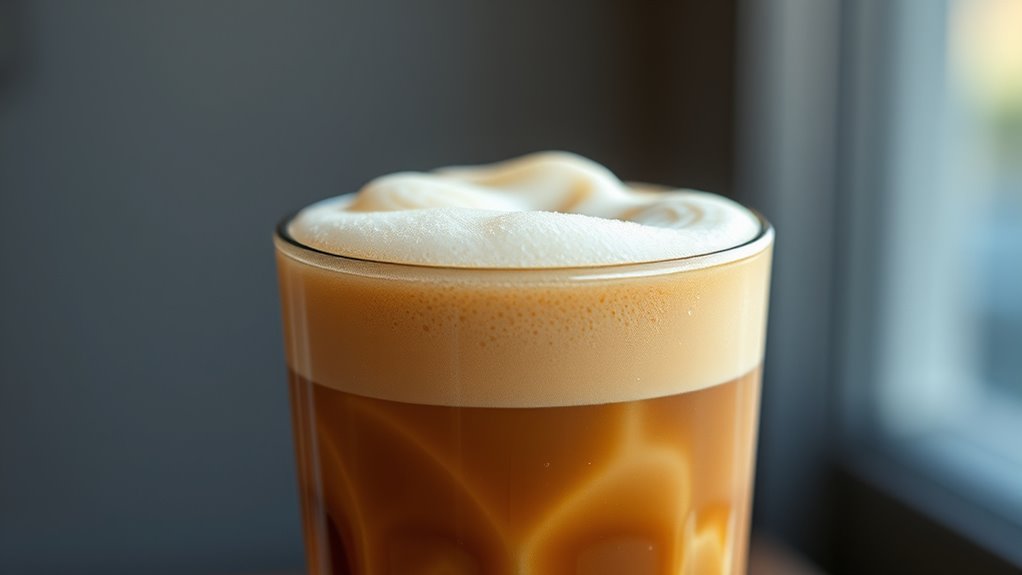
Ever wondered how to create that creamy, velvety cold foam at home? Achieving perfect microfoam for your iced drinks isn’t as complicated as you might think. It all starts with milk frothing, a technique that transforms simple milk into a rich, airy foam that sits beautifully on top of your favorite cold beverages. Milk frothing isn’t just for hot drinks anymore; with a little effort, you can craft a smooth, stable foam that enhances your beverage customization options. Whether you prefer your cold brew topped with a delicate layer of foam or want to elevate your iced latte, mastering milk frothing allows you to take your drink game to the next level.
To get started, choose the right milk. Whole milk tends to produce the creamiest foam because of its higher fat content, but you can also experiment with skim, almond, oat, or soy milk. Each type of milk froths differently, giving you options to match your taste preferences and dietary needs. Once you’ve selected your milk, you’ll want to froth it properly. If you have a milk frother, it’s straightforward—you just pour in the milk, turn on the device, and let it do its magic. For those without a fancy frother, a simple jar with a lid works surprisingly well. Pour the milk into the jar, screw the lid on tightly, and shake vigorously for about 30-60 seconds until the milk doubles in size and becomes frothy. Then, microwave it for about 15-20 seconds to stabilize the foam and achieve that perfect cold foam texture. Additionally, understanding thermal runaway in batteries can help ensure safety when using electrical frothers or devices.
The key to successful beverage customization lies in how you incorporate this microfoam into your drinks. After frothing, gently spoon or pour the foam over your iced coffee or cold brew. The foam should sit atop the drink, creating a visually appealing layered effect. You can also add flavorings or sweeteners before frothing to customize your foam further, giving you a variety of options to suit your mood or taste. Creating cold foam at home lets you experiment with different textures, thicknesses, and flavors, making every drink uniquely yours. This simple technique transforms ordinary iced drinks into indulgent, café-quality beverages, all without leaving your kitchen. With practice, you’ll find that perfect balance of froth and flavor, turning everyday drinks into a delightful experience.
Frequently Asked Questions
Can I Make Cold Foam Without a Milk Frother?
Yes, you can make cold foam without a milk frother. Try alternative frothing methods like shaking milk in a jar or using a hand whisk, which can create a nice microfoam. For dairy-free options, use coconut, almond, or soy milk, as they froth well with these techniques. Just shake vigorously or whisk until you get the desired frothy texture, and you’ll have a perfect cold foam for your iced drinks.
What Type of Milk Creates the Best Cold Foam?
You’ll get the best cold foam using whole milk or cream alternatives that froth well, like oat or cashew milk. Plant-based milks with higher fat content create richer, creamier foam, while lighter options may produce less stability. Experiment with different cream alternatives to find your perfect texture, and make sure to chill your milk before frothing for the best results.
How Long Can Cold Foam Be Stored in the Fridge?
Cold foam can be stored in the fridge for up to 24 hours. To keep it fresh, use an airtight container and make sure it’s tightly sealed. Refrigeration tips include giving the foam a quick stir before using it again to restore its texture. Keep in mind, the longer it sits, the more the foam may lose its airy quality, so for the best experience, consume it within a day.
Is Cold Foam Suitable for Lactose-Intolerant Individuals?
Cold foam can be suitable for lactose-intolerant individuals if you use lactose-free options or plant-based milks like almond, oat, or soy. These alternatives create similar microfoam textures without dairy, making your iced drinks enjoyable and safe. Just guarantee you choose a plant-based milk that froths well. Experiment to find the best lactose-free or plant-based milk for your preferred foam consistency and flavor.
Can I Add Flavors to My Cold Foam?
Absolutely, you can turn your cold foam into a flavor playground. Think of it as a blank canvas waiting for your favorite tastes—vanilla, caramel, or even a splash of cinnamon. Flavor experimentation is your ticket to personalized perfection. Just gently fold in your chosen flavorings before frothing, revealing endless customization options. This way, each sip becomes a delightful adventure crafted precisely to your palate’s desires.
Conclusion
Now that you know how to make cold foam at home, you can elevate your iced drinks effortlessly. With a little practice, you’ll create barista-quality microfoam to impress friends or enjoy yourself. Remember, “practice makes perfect,” so don’t get discouraged if it takes a few tries. Keep experimenting, and soon you’ll be mastering cold foam like a pro. Cheers to delicious, frothy beverages anytime you want—your kitchen is now your new favorite café!