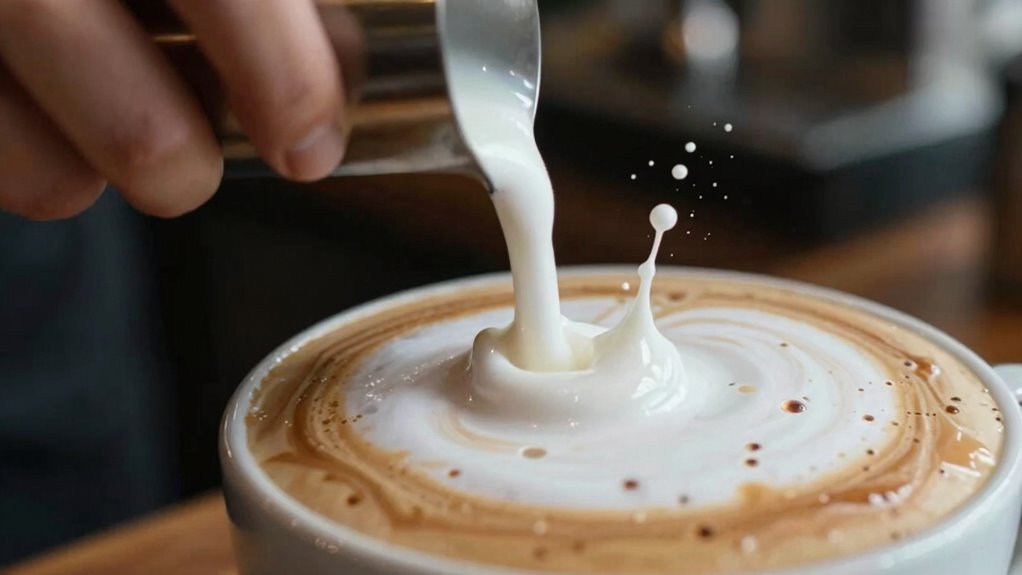

If you start milk stretching too late, your foam can fall apart quickly, making it hard to create smooth latte art. Waiting too long causes the microfoam to lose its glossy, stable quality, turning grainy or separating. This often results in dense or uneven foam that doesn’t pour well. To avoid this, pay attention to auditory and visual cues. Keep exploring ways to perfect your technique for consistently great results.

Get coffee and tea gear delivered free with Prime
- Fast, free delivery on millions of items
- Prime Video, Amazon Music and more included
- Member-only deals all year
Key Takeaways
- Starting too late causes the milk to overheat, preventing proper microfoam formation and leading to unstable, collapsing foam.
- Delayed stretching results in dense foam that lacks the glossy, silky texture needed for latte art.
- Waiting too long allows the foam to break down, losing its smooth, uniform appearance.
- Postponing stretching causes larger bubbles and grainy microfoam, making latte art difficult or impossible.
- Proper timing ensures microfoam remains stable and glossy, while late start compromises foam quality.
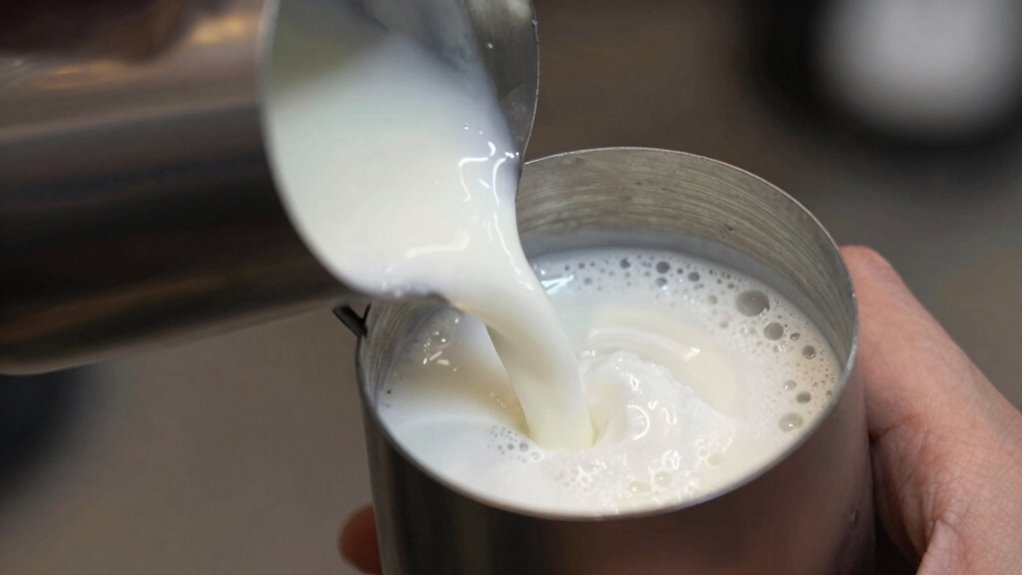
Have you ever wondered when is the best time to stretch milk for ideal results? Timing is everything when it comes to creating perfect latte art and achieving that smooth, velvety milk texture. If you start stretching the milk too late, you’ll find that the foam begins to fall apart, making it nearly impossible to craft those intricate designs. Milk stretching isn’t just about heating milk; it’s about knowing exactly when to introduce air and when to stop, so the microfoam stays stable and glossy.
When you begin steaming, you want to listen for a gentle hissing sound as you introduce air into the milk. This is the pivotal moment for creating microfoam that’s essential for latte art. If you wait too long before starting to stretch the milk, the milk’s temperature will rise and the foam will become less stable. Once the milk warms past a certain point, the foam breaks down, losing that creamy, smooth texture. That’s why timing your stretching correctly is vital—if you delay, the foam will become too dense or start separating, ruining your milk texture and making it difficult to pour artful designs.
As you continue steaming, you should aim to incorporate air early, then switch to incorporating more heat and less air. The goal is to produce a glossy, paint-like microfoam that’s ideal for pouring latte art. If you miss the perfect window, the foam becomes frothy and uneven, and your ability to create those beautiful patterns diminishes. Milk stretching at the right moment ensures the foam remains stable, with a silky consistency that flows smoothly from your pitcher when pouring. This consistency is key to forming clear, crisp latte art shapes.
Waiting too long also affects the temperature, causing the milk to become too hot and the microfoam to collapse. Once the foam begins to separate or form larger bubbles, it’s a sign you’ve missed the ideal window. Instead of a smooth, shiny surface, you’ll see a grainy or uneven texture, which hampers your ability to pour well-defined latte art. The timing difference might be subtle, but it’s essential. When you get it right, the milk will have a uniform, shiny appearance, and its texture will be perfect for pouring intricate designs. Recognizing the microfoam stability during steaming can help you identify the optimal moment to stop. Additionally, paying attention to the temperature of the milk can further improve your results, as different types of milk may require slightly different timing for optimal microfoam. Being aware of the milk’s temperature can also help prevent overheating, which compromises microfoam quality. Properly monitoring the steam wand position can also prevent over-steaming and ensure consistent results. Mastering the right stretching technique can make a significant difference in achieving professional-quality latte art.
In short, start stretching your milk early in the steaming process, listen for the right sounds, and watch for the milk’s texture to achieve the best latte art. Waiting too long means the foam falls apart, and your coffee won’t reach that ideal silky, stable state needed for professional-looking latte art.
As an affiliate, we earn on qualifying purchases.
Frequently Asked Questions
How Does Milk Temperature Affect Stretching Timing?
Milk temperature directly influences your milk frothing and stretching timing. If the milk is too cold, it’s harder to create smooth, glossy foam, so you should start frothing sooner. Proper temperature control guarantees the milk heats evenly, allowing you to stretch it at the right moment before the foam collapses. When you monitor temperature carefully, you can optimize your technique, resulting in velvety microfoam and a perfect espresso drink.
Can Different Milk Types Require Different Stretching Times?
Different milk types do require unique stretching times, like tuning a musical instrument for perfect harmony. Milk fermentation and dairy spoilage influence texture and consistency, demanding adjustments. For example, skim milk may need less time, while whole milk benefits from a longer stretch to develop silky foam. Ignoring these differences risks ruining your latte’s artistry, so observe how each milk responds and adapt your timing accordingly for the perfect microfoam.
Does the Type of Espresso Machine Influence Stretching Duration?
Yes, the type of espresso machine influences stretching duration. Different machines require varying steam pressure and temperature, affecting how quickly you can achieve the perfect microfoam. Proper machine maintenance guarantees consistent results, while barista training helps you adapt your technique accordingly. By understanding your machine’s capabilities, you can optimize stretching time, prevent foam collapse, and create smooth, glossy milk textures every time.
How Can I Tell if My Milk Is Over-Stretched?
You can tell if your milk is over-stretched by observing its texture and temperature. Over-stretched milk becomes overly frothy, with large bubbles and a grainy feel, making it difficult to pour smoothly. Use proper milk frothing techniques and consider barista training to improve your skills. With practice, you’ll learn to stop stretching at the right moment, ensuring a silky, shiny microfoam perfect for latte art.
What Are Signs of Proper Foam Stability During Stretching?
You’ll notice proper foam stability when the foam density is smooth and shiny, with microfoam consistency that feels velvety and uniform. As you stretch, the foam should hold its shape without collapsing or splitting, indicating good microfoam integration. If the foam resists tearing apart or quickly dissipates, it’s a sign your milk is well-stretched. Visual cues like a glossy surface and stable texture show you’ve achieved ideal foam stability.
Conclusion
If you start stretching your milk too late, the foam crumbles like a house of cards. Timing is everything—you’re the maestro, and the milk your orchestra. When you grasp the perfect moment to stretch, you craft velvety foam that elevates your coffee to art. Remember, in this dance of heat and air, the clock isn’t just ticking; it’s whispering the secret to barista perfection. Master it, and your drinks will always sing.
Halloween Picks
halloween
As an affiliate, we earn on qualifying purchases.