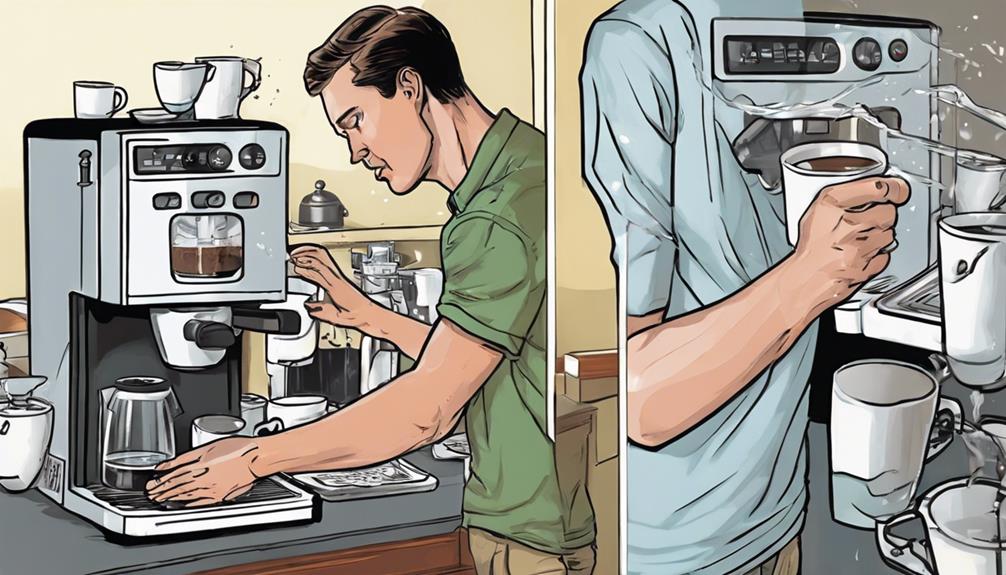
To easily install a coffee maker, gather all necessary tools and parts. Begin by turning off the water supply located below the sink. Securely attach the T fitting to the cold water line. Next, drill a hole in the countertop and connect the water line to the back of the coffee machine. Opt for the Keurig Starter Filter Kit for improved quality. Once everything is set up, be sure to check for any leaks. Keep the machine well-maintained by cleaning it regularly and replacing any worn-out parts. Explore more tips to ensure a smooth installation and long-term usage. For added stability and longevity, also consider attaching glass to a coffee table. Use strong adhesive or brackets to firmly secure the glass, and inspect for any sharp edges or loose fittings. Regularly check the attachment to confirm it remains stable and secure over time.
Key Takeaways
- Turn off water supply and install T fitting on the cold water line.
- Connect water line securely to the coffee machine.
- Drill a hole in the countertop for the water line.
- Secure connections with Teflon tape and Keurig Starter Filter Kit.
- Test for leaks and ensure proper water flow post-installation.
Gather Necessary Tools and Parts
Before starting the installation process, make certain you have gathered all the necessary tools and parts as specified by the manufacturer. Having the appropriate tools such as a wrench, Teflon tape, drill (if needed), and the correct water line kit for your coffee maker is essential.
Checking the manufacturer's instructions to confirm the specific parts required for installation and verifying you have them ready before starting will make the process smoother and more efficient. Proper preparation with the right tools and parts is vital to a successful attachment of your coffee maker to the water line. This preparation step will help you avoid delays or complications during the installation.
Double-checking your tools and parts to make sure you have everything needed will set you up for a hassle-free and successful installation process. By gathering all the necessary tools and parts beforehand, you're paving the way for a seamless attachment of your coffee maker.
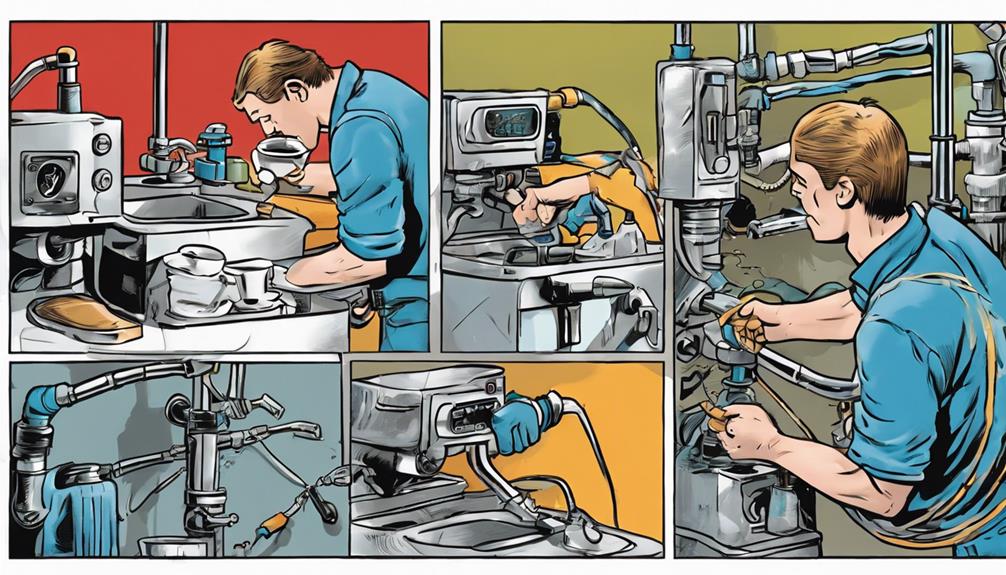
Prepare Under the Sink
First, be sure to turn off the water supply under the sink to avoid any leaks during installation.
Next, install a T fitting in the cold water line to create a connection point for the coffee machine.
Turn off Water
To prevent potential leaks during installation, make sure the water supply under the sink is securely turned off before proceeding further. Locate the water shut-off valve under the sink, typically found on the wall behind the cabinet. Turn the valve clockwise until it's fully closed to stop the flow of water to the faucet. This step is essential in ensuring a smooth installation process without any unwanted water leakage.
Position yourself comfortably under the sink, equipped with the necessary tools and parts like the T-connector for creating a separate line dedicated to the coffee maker. Verify that the water supply valve is completely shut off before moving on to the next steps.
Install T Fitting
When preparing under the sink to install the T fitting, make certain the water supply is turned off firmly to prevent any potential leaks.
The T fitting is crucial for creating a separate branch dedicated to the coffee maker's water line. To install the T fitting, firmly attach it to the existing cold water line.
Confirm the T fitting is positioned correctly and tightly fastened to prevent any leaks. This fitting provides a reliable connection that allows for a convenient and efficient way to connect the water line to the coffee maker.
By following these steps and taking the necessary precautions, you can set up the T fitting properly under the sink, ensuring a smooth installation process for your coffee maker.
Once the T fitting is firmly in place, you'll be one step closer to enjoying freshly brewed coffee at home.
Connect Water Line
Guarantee the water supply under the sink is firmly turned off before proceeding with connecting the water line for the coffee maker installation.
To begin, create a T in the cold water line under the sink to divert water to the coffee machine. Make sure you have the necessary tools to connect the water line securely, ensuring the connection is tight to prevent leaks.
If you have a stone countertop, drill a hole through it to pass the water line and connect it to the coffee machine. Once you have prepared the water line under the sink and through the countertop, connect it to the back of the coffee machine.
Double-check that the connection is firm and secure to ensure proper water flow. By following these steps carefully, you'll have the water line for your coffee maker correctly connected and ready for use.
Connect the Water Line Securely
For a safe and leak-free connection between the water line and your coffee machine, tightly wrap Teflon tape around the fittings to guarantee a proper seal. Verify compatibility between the water line type and the coffee machine before proceeding.
Utilize a Keurig Starter Filter Kit to simplify the water line connections and enhance filtration. Securely run the water line from under the sink to the back of the coffee machine, ensuring it's properly fastened along the way.
- Double-check compatibility between the water line and coffee machine to prevent any mishaps.
- Use Teflon tape generously to avoid leaks and ensure a secure connection.
- Take your time securing the water line to prevent any accidental disconnections.
- After connecting the water line, test the setup by turning on the water supply and coffee machine to detect any leaks or issues promptly.
Drill Hole in Countertop
To facilitate the connection of the water line to your coffee machine, you'll need to drill a precise hole through your stone countertop using a diamond-tipped hole saw. Make sure the hole is large enough to accommodate the water line while allowing easy access to connect it to the coffee maker.
Before drilling, place a piece of tape on the countertop surface to prevent chipping or damage. After drilling the hole, clean the area around it to remove any debris or dust that may interfere with the water line connection.
It's essential to verify that the diameter of the hole matches the water line size precisely to guarantee a secure and leak-free connection. Taking these steps will help you seamlessly integrate your coffee maker into your kitchen setup, ensuring a hassle-free brewing experience.
Run Water Line to Machine
When running the water line to your coffee machine, make certain it's long enough to reach from under the sink to the machine.
Use a bendable, food-safe water line to prevent kinking and establish a secure connection.
Secure the water line to the back of the coffee machine using suitable fittings for a leak-free connection.
Consider using a water line with a quick-connect feature for easier installation and maintenance.
Test the water line connection by turning on the water supply and checking for any leaks before using the coffee machine.
Establish a secure connection with a bendable water line.
Use food-safe materials for peace of mind.
Test for leaks before enjoying your first cup.
Simplify installation with a quick-connect feature.
Use Plumbers Tape
You need to remember that plumbers tape is essential for secure connections and leak prevention when attaching your coffee maker.
By using plumbers tape, you can guarantee a tight seal that prevents any water leaks.
Remember to wrap the tape around the threaded part in a clockwise direction for an effective seal.
Tape for Secure Connections
Consider using plumbers tape, also known as Teflon tape, to guarantee secure connections when attaching your coffee maker.
This thin white tape, made of polytetrafluoroethylene (PTFE), provides a reliable seal for pipe threads, ensuring no leaks in plumbing connections.
Wrapping the tape clockwise around the male threads of the pipe fitting before connecting helps create a tight and secure seal that can withstand changes in temperature, pressure, and chemicals.
Here are four reasons why plumbers tape is your best bet for secure connections:
- Reliable Seal: Prevent leaks and water seepage with a properly sealed connection.
- Easy Application: Simple to use and highly effective in creating a tight bond.
- Versatile Material: Resistant to various elements, ensuring long-lasting performance.
- Peace of Mind: Install your coffee maker knowing that the connection is secure and leak-free.
Seal for Leak Prevention
To secure a leak-proof connection when attaching your coffee maker, use plumbers tape for leak prevention on the water line connections. Plumbers tape, also referred to as Teflon tape, is a thin white tape made of polytetrafluoroethylene (PTFE) that seals pipe threads to prevent leaks in plumbing connections. By applying plumbers tape to the threads of the water line connection on your coffee maker, you can guarantee a tight seal and avoid potential leaks.
When utilizing plumbers tape, it is crucial to wrap it around the male threads in a clockwise direction. This method prevents the tape from unwinding when you tighten the connection, enhancing its efficacy in preventing leaks. The simplicity and efficiency of using plumbers tape make it a vital step in securing a leak-free water line connection for your coffee maker installation.
| Benefits of Plumbers Tape | ||
|---|---|---|
| Prevents leaks in plumbing connections | Establishes a tight seal between threaded pipes and fittings | Easy to apply and cost-effective |
Consider Water Line Types
Choosing a braided stainless steel water line can provide durability and flexibility when connecting your coffee maker. This kind of water line offers a strong connection that's resistant to kinks and bends, guaranteeing a reliable water supply to your coffee maker.
However, there are other options worth exploring when selecting a water line for your coffee maker:
- Copper water lines: Recognized for their longevity and resistance to corrosion, copper water lines are a dependable choice for securing a long-lasting connection.
- Plastic water lines: Cost-effective and simple to install, plastic water lines may be a suitable choice for those on a budget, although they may not offer the same level of endurance as stainless steel or copper.
- Manufacturer's recommendations: Some coffee makers require a specific type of water line for peak performance, so always consult the manufacturer's guidelines before making a purchase.
- Compatibility: Ensure the water line you select is compatible with your coffee maker to prevent leaks and guarantee proper water flow, preserving the quality of your coffee brewing experience.
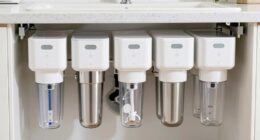
Utilize Keurig Starter Filter Kit

Enhance your coffee brewing experience with the Keurig Starter Filter Kit, which includes a water filter, filter holder, and fittings for easy water line connection. This kit not only improves the taste of your coffee by providing additional filtration but also safeguards your coffee machine from mineral buildup.
By simplifying the installation process with all necessary components, the kit ensures a seamless connection between your coffee maker and the water line. The filter in the Keurig Starter Filter Kit helps reduce chlorine taste and odor, guaranteeing a superior brewing experience with your Keurig machine.
Additionally, utilizing this kit can extend the life of your coffee maker by preventing clogs and mineral deposits that could otherwise affect its performance. Invest in the Keurig Starter Filter Kit to enjoy better-tasting coffee and protect your machine for long-lasting use.
Finalize Installation and Testing
Now it's time to verify all connections are tight and free of leaks to prevent water damage.
Test the water flow to confirm everything is working correctly, and don't forget to address any air pockets in the system.
Once these steps are completed, conduct a test run of the coffee maker to validate its performance.
Testing Water Flow
To verify proper installation, begin by checking the water flow as you turn on the coffee maker and observe the water entering the machine. Securing a steady and consistent flow of water is vital to avoid any issues with brewing or machine performance.
Here are some key steps to testing the water flow:
- Watch Carefully: Observe the water flow as soon as you start the machine to make sure it's flowing smoothly.
- Listen for Changes: Pay attention to any unusual sounds that might indicate a problem with the water flow.
- Adjust as Needed: If the water flow seems too slow or too fast, make changes to the water line connections or machine settings.
- Monitor Continuously: Keep an eye on the water flow throughout the brewing process to guarantee proper extraction and flavorful coffee.
Addressing Air Pockets
After guaranteeing proper water flow, the next essential step in finalizing the installation and testing of your coffee maker is addressing any air pockets that may be present in the system.
To address air pockets, run the water for a few minutes to allow trapped air to escape from the system. Bleed the air pockets by opening the water line valve and letting the air escape until a steady stream of water flows. It's important to guarantee there are no air bubbles in the water line to prevent disruptions in the coffee maker's operation.
Verify proper water flow by checking for consistent water pressure and no sputtering from the machine. Once you have addressed any air pockets and confirmed adequate water flow, test the coffee maker's functionality to ensure smooth and uninterrupted operation.
Taking these steps will help optimize the performance of your coffee maker and ensure a hassle-free brewing experience.
Troubleshoot and Maintain Machine
Guarantee you tighten fittings, check for twists in the water line, and clean the coffee maker regularly to troubleshoot and maintain peak performance.
To keep your machine running smoothly, follow these essential maintenance tips:
- Inspect Regularly: Keep an eye on the fittings and water line for any signs of wear or leaks.
- Clean Thoroughly: Regularly clean all parts of the coffee maker to prevent buildup and ensure a fresh-tasting brew.
- Check Water Supply: Confirm the water supply is unrestricted to prevent issues with water flow.
- Replace Parts Promptly: Don't wait to replace worn-out components to avoid further damage and maintain the machine's efficiency.
Frequently Asked Questions
How to Plumb a Coffee Maker?
To plumb a coffee maker, connect it to a water line under the sink for constant water supply. Use Teflon tape to secure connections and prevent leaks. Drill a hole in the countertop for the water line. Test for proper flow.
Do Built-In Coffee Machines Need Plumbing In?
You want a built-in coffee machine that runs smoothly? Absolutely! Built-in coffee machines need plumbing in for that continuous flow of water magic. It's the key to effortless brewing and no more manual refills.
Does a Coffee Machine Need to Be Connected to Water?
For certain, connecting a coffee machine to water is essential. It guarantees a steady water supply for brewing, making your coffee routine smoother. Use the correct water line and fittings to avoid leaks and establish a secure setup.
How Do You Place a Coffee Maker?
When setting up your coffee maker, remember to place it on a level surface near power and water sources. Guarantee proper ventilation and clearance space. Keep it away from sunlight or heat. Position close to the sink if plumbing.
Conclusion
Now that you've attached your coffee maker, you can enjoy the convenience of freshly brewed coffee at home.
Did you know that the average American drinks about 3 cups of coffee a day? That's over 1,000 cups a year!
With your new coffee maker installed, you'll be able to enjoy your favorite brew whenever you want.
Cheers to easy installation and delicious coffee!