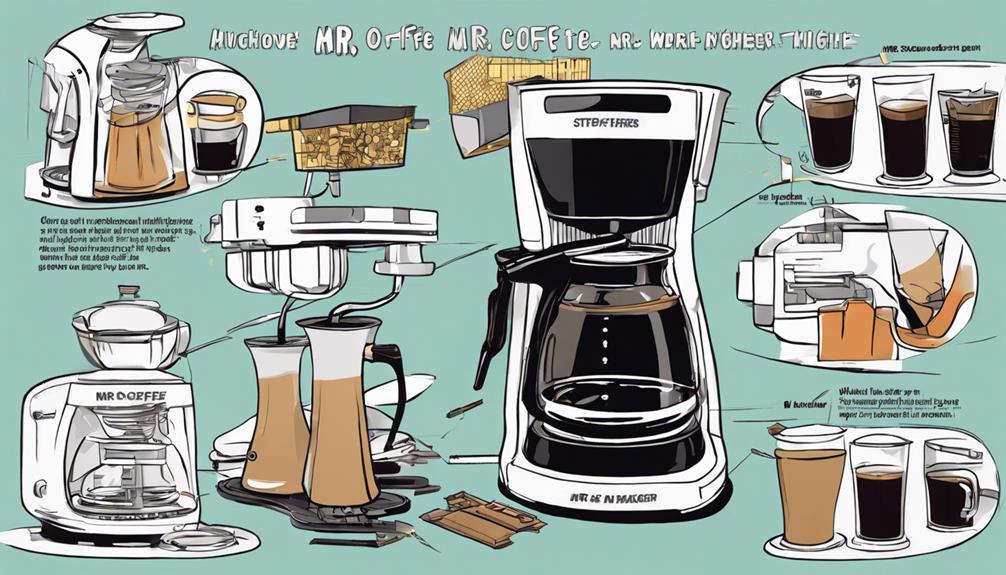

To assemble your Mr. Coffee maker, start by cleaning components like the carafe and filter basket. Then, install the reusable filter and add coffee grounds evenly. Fill the water reservoir up to the marked level. Position the carafe on the warming plate correctly. Plug in the coffee maker, add water and grounds, then press brew. Remember, regular cleaning and maintenance are key. Mastering the process will lead to that perfect cup of coffee. Next, ensure that the lid is securely in place on the carafe and that the filter basket is properly lined up. It’s also important to regularly descale the coffee maker to prevent any buildup of mineral deposits. Additionally, when it comes to achieving the perfect cup of coffee, consider aligning coffee grinder burrs to ensure a consistent grind size. This attention to detail will result in a delicious and well-balanced brew every time.
Key Takeaways
- Disassemble components for cleaning and maintenance.
- Position reusable filter properly in the compartment.
- Add coffee grounds evenly in the filter basket.
- Fill water reservoir to marked maximum capacity.
- Secure carafe on warming plate with handle facing outward.

Amazon Basics Basket Coffee Filters for 8-12 Cup Coffee Makers, White, 200 Count, Packaging May Vary
- Package Quantity: 200 white basket filters
- Compatibility: Fits 8-12 cup coffee makers
- Filtration Quality: Excellent sediment removal
As an affiliate, we earn on qualifying purchases.
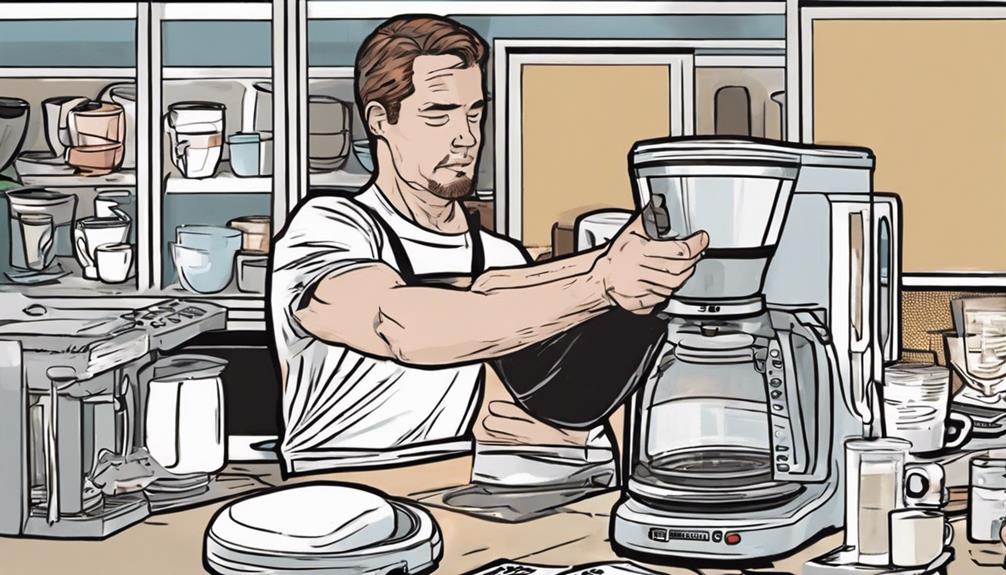
Clean and Prepare Components
Disassemble your Mr. Coffee maker to clean and prepare its components for the best brewing performance.
Start by removing the carafe, filter basket, and water reservoir. Wash these parts with warm, soapy water. It's crucial to make sure they're thoroughly dried before reassembly.
Take a closer look at the water reservoir for any mineral deposits, and descale it if necessary to maintain top functionality.
Next, inspect the filter basket for any leftover coffee grounds or residue. It's crucial to clean it meticulously to prevent any potential clogs during the brewing process.
Once all the components are clean and dry, reassemble them carefully to make sure they fit properly.
Install Reusable Filter
To improve your brewing experience and reduce waste, easily install the Mr. Coffee reusable filter in the designated compartment of the coffee maker.
Follow these steps for a smooth installation:
- Open the Filter Compartment: Locate the filter compartment on your Mr. Coffee maker and make sure it's clean and dry.
- Position the Reusable Filter: Place the reusable filter securely in the designated compartment, ensuring it fits snugly.
- Close the Compartment: Gently close the compartment to secure the filter in place before brewing.
- Enjoy Sustainable Brewing: With the reusable filter properly installed, you can now enjoy eco-friendly coffee brewing that reduces waste and is cost-effective.
Add Coffee Grounds
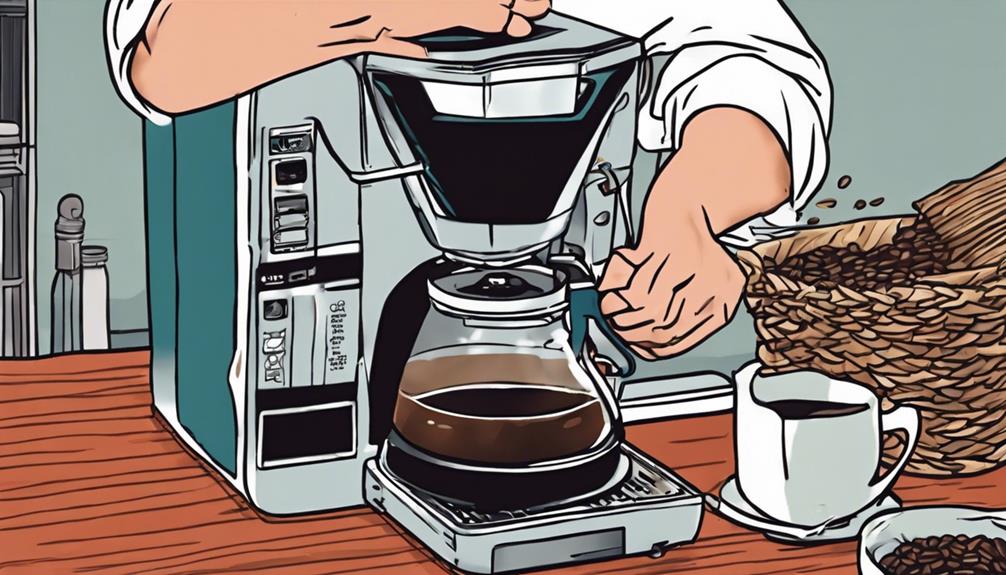
When adding coffee grounds to your Mr. Coffee maker, use the included measuring scoop for accurate portions.
Make sure you select the right amount based on your desired brew size of 6, 8, 10, or 12 oz.
This step sets the foundation for a perfect cup of coffee every time.
Grounds Placement
For best brewing results, evenly distribute the appropriate amount of coffee grounds using the included measuring scoop in the filter basket of your Mr. Coffee Maker.
Here are some tips to make sure your grounds are placed properly:
- Use the Measuring Scoop: Scoop the correct amount of coffee grounds using the measuring scoop provided with your Mr. Coffee Maker to achieve the ideal coffee-to-water ratio.
- Evenly Spread the Grounds: Spread the coffee grounds evenly in the filter basket to guarantee a consistent extraction of flavors during the brewing process.
- Follow the Coffee-to-Water Ratio: Adhere to the recommended coffee-to-water ratio specified in your user manual for a well-rounded and flavorful brew.
- Avoid Overfilling: Be mindful not to fill the filter basket with coffee grounds excessively to prevent any spillage or clogging issues while the coffee maker is in operation.
Measuring Scoop Instructions
Use the included measuring scoop to accurately add coffee grounds to the filter basket of your Mr. Coffee Maker. The measuring scoop guarantees you achieve the ideal amount of grounds for a rich and flavorful cup of coffee.
Remember to follow the recommended measurements based on the desired brew size, whether you prefer 6, 8, 10, or 12 oz of coffee. This step is essential as it helps you achieve consistent results with each brew, making sure a delicious cup every time.
Adjust the amount of coffee grounds in the measuring scoop based on your personal preference for strength and flavor. If you enjoy a stronger brew, you may want to add a bit more coffee grounds, while for a milder flavor, use a bit less.
The measuring scoop simplifies the process, making it easy to experiment and find the perfect balance that suits your taste buds. Happy brewing!
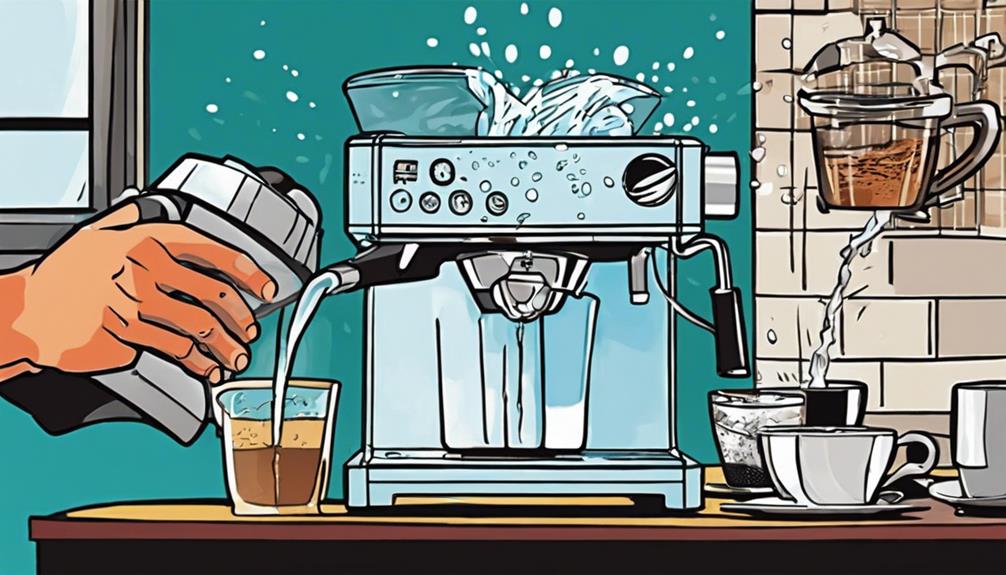
Fill Water Reservoir

To fill the water reservoir of your Mr. Coffee maker, locate the clear marking indicating the maximum water level capacity.
Here's a simple guide to help you fill the water reservoir effectively:
- Locate the water reservoir: Find the water reservoir at the back of the Mr. Coffee maker.
- Open the reservoir: Lift the lid or slide the cover to access the water reservoir.
- Fill with water: Pour cold, clean water into the reservoir up to the marked maximum capacity.
- Avoid overfilling: Be careful not to exceed the maximum water level to prevent any spills or malfunctions.
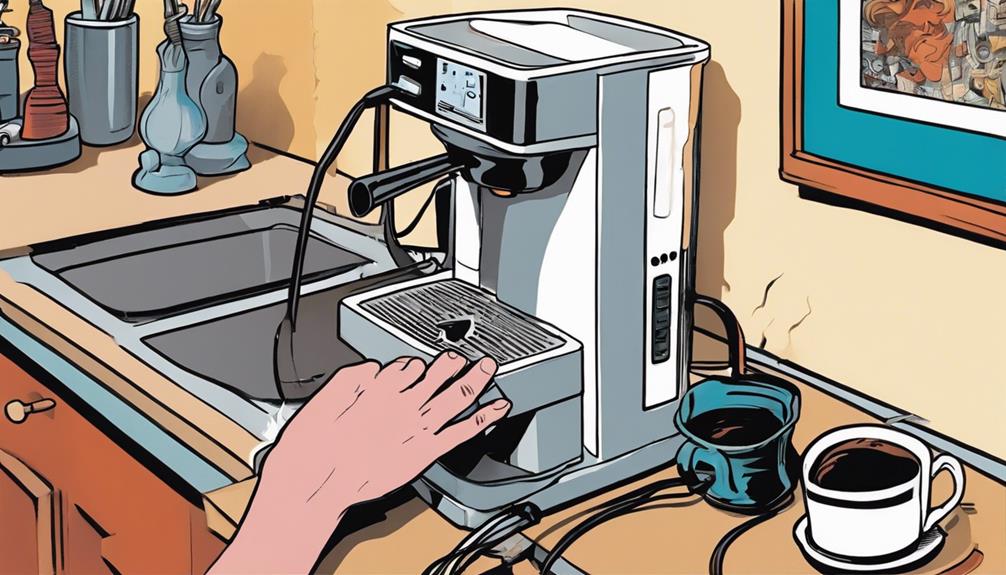
Position Carafe Correctly
Position the carafe securely on the warming plate, making sure the handle faces outward for easy pouring.
Before brewing, it's crucial to check that the carafe lid is closed tightly to prevent any potential spills during the brewing process. Additionally, ensure that the carafe is centered under the brew basket for proper coffee dispensing into the carafe.
Placing the carafe correctly on the warming plate not only guarantees the coffee stays warm but also prevents any accidental spills or mishaps. The handle of the carafe should always be facing outward for convenient pouring once the coffee is brewed.
Remember to keep the carafe clean and free from any obstructions to uphold the quality of your coffee.
Plug in the Coffee Maker
Before proceeding with the next step, make certain the coffee maker is unplugged for safety. Once you have verified that the coffee maker is disconnected from the power source, follow these steps to plug it in:
- Locate the Power Cord: Find the power cord attached to the coffee maker. It's usually located at the back of the machine.
- Plug into a Grounded Outlet: Identify a grounded outlet near your workspace. Make certain the outlet can handle the power requirements of the coffee maker.
- Check Power Switch: Before plugging in, confirm that the power switch on the coffee maker is in the 'off' position to prevent any mishaps.
- Plug in the Coffee Maker: Insert the plug of the power cord into the grounded outlet securely. Once plugged in, you're one step closer to enjoying freshly brewed coffee.
Remember to wait a few minutes for the coffee maker to heat up after plugging it in.
Always prioritize safety by following the manufacturer's instructions for proper use.
Set Programmable Features
Customize your brewing experience by utilizing the programmable features of your Mr. Coffee maker. Set the brew time to make certain your coffee is ready when you need it, whether it's the moment you wake up or when you come home from a long day.
Adjust the brew strength according to your preference, whether you crave a bold or regular cup of coffee. The automatic shut-off feature not only enhances safety but also helps save energy.
Embrace the convenience of programming your coffee maker to start brewing later, adding ease to your busy mornings or making sure a fresh pot awaits you when you return home. With these programmable features, you can tailor your coffee brewing experience to suit your schedule and taste preferences effortlessly.
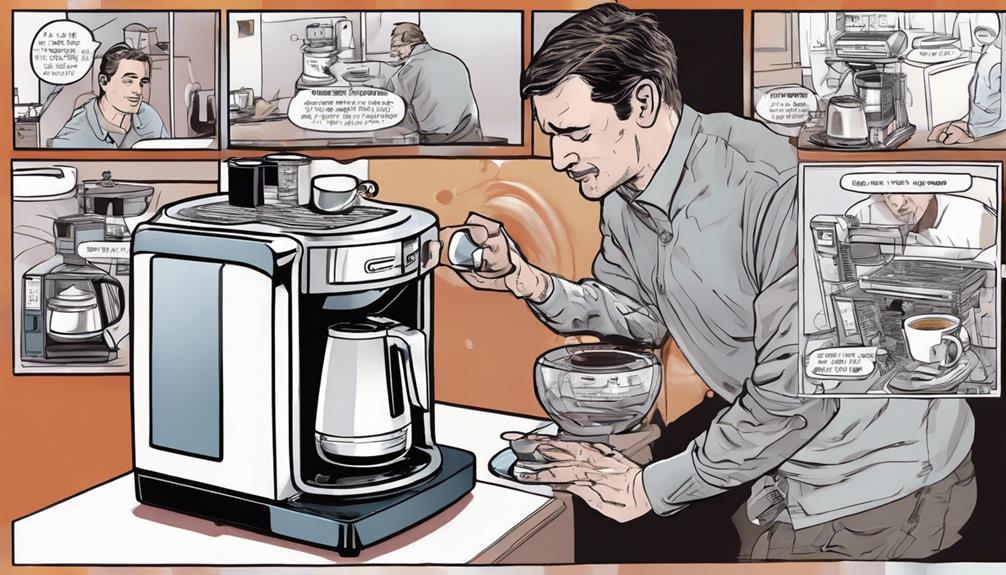
Start Brewing Process
Now that your Mr. Coffee Maker is all set up and ready to go, it's time to start brewing!
The brewing process involves setting up your equipment correctly and following the initial brewing steps.
Let's walk through the key points to guarantee you brew the perfect cup of coffee every time.
Brewing Equipment Setup
Place the brew basket firmly into the coffee maker before inserting a #2 cone filter to kickstart the brewing process. Here's how to set up your brewing equipment:
- Secure the Brew Basket: Confirm the brew basket is correctly positioned inside the coffee maker to hold the filter and coffee grounds.
- Insert the Cone Filter: Place a #2 cone filter into the brew basket. This filter will capture the coffee grounds and make cleanup a breeze.
- Add Coffee Grounds: Use the measuring scoop provided to add the desired amount of coffee grounds into the filter. The scoop helps you achieve the perfect coffee-to-water ratio.
- Fill the Water Tank: Pour water into the water tank of your coffee maker up to the level recommended for the amount of coffee you wish to brew. The tank's level indicators guide you in this step.
Once you have completed these steps, you're ready to power on your coffee maker and begin the brewing process according to the specific instructions for your model.
Initial Brewing Steps
Begin by plugging in your Mr. Coffee maker and ensuring it's turned on before proceeding with the brewing process. Fill the water reservoir with the desired amount of water according to the number of cups you plan to brew. Use the provided measuring scoop to add the appropriate amount of coffee grounds to the filter basket for a perfect brew. Once the coffee grounds are in place, insert the filter basket into its designated slot in the coffee maker.
Now, it's time to initiate the brewing process. Press the brew button on your Mr. Coffee maker to kickstart the magic. The machine will then begin its work, swiftly turning water into a delightful coffee blend.
Within minutes, you'll be savoring a freshly brewed cup of coffee, ready to uplift your senses and kickstart your day. So, go ahead, press that brew button, and let the aroma of freshly brewed coffee fill your space.
Regular Cleaning and Maintenance
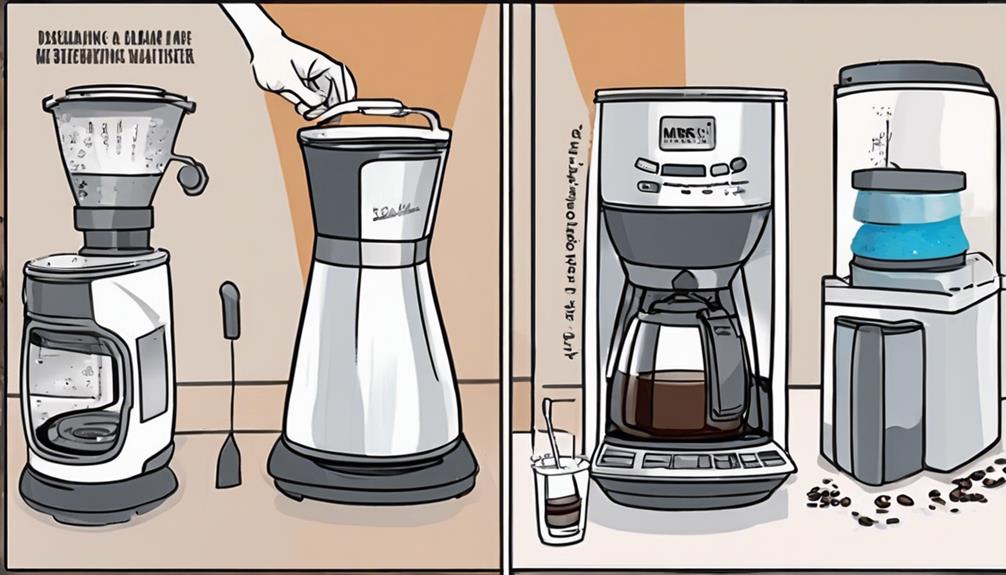
To maintain your Mr. Coffee maker in top-notch condition, it's essential to regularly clean and perform maintenance tasks to guarantee its durability and performance. Follow these steps for regular cleaning and maintenance:
- Clean the brew basket, carafe, and water reservoir:
Remove these components and wash them regularly to prevent any buildup that could affect the taste of your coffee.
- Descale with vinegar and water:
Use a mixture of vinegar and water to descale your coffee maker and remove mineral deposits that may have accumulated over time.
- Wipe down the exterior:
Keep the exterior of your coffee maker clean by wiping it down with a damp cloth to maintain its appearance.
- Check components for wear and tear:
Regularly inspect the coffee maker's components for any signs of damage or wear, and replace any worn-out parts following the manufacturer's instructions to ensure peak performance and longevity.
Frequently Asked Questions
How Do You Set a Mr Coffee Coffee Maker?
To set a Mr. Coffee coffee maker, fill the water reservoir, add a filter and coffee grounds, close securely, place the carafe, press power, select brew size, and let it brew. Enjoy your freshly brewed coffee!
Should I Clean a New Coffee Maker Before First Use?
Yes, you should clean a new coffee maker before first use. Doing so helps remove residue and oils, ensuring peak performance and delicious coffee. Follow the manufacturer's guidelines for specific cleaning instructions. It's a small step for great results!
How Do You Use a 12 Cup Mr Coffee Maker?
To use a 12-cup Mr. Coffee maker, fill the reservoir with water and add a filter and coffee grounds. Close the lid, select brew size, and press the brew button. When it's done, pour yourself a cup and enjoy!
How to Make Coffee When the Coffee Maker Is Broken?
When your coffee maker is broken, improvise by using a pour-over method with near-boiling water over grounds. Try a French press or stovetop espresso maker for different flavors. Experiment with reusable filters or alternative methods like cold brew or AeroPress.
Conclusion
You're now the master of your Mr. Coffee maker. Just like a conductor leading a symphony, you have successfully assembled all the components and brewed the perfect cup of coffee. Next, you can take pride in your new skill set by sharing your expertise with friends and family. You have mastered the art of coffee making, and now you can confidently guide others in assembling your coffee maker and brewing their own delicious cups of joe. You are now a true coffee aficionado, ready to take on any coffee-making challenge that comes your way. As you continue to elevate your coffee-making abilities, don’t forget to experiment with adjusting coffee machine settings to customize the flavor and strength of your brew. From grind size to water temperature, there are countless ways to fine-tune your coffee maker to suit your preferences. Share your newfound knowledge with others and continue to refine your skills as a master coffee maker. Embrace the endless possibilities and enjoy the satisfaction of creating the perfect cup of coffee every time.
Keep practicing and soon you'll be a coffee maestro, creating delicious brews with ease. Enjoy your coffee journey and savor every sip of your homemade masterpiece.
Cheers to your newfound coffee mastery!