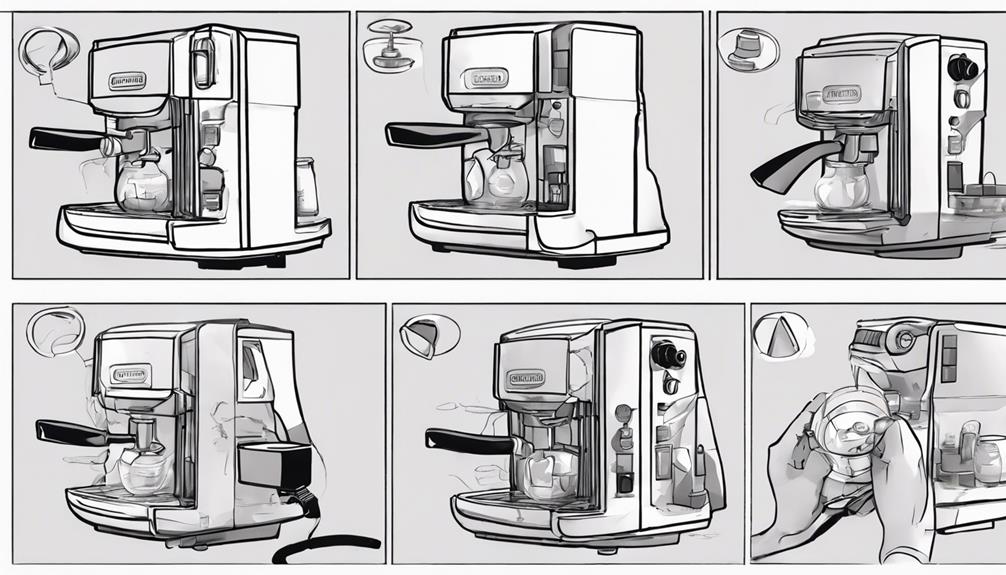

Assemble your DeLonghi coffee machine with ease by carefully unboxing and inspecting components like the water tank and milk frother. Place it on a sturdy surface, close to a power outlet and a sink for convenient access. Securely attach the water reservoir and correctly install the portafilter to avoid any leaks. Fill the reservoir with water and beans, and use touch controls to brew the perfect cup. Utilize the milk frother for a creamy foam and savor a variety of high-quality coffee drinks effortlessly. By following these steps, you’ll become an expert at setting up your DeLonghi coffee machine for a delightful coffee experience. For added convenience, consider setting up the machine to start brewing at a specific time using the built-in timer. This way, you can wake up to the smell of freshly brewed coffee every morning. With the DeLonghi coffee machine, you can enjoy the pleasure of making coffee without the hassles of a machine and relish a tasty cup of coffee whenever you desire. If any problems arise, please contact us.
Key Takeaways
- Carefully unbox and inspect components.
- Place machine on a stable surface.
- Attach water reservoir securely.
- Insert and lock portafilter correctly.
- Fill water reservoir, beans, and use touch controls.
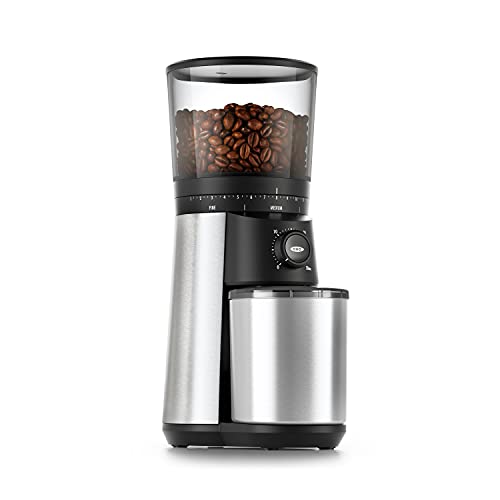
OXO Brew Conical Burr Coffee Grinder - Silver, Stainless Steel Burrs, One-Touch Automatic Smart Grind
Stainless steel conical burrs: Precision grinding system produces uniform coffee grounds for rich, balanced flavor in every cup.
As an affiliate, we earn on qualifying purchases.
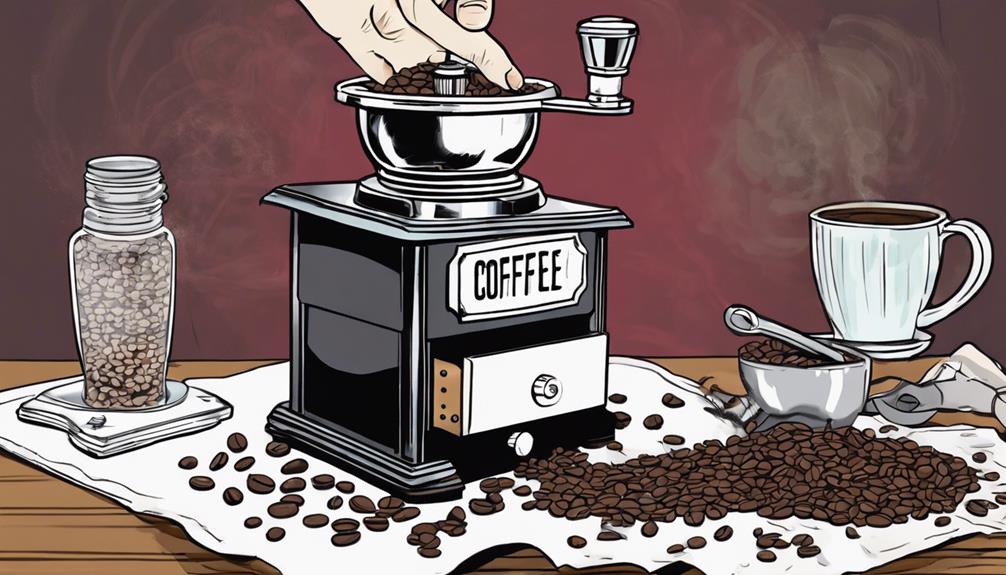
Unboxing and Component Inspection
When unboxing your DeLonghi coffee machine, make certain you handle it carefully to avoid any potential damage during assembly. Check that all components such as the water tank, coffee grounds container, and milk frother are included and undamaged. Inspect the user manual for detailed instructions on how to assemble the coffee machine correctly. Look for any protective packaging or stickers that need to be removed before assembly. Confirm all components fit securely together to avoid leaks or malfunctions during use.
Before proceeding with the assembly, carefully inspect each part to make certain there are no cracks, dents, or missing pieces. If everything looks intact, you can begin putting the machine together following the step-by-step instructions provided in the manual. Remember to remove any packaging or protective materials to prevent any interference with the machine's functionality.

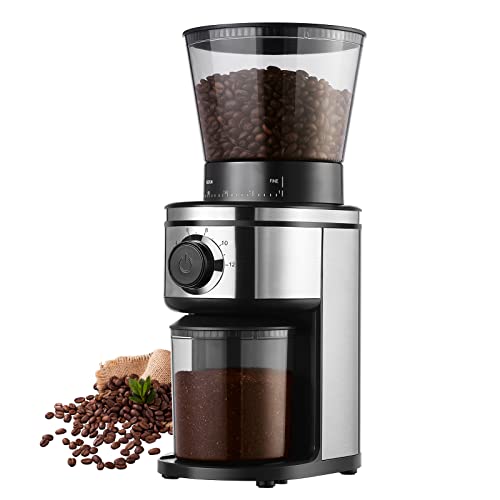
MOKKOM Professional 64mm Flat Burr Coffee Grinder with 100 Grind Settings, All-Metal Stainless Steel Body, Coffee Bean Grinder with Adjustable Electronic Timer, Anti-Static, LED Display
[64mm Stainless Steel Flat Burrs] As a professional coffee grinder, this machine uses 64mm stainless steel flat burrs...
As an affiliate, we earn on qualifying purchases.
Placing the Machine Correctly

To secure best performance and safety, position your DeLonghi coffee maker on a stable, flat surface away from direct sunlight or heat sources. This secures the machine remains steady during operation and prevents any potential damage.
Make sure to leave sufficient space around the coffee maker for easy access to the water and bean compartments when refilling. It's also important to position the machine near a power outlet for easy plug-in access, avoiding the use of extension cords for safety purposes.
Consider situating the coffee maker near a sink for convenient water refills and quick cleanup after each use. This setup not only makes the refilling process more manageable but also secures that any spills or drips can be easily taken care of.
Ollygrin Burr Coffee Grinder, Electric Conical Coffee Bean Grinder With 30 Adjustable Grind Settings For 2-12 Cups, Sliver & Black
【Durable Conical Burr】With 40-millimeter stainless steel conical burrs, OLLYGRIN burr coffee grinder ensure optimal flavor extraction and create...
As an affiliate, we earn on qualifying purchases.
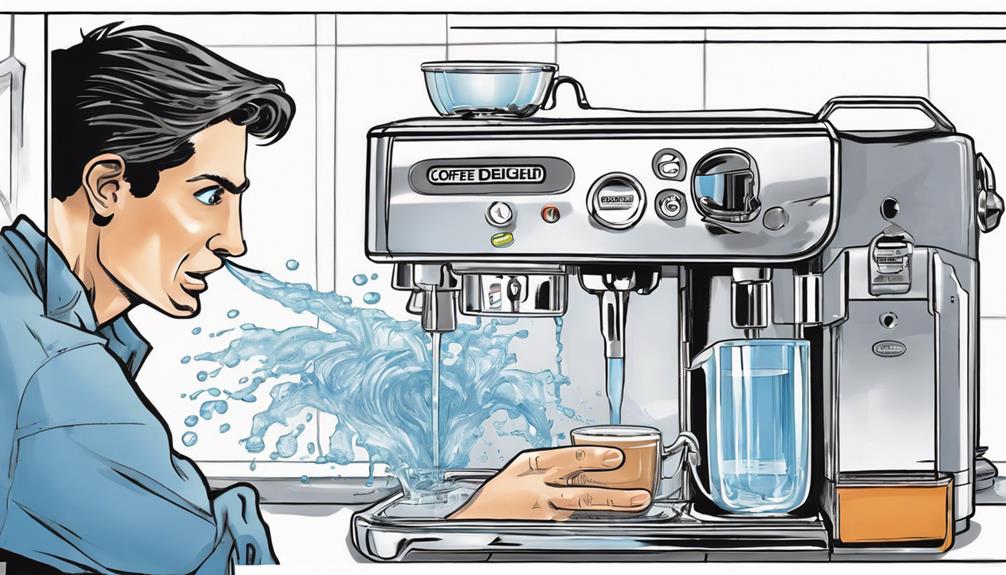
Attaching the Water Reservoir
Attach the water tank by firmly inserting it into the designated slot at the back of your DeLonghi coffee machine until it clicks into place. The water tank has a capacity of 1.8 liters, ensuring you have an abundant supply of hot water for your brewing needs. Its transparent design allows you to easily keep an eye on the water level, making it simple to know when a refill is required.
Ensuring the water tank is securely attached is essential to avoid any leaks during the brewing process. This step is pivotal for the proper functioning of your DeLonghi coffee machine.
The user-friendly design of the water tank not only facilitates easy monitoring but also provides convenient access for refilling and maintenance tasks. By following these instructions, you can guarantee a smooth brewing experience, with a constant supply of hot water readily available at your fingertips.

Baratza Encore Coffee Grinder ZCG485BLK, Black
Specialty Coffee Association Award Winning Grinders - Baratza grinders are preferred by coffee professionals and backed by Baratza’s...
As an affiliate, we earn on qualifying purchases.
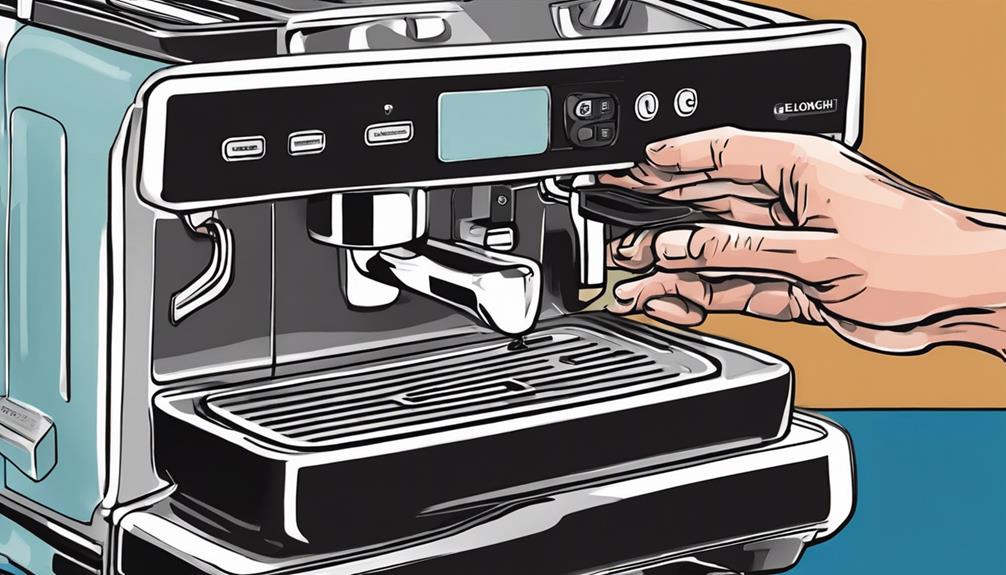
Inserting and Locking the Portafilter

Inserting and locking the portafilter securely is important for brewing espresso effectively in your DeLonghi coffee machine. The portafilter, a key component, is where you place your ground coffee before brewing.
To insert it, align the handle with the machine's group head, and push it in firmly. Once in place, twist the portafilter clockwise to lock it securely. This step is essential to prevent leaks and ensure a proper extraction of the espresso.
If the portafilter isn't properly locked, it may result in a messy brewing process and affect the quality of your espresso. By securely locking the portafilter, you ensure a smooth brewing experience and a delicious cup of coffee.
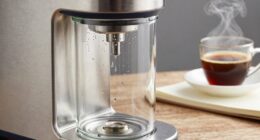
Filling the Water Reservoir
Lift the lid at the top of your DeLonghi coffee machine to access the water reservoir for filling.
Here's how you can efficiently fill the water reservoir before diving into the brewing process:
- Check Capacity: Make sure you don't go beyond the maximum capacity of 1.8 liters when filling the water reservoir to avoid any spills during the brewing process.
- Transparent Reservoir: Utilize the see-through design of the reservoir to monitor the water level easily. This feature allows you to refill in a timely manner, ensuring a smooth brewing experience.
- Secure Placement: Before starting the brewing process, double-check that the reservoir is securely in place. This step is essential to prevent any leaks that could disrupt the brewing process.
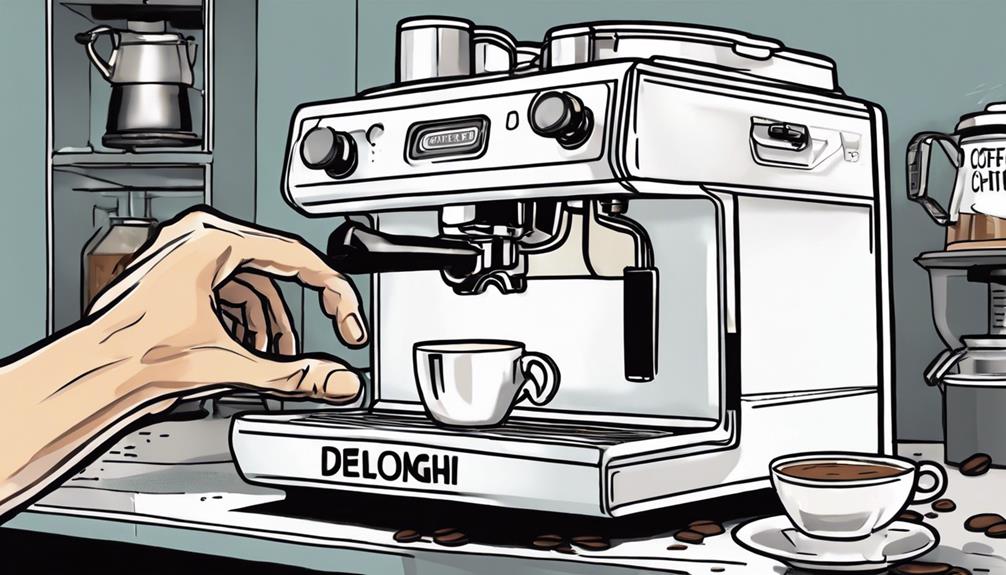
Powering Up the Machine
To power up your DeLonghi coffee machine, simply plug it into a power source using the provided cord and make sure the power switch is in the 'off' position before you begin. Once connected, press the power button to turn on the machine.
Allow the coffee machine to heat up to the ideal brewing temperature before proceeding. This step is essential to guarantee that your drip coffee is brewed perfectly.
Remember to follow the manufacturer's instructions for specific details on powering up the machine. It's important to wait until the machine is fully heated before starting the brewing process.
This ensures that your coffee will be brewed at the correct temperature, extracting the best flavors from your coffee grounds.
Heating Up the Machine

You want to make sure your DeLonghi coffee machine is fully heated before brewing. This process usually takes around 15-20 minutes.
Waiting for the machine to indicate when it's ready guarantees ideal water temperature for a delicious cup of coffee.
Machine Heat-up Process
As the DeLonghi coffee machine begins its heat-up process, the heating element gradually raises the water temperature, typically taking around 40-45 seconds to reach the best brewing temperature. Ensuring the machine is adequately heated up is essential for extracting the perfect flavors from your coffee grounds.
Here's what you need to know about the machine heat-up process:
- Indicator Lights: Keep an eye on the machine's indicator lights or display; they'll signal when the machine has reached the ideal brewing temperature.
- Flavor Extraction: Waiting for the machine to fully heat up before brewing allows for the best flavor extraction from the coffee, ensuring a rich and aromatic cup of coffee.
- Consistency and Quality: The heat-up process is vital for guaranteeing consistent and quality espresso shots every time you brew a fresh cup.
Preparing for Brewing
Upon plugging in and turning on your DeLonghi coffee machine, the heating process will commence as it prepares to brew your perfect cup of coffee. Make sure to keep an eye out for the machine's signal or light indicator, which will let you know when it's ready to start brewing your favorite coffee. Allow the machine a few minutes to heat up properly, ensuring that it reaches the optimal temperature for brewing. Before starting the brewing process, it's essential to check the water and bean levels to prevent any interruptions during brewing. Refer to the user manual for specific instructions on how to best heat up your DeLonghi coffee machine. By following these steps, you'll be on your way to enjoying a delicious cup of your favorite coffee in no time.
| Preparing for Brewing | Steps |
|---|---|
| Plug in and turn on machine | Ensure heating process starts |
| Check for readiness signal or light | Wait for optimal brewing temperature |
| Verify water and bean levels | Ensure smooth brewing process |
| Refer to user manual | Follow specific heating instructions |
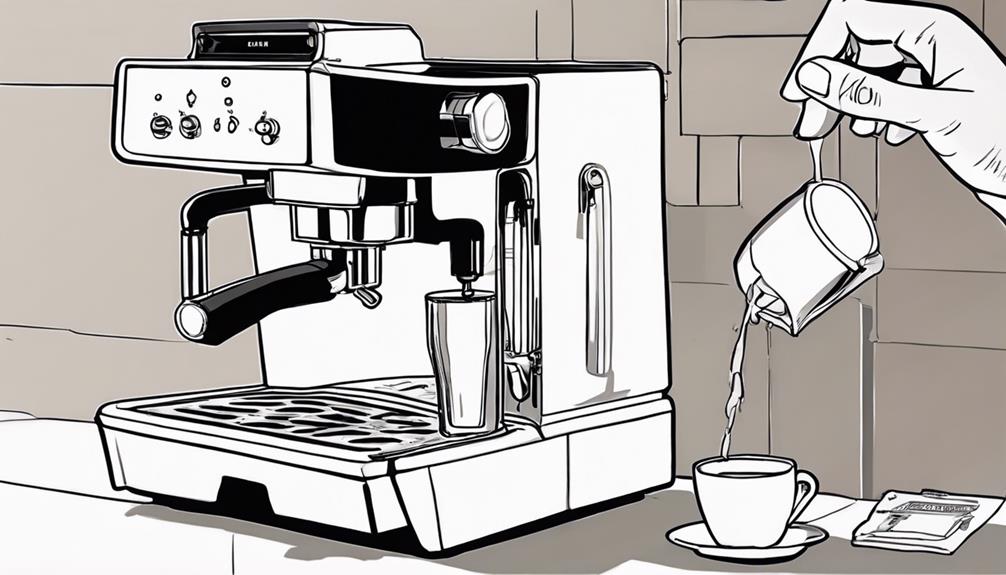
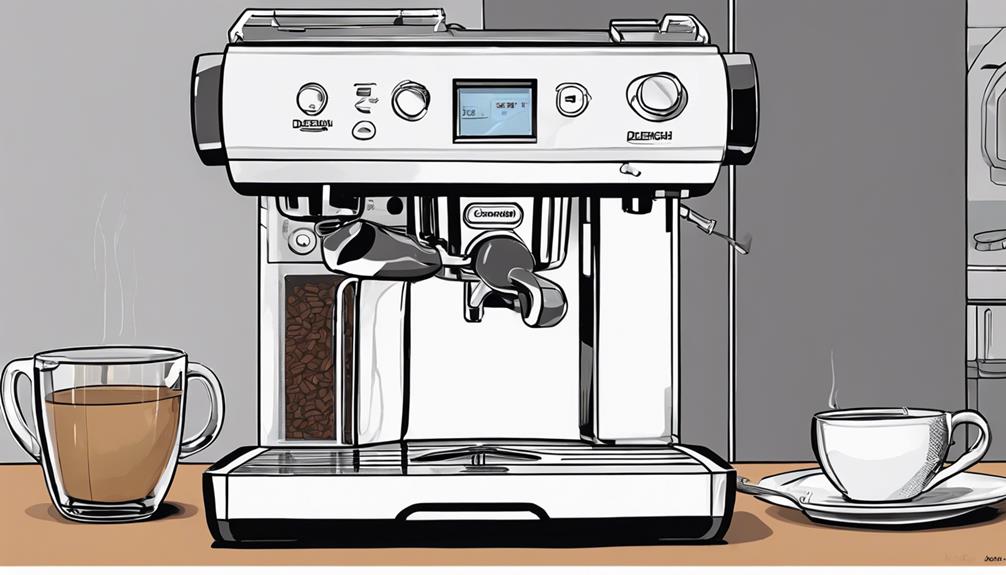
Brewing Your First Cup
Wondering how to brew your first cup with the DeLonghi Coffee Machine? Here's a simple guide to help you get started:
- Fill the Water Reservoir: Begin by topping up the water reservoir with up to 1.8 liters of water. This secures you have enough water for brewing your desired beverages.
- Grind the Coffee Beans: Add up to 300g of coffee beans to the grinder. Freshly ground coffee beans will improve the flavor and aroma of your drink.
- Use the Milk Frother: To create velvety milk foam for your drink, utilize the milk frother. Whether you're making a latte, cappuccino, or another milk-based beverage, the frother will assist you in achieving the ideal texture.
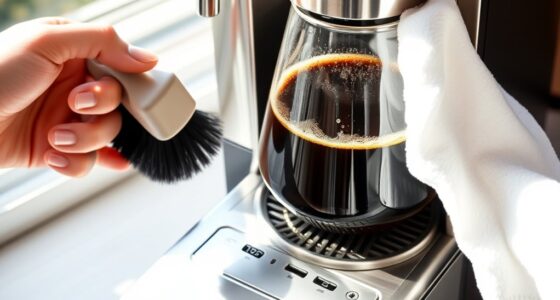
Enjoying Your Freshly Brewed Coffee
To fully savor the freshly brewed coffee from your DeLonghi Coffee Machine, make sure to select your preferred coffee beans and check that the water and beans containers are adequately filled.
Once you have assembled the machine, simply use the intuitive touch button controls to choose your desired beverage from the 4 one-touch options available.
If you enjoy milk-based drinks like lattes or cappuccinos, the manual milk frother can help you create creamy foam for that perfect finish.
Don't forget to personalize the aroma and temperature settings to match your taste preferences, ensuring a high-quality coffee experience every time.
With the DeLonghi coffee machine, preparing a variety of coffee beverages is a breeze with just a touch of a button, making your mornings more enjoyable and hassle-free.
Now, sit back, relax, and indulge in the rich flavors of your freshly brewed coffee made effortlessly with your DeLonghi Coffee Machine. Unwind and savor each sip as you appreciate the convenience and quality of your DeLonghi Coffee Machine. No more struggling with assembling a mr. coffee maker or waiting in long lines at the local coffee shop. With just the touch of a button, you can enjoy the perfect cup of coffee in the comfort of your own home.
Frequently Asked Questions
How to Assemble a Delonghi Machine?
To assemble a DeLonghi machine, start by placing the water container, coffee beans, and milk frother in their designated spots. Confirm the machine is on a stable surface and follow the user manual for specific instructions. Next, ensure that the machine is plugged in and turned on. Adjust the settings to your desired preferences for temperature and strength of the coffee. Once everything is set up, you can start brewing your coffee. However, if you ever find yourself in a situation where you’re brewing coffee without machine, there are alternative methods such as using a French press or pour-over method.
How to Set up a Delonghi Cappuccino Machine?
To set up a DeLonghi cappuccino machine, fill the water tank, add beans to the grinder, attach the frother, prime the machine, then adjust strength and texture settings. Enjoy the aroma as you brew your perfect cup!
How Do You Attach a Delonghi Milk Frother?
To attach a Delonghi milk frother, align it securely with the steam wand or attach the separate milk container. Make sure it's clean and unblocked. Following the manufacturer's instructions guarantees best frothing performance.
How Do You Put Pods in a Delonghi Espresso Machine?
To put pods in a DeLonghi espresso machine, lift the lever, place the pod in the compartment, and securely close the lever. ESE pods offer a mess-free brewing experience, ensuring consistent results for your favorite coffee beverages.
Conclusion
Now that you've assembled your Delonghi coffee machine, imagine waking up to the aroma of freshly brewed coffee filling your kitchen. . One press of a button and you can enjoy a rich, robust cup of coffee that rivals your favorite café. Assembling the mr. coffee maker will be a breeze compared to the Delonghi, but the end result will still be the same delicious morning pick-me-up. With your new coffee machine, you can start each day on a high note, enjoying the perfect cup of coffee from the comfort of your own home. Assembling your mr. coffee maker is a simple process that will only take a few minutes, and soon you’ll be savoring the aroma and flavor of freshly brewed coffee in no time. Whether you prefer a classic black coffee or a frothy cappuccino, the mr. coffee maker can cater to your every craving. With the convenience of having your own coffee machine, you can elevate your morning routine and start your day off right with the perfect cup of coffee.
With each sip, you can taste the rich flavors and feel the warmth spreading through your body.
The process may seem challenging at first, but the end result is truly worth it.
So go ahead, savor every moment and enjoy your perfectly brewed cup of coffee!