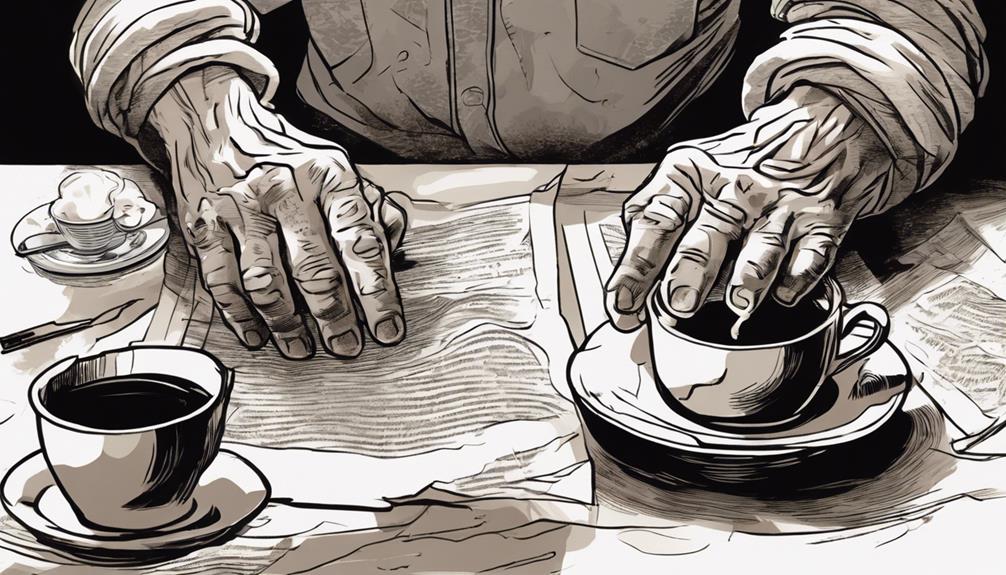
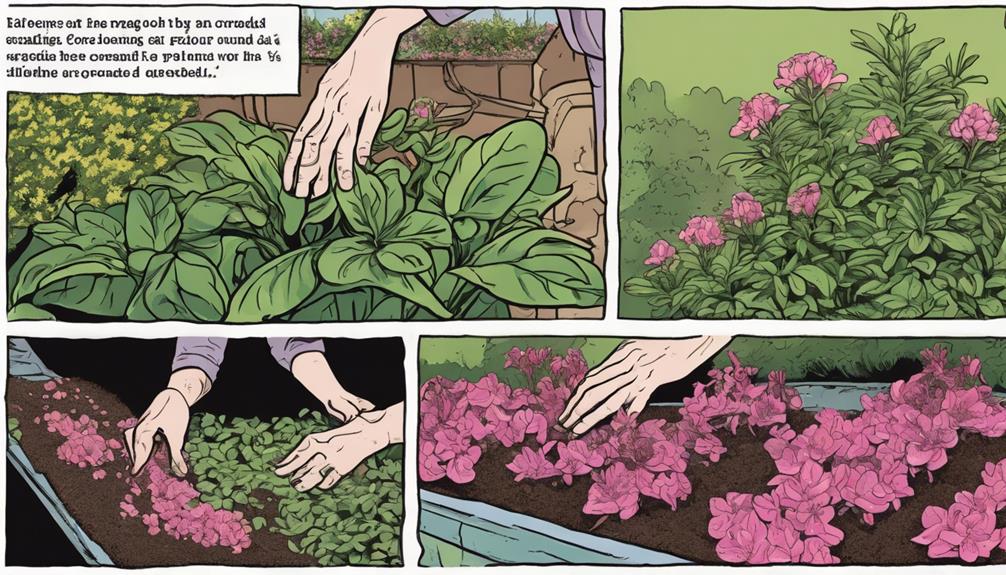
Achieve a vintage appearance by aging paper using coffee. Create texture by crumpling the paper. Mix instant coffee with hot water, adjust for desired shade, and allow to dry. Evenly spread the mixture or apply in spots for darker areas. Scorch the edges for an antique look. Try out different types of tea and coffee for variation. For more techniques and creative uses, continue to explore vintage projects and innovative ideas!
Key Takeaways
- Dilute instant coffee in hot water for an antique appearance.
- Apply coffee evenly with a sponge or brush.
- Experiment with coffee concentrations for varied rustic shades.
- Allow the paper to dry completely after applying the coffee mixture.
- Crumple the paper before soaking for added texture.
Aging Paper Techniques
To achieve a vintage look, start by experimenting with various aging techniques such as coffee staining on your paper. Coffee staining is a simple yet effective method to give your paper an antique appearance. Dilute 2 teaspoons of instant coffee in 1/4 cup of hot water for a rich, aged effect. Adjust the concentration of the coffee to achieve different shades of antiquing.
After applying the coffee mixture to the paper, allow it to dry completely. This process can take 2-3 hours if air drying or just 2 minutes at 200 degrees in the oven for a quicker result.
When aging paper using coffee, keep in mind that tea staining is another option, but be aware that tea-stained paper may lose some of its archival quality due to the tannic acid present in black tea. Experimenting with various techniques and concentrations of coffee or tea can lead to unique and versatile results perfect for crafts like scrapbooking, card making, art journals, and home decor projects.
Aged Paper Projects
You can craft vintage cards, explore art journal ideas, and find inspiration for home decor projects using aged paper.
Enhance your creativity by incorporating aged paper into your crafting endeavors, adding a touch of nostalgia and uniqueness to your creations.
Experiment with different techniques and styles to bring your aged paper projects to life.
Crafting Vintage Cards
Crafting vintage cards with aged paper adds a charming and nostalgic element to your handmade creations. By incorporating coffee stains and aging techniques, you can achieve a unique antique look for your vintage cards. Experimenting with different paper types and concentrations of coffee can help you customize the level of aging to suit your design preferences.
To create stunning vintage cards, consider using the following techniques:
| Technique | Description |
|---|---|
| Tea Staining | Achieve a subtle aged effect with tea |
| Coffee Stains | Create rich, antique-looking stains with coffee |
| Layering | Combine different aging methods for depth |
| Hand-lettering | Add personalized messages for a special touch |
Vintage cards made with aged paper are perfect for special occasions like birthdays, anniversaries, or holidays. Whether used as backgrounds, embellishments, or the main feature of the card, aged paper adds a touch of nostalgia and craftsmanship to your handmade creations.
Art Journal Ideas
Consider integrating aged parchment into your art diary projects to infuse a weathered and classical allure into your creative pages. Aged parchment, achieved through coffee staining, is ideal for crafting vintage art diary spreads with a historic look.
Experimenting with different strengths of coffee can assist you in achieving various tones of aged parchment, enhancing character and dimension to your art diary pages. When combined with diverse media techniques, aged parchment can offer a distinct and textured appearance to your art diary entries.
Home Decor Inspiration
Integrate the charm of aged paper into your home decor with creative projects that infuse a touch of nostalgia and character. Aging book pages can be repurposed in various ways to add a vintage aesthetic to your living space.
For instance, consider framing aged book pages from your favorite novels as unique wall art pieces or using them as a backdrop for displaying cherished photos. This aged appearance adds a sense of history and personalization to your home decor.
Furthermore, incorporating aged paper into crafts like scrapbooking and card making can elevate the overall look and feel of your creations. Experiment with different concentrations of coffee or tea to achieve various aged effects, allowing you to tailor the appearance of the paper to suit your desired aesthetic.
Whether you're creating vintage Christmas canvas art or painting characters on aged paper, these projects offer a creative way to infuse warmth and character into your home decor.
Aging Paper Tutorial
Let's start by walking through the steps for aging paper using coffee, which involves steeping a tea bag in hot water or dissolving coffee in water.
The coffee staining process includes blotting or painting the liquid onto the paper and allowing it to dry naturally or using an oven for quicker results.
Special tips for beginners include experimenting with different concentrations of coffee or tea for varied aging effects.
Steps for Aging Paper
To begin aging paper using coffee or tea, steep a tea bag in hot water for 1 minute or dissolve instant coffee in hot water. Once you have your aging solution ready, grab a brush and start applying the tea or coffee liquid onto the paper. Brush it on or gently blot it to achieve the desired effect.
After applying the solution, allow the paper to dry naturally for 2-3 hours. If you're in a hurry, you can speed up the drying process by baking the paper at 200 degrees for 2 minutes.
For a more unique outcome, experiment with different concentrations of tea or coffee to see how it affects the aging of the paper. And if you want to take it a step further, consider crumpling the paper after it has dried. This extra touch will give your paper a more distressed and aged appearance, perfect for achieving that rustic look you desire.
Coffee Staining Process
Prepare a staining solution by combining coffee grounds and boiling water in a pan for the coffee staining process when aging paper. Submerge your paper into the staining solution, allowing it to soak until reaching the desired darkness. Remember to remove the paper when it appears slightly lighter than your ideal shade to prevent over-staining. Once you have achieved the antique look you desire, carefully hang the paper to air dry. Be cautious during this step, as wet coffee-stained paper can be delicate and prone to tearing.
The coffee staining process imparts a weathered appearance to the paper, perfect for enhancing various crafting projects. The resulting antique look adds a rustic charm and authenticity to your creations. Whether you're working on scrapbooking, journaling, or other DIY endeavors, coffee-stained paper can elevate the aesthetic appeal of your finished pieces.
Experiment with different soaking times and concentrations to achieve the perfect aged effect for your crafting projects.
Special Tips for Beginners
For beginners looking to age paper with coffee, incorporating special tips can enhance the vintage effect of your crafting projects. To achieve a beautifully aged look, follow these essential tips:
- Use a plastic tray: Prevent any accidental spills and protect your workspace by using a plastic tray when working with the coffee solution.
- Dab paper with care: Apply the coffee solution evenly onto the paper by gently dabbing it with a brush or sponge for a rustic appearance.
- Blot excess coffee: Keep extra napkins nearby to blot excess coffee and control the aging effect on the paper, ensuring the desired level of antiquing.
- Carefully burn edges: Utilize a candle with caution to carefully burn the edges of the paper, creating an ancient and weathered look that adds to the overall vintage aesthetic.
Materials and Preparation
Gather a quarter cup of hot, black coffee and a teaspoon of instant coffee to begin aging paper with a distressed appearance in your paper crafts project.
Lay out the paper on a baking sheet or cookie sheet, ensuring to crumple it to enhance the distressed effect.
Use a sponge brush or soft bristle brush to evenly spread the coffee over the paper, staining it for that rustic look you desire.
Once you have applied the coffee, bake the paper in the oven at the lowest setting for approximately five minutes.
This step helps set the stain and accelerates the aging process. Be cautious not to leave it in the oven for too long to avoid burning the paper.
Enhancing the Aged Paper Effect
To further enhance the aged paper effect, consider experimenting with different types of teas or coffees to achieve varied hues and tones. By exploring various options, you can create a more authentic and unique look for your aged paper.
Here are some tips to help you achieve the desired distressed appearance and antique look:
- Crumple Effect: Before soaking the paper, crumple it to add texture and enhance the distressed appearance.
- Concentrated Coffee Spots: Use a paintbrush to apply concentrated coffee solution for darker, aged spots on the paper, adding depth to the overall look.
- Edge Burning: Lightly burn the edges of the paper for an antique look and to give it added character, mimicking the wear and tear of time.
- Sepia Tone: Apply a diluted coffee solution to achieve a sepia tone effect on the aged paper, giving it a vintage and nostalgic appearance.
Supplies You'll Need for Aging Paper
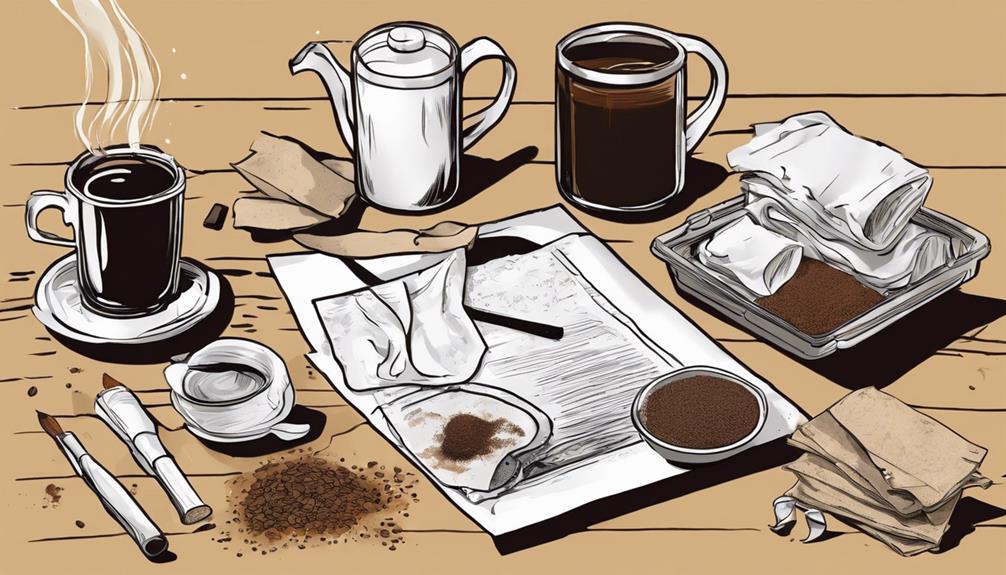
Consider preparing the necessary supplies for aging paper by gathering a piece of paper, 1/4 cup of hot, black coffee, a teaspoon of instant coffee, a baking sheet, and a sponge brush or soft bristle brush.
These items will help you achieve a beautifully aged look on your paper. The coffee will act as a natural dye, giving the paper an antique appearance.
The baking sheet will be used to hold the paper while you work on it, ensuring easy cleanup and organization. The sponge brush or soft bristle brush will help you apply the coffee evenly onto the paper, allowing for a consistent aging effect.
How To Give Paper an Aged Look
For an aged appearance, start by crumpling the paper before laying it flat on a baking tray. This technique helps create a distressed effect that adds character to your paper.
Follow these steps to give your paper an antiqued look:
- Prepare the Base: Pre-heat the oven to the lowest setting to get it ready for the aging process. This step ensures that the paper will dry evenly and the coffee stains will set properly.
- Add the Coffee: Pour hot coffee over the paper and sprinkle instant coffee to create a rustic appearance. The coffee will seep into the paper, giving it a stained and aged look.
- Bake to Perfection: Place the paper in the oven for about five minutes. Baking the paper helps set the aging effect and enhances the vintage appearance.
- Enjoy the Results: Consider framing the aged paper as art or using it to make unique handmade cards. The antiqued paper will add a charming touch to your crafts.
What To Do With Your Vintage Sheet
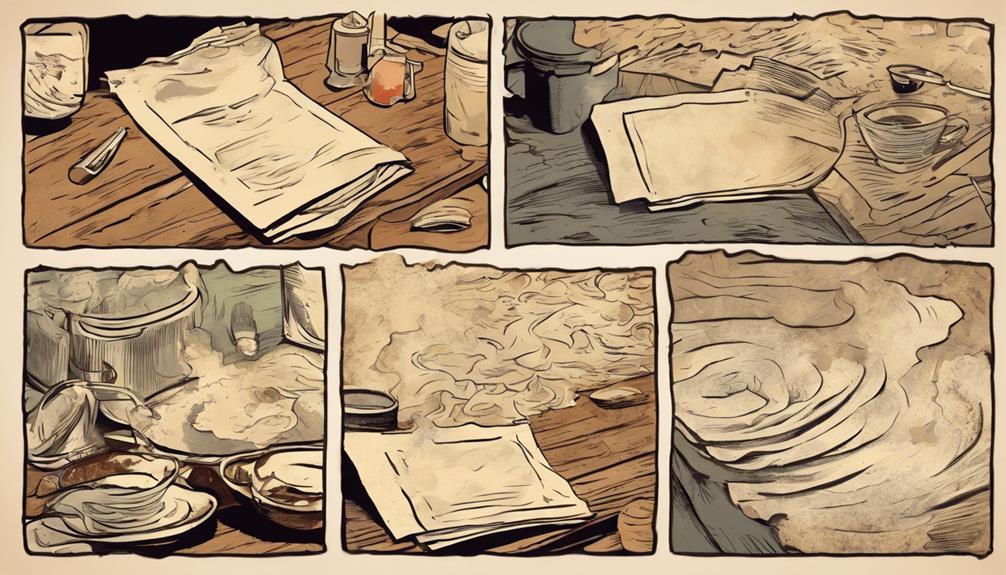
Once you have transformed your paper into a vintage sheet using coffee staining and baking techniques, explore creative ways to incorporate it into your projects. Frame your aged paper to create unique art pieces or personalized Valentine's cards.
The depth and character that aged paper adds can enhance the visual appeal of any craft project. Consider using aged paper to give an authentic touch to handwritten letters, maps, books, or historical documents. By incorporating aged paper, you can create a sense of nostalgia and authenticity in your crafts.
Use aged paper to add a rustic, vintage look to various creations such as ancient scrolls or antique wedding invitations. Experiment with different ways to showcase your aged paper in craft projects to bring a touch of old-world charm and uniqueness to your creations.
Let your creativity flow as you explore the endless possibilities of using aged paper in your artistic endeavors.
Frequently Asked Questions
How to Stain Paper With Coffee to Make It Look Old?
To make paper look old, stain it with coffee. Dilute 2 tsp instant coffee in 1/4 cup hot water. Soak paper in the solution for desired darkness. Experiment with different concentrations for varied effects. Dry and optionally bake at low temperatures to set the stain.
How Do You Make Paper Look Old and Rusty?
Soak paper in brewed coffee for a vintage look with a light brown tint. Coffee staining adds character to artwork, letters, and invitations, creating an authentic and nostalgic feel. Combine with crumpling or burning for rustic effects.
How to Make Paper Look Old With Using Tea or Coffee?
To make paper look old with tea or coffee, steep tea bags or dissolve instant coffee in hot water. Apply the mixture using a brush or sponge, then let it dry naturally or speed up the process with an oven at low heat.
How Do You Make Paper Look Brown and Old?
To make paper look brown and old, soak it in a hot coffee and instant coffee blend. Adjust the coffee concentration for various shades of brown. Avoid black tea as it can harm paper quality. Bake the stained paper at low heat for faster drying and added rustic charm.
Conclusion
So go ahead and grab your coffee and get ready to turn plain paper into a masterpiece with a touch of vintage charm!
Let your creativity flow like a river and watch as your projects come to life with a rustic look that will make them stand out like a diamond in the rough.
Aging paper with coffee is a simple yet effective technique that will add a unique and antiqued vibe to your crafts. If you’re looking to give your paper a classic, aged appearance, this method is perfect for achieving that desired look. All you need is some brewed coffee in a shallow container, and you can easily transform your plain paper into a vintage piece. And while you’re at it, why not try out a delicious coffee swiss roll recipe to enjoy while you work on your crafts?
Get brewing and start creating today!
