
To adjust an antique coffee grinder, it is important to carefully dismantle it in order to identify any parts that may be stuck and make adjustments to the burrs to achieve your desired grind size. Make sure to slide the shaft through the pinion gear and utilize features such as keyed shafts for fine-tuning. Adjustment nuts, like the star nut, are crucial in achieving precise settings. Be patient in perfecting the vintage coffee grinding process for that exceptional brew.
Key Takeaways
- Disassemble to identify stuck parts hindering adjustments.
- Modify burrs' distance for desired grind size.
- Utilize features like keyed shafts for precise adjustments.
- Adjust grind size by sliding the shaft through the pinion gear.
- Importance of adjustment nuts like the star nut for accurate settings.

Amazon Basics Basket Coffee Filters for 8-12 Cup Coffee Makers, White, 200 Count, Packaging May Vary
- Package Quantity: 200 white basket filters
- Compatibility: Fits 8-12 cup coffee makers
- Filtration Quality: Excellent sediment removal
As an affiliate, we earn on qualifying purchases.
Understanding Vintage Grinder Adjustment
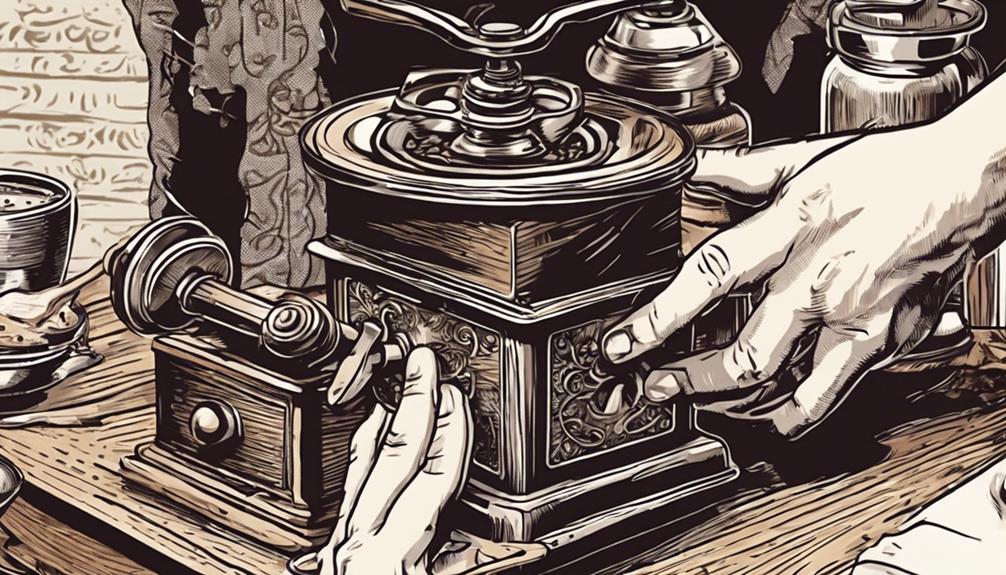
To adjust a vintage coffee grinder properly, understanding the mechanisms for grinder adjustment is crucial. When dealing with tweaking on these classic grinders, disassembling the device can be an essential step. By taking apart the grinder, you can pinpoint any stuck parts that may need adjustment for best performance.
Some vintage hand grinders might need modifications to the burrs' distance to achieve the desired grind size. In certain cases, adjusting the grind size could involve sliding the shaft through the pinion gear. It's worth noting that keyed shafts or a square section of the shaft could be necessary for fine-tuning vintage hand grinders.
Additionally, using an adjustment nut like the star nut can play a significant role in setting the grind size accurately. Understanding these adjustment mechanisms will enable you to fine-tune your vintage coffee grinder effectively and enhance your coffee brewing experience to the highest level.
Mechanism of Antique Grinder Adjustment

Understanding the intricate mechanism behind antique grinder adjustment is important for enhancing your coffee grinding experience. One of the key aspects of understanding antique grinder adjustment is learning how to properly adjust the coffee grinder dosage. Having the ability to manipulate the dosage will allow you to achieve the perfect coffee grind for your preferred brewing method, whether it’s for a French press, pour-over, or espresso. By mastering the art of adjusting coffee grinder dosage, you can unlock the full potential of your antique grinder and elevate your coffee brewing experience to a whole new level.
When dealing with old coffee grinders, make sure to pay attention to the following:
- Modify Burr Distance: Adjust the burrs' distance to achieve your desired grind size accurately.
- Sliding Shaft: Some antique grinders require the shaft to slide through the pinion gear for adjustment purposes.
- Keyed Shafts: Utilize keyed shafts or square sections of the shaft for making precise adjustments on antique coffee grinders.
- Adjustment Nuts: Star nuts and other adjustment nuts are essential for setting the grind size on vintage coffee grinders.
- Disassembly Benefits: Disassembling antique coffee grinders can help identify stuck parts that need adjustment, ensuring optimal performance.
When disassembling, be cautious and consider using a paint stripper for removing stubborn old paint that might hinder adjustments.
Adjusting Vintage Hand Grinders

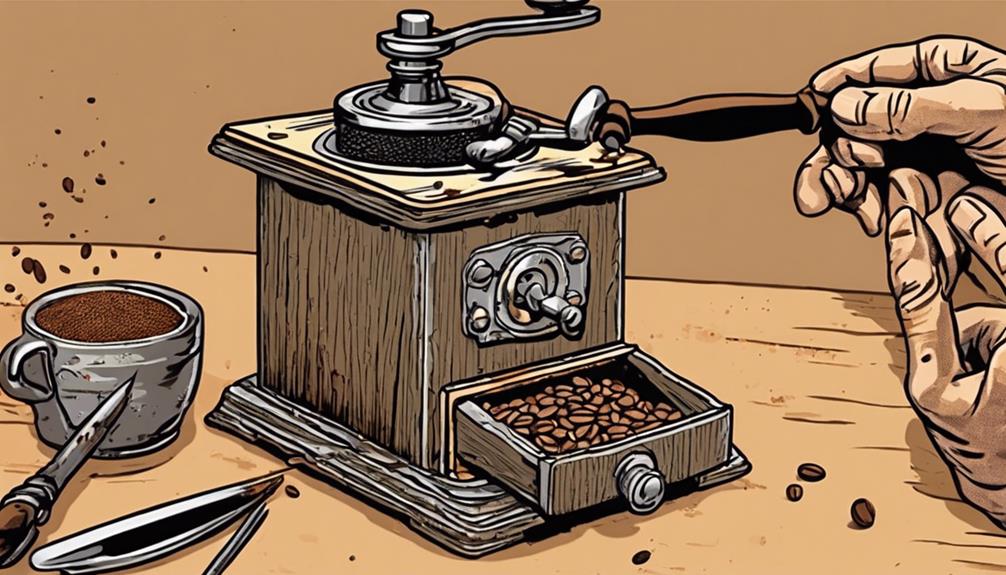
When adjusting vintage hand grinders, you can tweak the grind settings by modifying the burrs' distance for your desired consistency.
Some models might need you to slide the shaft through the pinion gear for these adjustments.
Keep an eye out for features like the keyed shaft or square section, which indicate where modifications can be made.
Adjusting Grind Settings
Adjust the grind settings on vintage hand grinders by manipulating the burrs' distance to achieve your desired coffee grind size.
When adjusting grind settings on vintage hand grinders, consider the following:
- Some vintage hand grinders may require the shaft to slide through the pinion gear to make adjustments.
- Vintage hand grinders might utilize a keyed shaft or square section for adjusting the grind size.
- An adjustment nut, such as the star nut, can be essential in fine-tuning grind settings.
- Experiment with different nuts and consider disassembling the grinder to find the correct adjustment point.
Finding the right adjustment point is critical for ensuring consistent grinding of your coffee beans.
Mechanism of Modification
To modify vintage hand grinders effectively, consider adjusting the burrs' distance to achieve your desired coffee grind size. The process involves tweaking the burrs closer together for a finer grind or further apart for a coarser one. Here's a simple guide to help you understand the mechanism of modification:
| Adjustment Step | Action Required |
|---|---|
| 1. Initial Adjustment | Turn the adjustment nut a little bit to set the starting point. |
| 2. Grinding Test | Grind a small amount of coffee and assess the coarseness. If needed, go back and adjust the nut slightly. |
| 3. Fine-tuning | Fine-tune the grind size by repeating the previous steps until you achieve the perfect grind for your brewing method. |
Possibility of Adjustment
Exploring vintage hand grinders reveals the potential for adjustment through experimentation with their hidden mechanisms and components. When it comes to adjusting these antique coffee grinders, you may be surprised at the possibilities that lie within.
Let's walk through some key points to help you navigate the adjustment process effectively:
- Replicas Demonstrate Adjustment: Replicas of vintage hand grinders with similar gear systems indicate that adjustment is indeed possible through experimentation.
- Hidden Mechanisms Exist: Vintage hand grinders likely have concealed adjustment mechanisms waiting to be discovered through disassembly and examination.
- Nut Exploration: Experimenting with different nuts on vintage hand grinders can lead you to the correct adjustment point for achieving your desired grind settings.
- Valuable References: Reference restoration videos and similar gear systems for valuable insights on effectively adjusting vintage hand grinders.
- Component Understanding: Understanding the components and mechanisms of vintage hand grinders is pretty good for maintenance and successful adjustment processes.
With these insights, go ahead and set off on your journey to reveal the full potential of your vintage hand grinder.
Exploring Vintage Grinder Adjustments

When working with vintage hand grinders, consider exploring the mechanisms for adjusting the grind size to achieve your desired coffee consistency. Vintage grinders offer a variety of adjustment methods to cater to different preferences. You may need to modify the burrs distance, slide the shaft through the pinion gear, or utilize a keyed shaft or square section for adjustments. The adjustment nut, such as the star nut, is pivotal in fine-tuning your vintage hand grinder to produce the perfect grind for your brew. By disassembling the grinder, you can identify any stuck parts that require adjustments, ensuring optimal performance. Take the time to experiment with these adjustment options to find the ideal settings for your vintage grinder and elevate your coffee brewing experience.
| Adjustment Method | Description |
|---|---|
| Modify burrs distance | Adjust the space between the burrs to control the fineness of the grind. |
| Slide shaft through pinion gear | Move the shaft through the gear to change the grind size. |
| Keyed shaft or square section | Utilize a specific shaft shape for adjusting the grind consistency. |
| Adjustment nut (e.g., star nut) | Fine-tune the grind by turning the adjustment nut to achieve the desired size. |
Antique Grinder Maintenance Tips

Regularly cleaning your vintage coffee grinder is essential for maintaining its functionality and performance. To optimize your antique grinder stays in peak condition, consider the following maintenance tips:
- Clean Thoroughly: Remove old coffee grounds and residue regularly to prevent clogs and maintain peak grinding performance.
- Lubricate Moving Parts: Apply a small amount of food-grade lubricant to keep the grinder's mechanisms running smoothly and prevent unnecessary wear and tear.
- Inspect for Issues: Regularly check for rust, mold, or any signs of damage that may impact the grinder's functionality and address them promptly.
- Replace Worn-out Parts: Keep an eye on the condition of parts like burrs and handles, and replace them when necessary to ensure consistent grinding quality.
- Store Properly: Store your antique grinder in a dry and clean environment to prevent moisture damage and preserve its condition for longer periods.
Repairing Vintage Coffee Grinders
When repairing vintage coffee grinders, carefully disassemble the grinder to identify any stuck or damaged parts.
Use specific tools and techniques for troubleshooting and adjusting the mechanisms.
Make sure to have the necessary tools on hand before starting the repair process.
Disassembly for Repair
To repair vintage coffee grinders, start by carefully disassembling the grinder, screw by screw, to access the internal components.
Once you have disassembled the grinder, soak the parts in a coffee cleaner solution and hot water to remove grime and old coffee residue.
Make sure to clean the grounds drawer separately with hot water to scrub off any accumulated coffee remnants.
After cleaning the parts, thoroughly scrub the interior of the grinder to eliminate any coffee gunk that may affect its performance.
Troubleshooting Adjustment Mechanisms
Identifying stuck parts that hinder adjustment mechanisms is essential when troubleshooting vintage coffee grinders. Sometimes, these parts can be jammed due to old age, lack of maintenance, or improper use. To address these issues, disassembly of the grinder may be necessary to access and repair the adjustment components. Once you have identified the stuck parts, carefully remove them and clean any debris that may be causing the obstruction. Referencing repair guides or videos can provide helpful insights into fixing adjustment problems in vintage coffee grinders. However, be aware that some repairs may require specific tools or techniques that are unique to each grinder model. If the adjustment issues seem too complex to handle on your own, seeking professional assistance is advisable to avoid causing further damage to your vintage coffee grinder.
| Troubleshooting Steps | Description |
|---|---|
| Identify stuck parts | Locate components causing the adjustment issues. |
| Disassemble the grinder | Access and repair the adjustment mechanisms. |
| Clean and remove debris | Clear any obstructions causing the parts to stick. |
| Seek professional help | Consult experts for complex adjustment problems. |
Specific Tools Needed
You may frequently require specific tools like screwdrivers, brushes, pliers, and a wrench for repairing vintage coffee grinders effectively. When working on these intricate machines, having the right tools can make a significant difference in the repair process.
Here are some essential tools you should have on hand:
- Specialized tools like burr grinder wrenches and cleaning brushes are essential for disassembly and maintenance.
- Precision screwdrivers are necessary for removing small screws and components in vintage coffee grinders.
- A rubber mallet can be used to gently tap stuck parts for disassembly without causing damage.
- Having a set of various size wrenches is vital for adjusting and tightening components during the repair process.
Assessing Antique Grinders in Stores

When evaluating antique grinders in stores, be sure to thoroughly inspect for missing parts and signs of wear and tear. Check for the grinding handle and burrs to ensure the grinder is complete. Feeling the burrs for sharpness and chipping is crucial as it can affect the grinding quality. Look out for mold or rust on wooden bodies, which may indicate poor storage conditions. Additionally, assess the condition of finishes like paint and wood to determine the grinder's overall aesthetic appeal. Verify if all functioning parts are present for the grinder to work properly and efficiently.
| Aspects to Consider | Details |
|---|---|
| Missing Parts | Check for grinding handle and burrs |
| Burrs Condition | Feel for sharpness and chipping |
| Wooden Body | Look for mold or rust |
| Finish Condition | Assess paint and wood condition |
| Functionality | Verify presence of all functioning parts |
Restoring Antique Coffee Grinders

To restore an antique coffee grinder, carefully disassemble it for cleaning and inspection of the burr construction.
Soak parts in a dedicated cleaner to remove residue and scrub off any coffee gunk for smooth operation.
Refresh the appearance by stripping varnish, sanding down the wood, and putting everything back together for a fully restored grinder.
Disassembly for Restoration
Carefully dismantling an antique coffee grinder involves unscrewing each part to prepare for restoration. Once disassembled, soaking the parts in a coffee cleaner solution and hot water is vital to remove built-up grime and residue.
Additionally, it's important to thoroughly clean the grounds drawer and scrub off any coffee residue inside the grinder body. As part of the restoration process, scrubbing off old varnish and sanding down the wood can refresh the appearance of the grinder body.
Cleaning and Refinishing
Assess the condition of the antique coffee grinder by carefully disassembling it to determine the extent of cleaning and refinishing needed.
Once disassembled, soak the coffee-caked parts in a dedicated cleaner and hot water for a thorough cleaning. Make sure to scrub off any remnants of coffee inside the grinder body to restore its functionality effectively.
After cleaning, consider refinishing the wood and polishing the metal components to give the grinder a refreshed and appealing look.
Once all the parts have been cleaned and refinished, reassemble the grinder ensuring that everything fits snugly. Test the grinder using coffee beans to guarantee its proper function.
Cleaning and refinishing your antique coffee grinder won't only improve its appearance but also enhance its performance, providing you with a delightful coffee grinding experience.
Steps to Restore Antique Grinders

Disassemble the antique grinder meticulously, removing each screw one by one to initiate the restoration process.
Once all parts are separated, soak them in a coffee cleaner solution and hot water for a deep clean.
Ensure to scrub the grounds drawer thoroughly, eliminating any coffee residue present inside the grinder body.
Next, focus on polishing the metal components to bring back their original shine and enhance their overall appearance.
Finishing Touches in Grinder Restoration

After reassembling all the cleaned components, test the restored antique coffee grinder by grinding coffee beans to confirm its proper functionality.
Once you've confirmed that the grinder is working smoothly, take a moment to appreciate the renewed appearance and functionality of this vintage piece.
To add a personalized touch, consider refinishing the wood to bring out its natural beauty or preserving its original look for a more authentic feel.
Don't forget to pay attention to the metal components as well. Polish them carefully to restore their shine and enhance the overall aesthetics of the antique coffee grinder.
This final step not only adds to the visual appeal but also makes certain that every part of the grinder is in top condition.
Frequently Asked Questions
How Do You Restore a Vintage Coffee Grinder?
To restore a vintage coffee grinder, carefully disassemble it, soak parts in cleaner, scrub off grime, refresh wood, reassemble, and test with beans. You'll appreciate the renewed appearance and functionality of your antique grinder!
How Well Do Antique Coffee Grinders Work?
Antique coffee grinders work surprisingly well. When adjusted and maintained properly, they offer a unique manual grinding experience, producing consistent and customizable grind sizes. Well-preserved vintage grinders can even rival modern electric ones in performance.
How Do I Change the Settings on My Coffee Grinder?
To change the settings on your coffee grinder, turn the adjustment nut to achieve your desired grind size. Experiment with different nuts and disassemble if needed. Understanding the mechanism is key to perfecting your grind.
How Do I Adjust the Coarseness on My Coffee Grinder?
To adjust the coarseness on your coffee grinder, simply turn the adjustment screw gradually until you reach the desired grind size. Test the grind with beans for best flavor. Secure the setting with a lock screw for consistency.
Conclusion
Now that you've learned how to adjust and restore your antique coffee grinder, you're ready to enjoy a freshly ground cup of coffee with a touch of nostalgia.
Did you know that over 50% of coffee drinkers prefer the taste of coffee ground from vintage hand grinders?
So why not give it a try and experience the rich flavors of a bygone era in every sip!