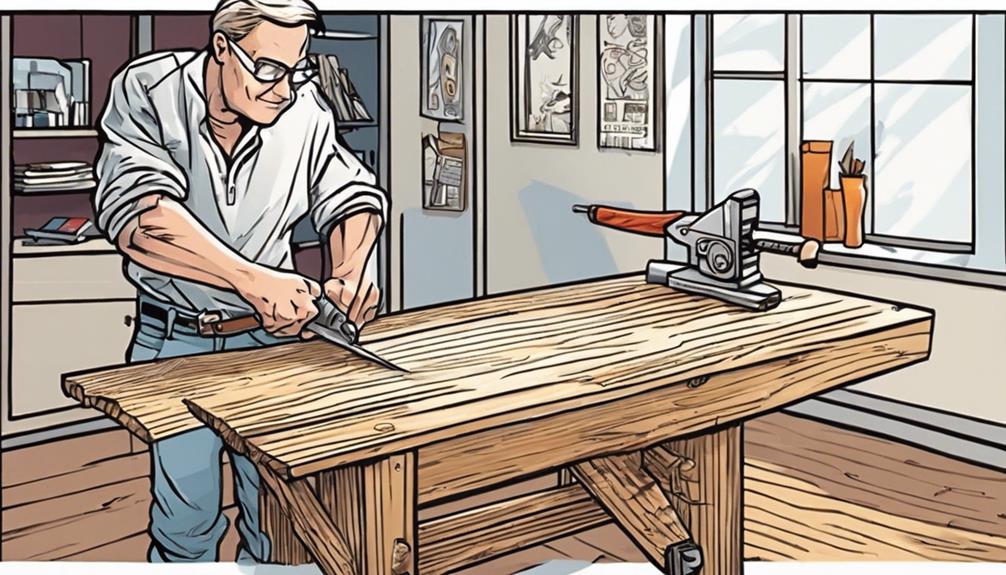

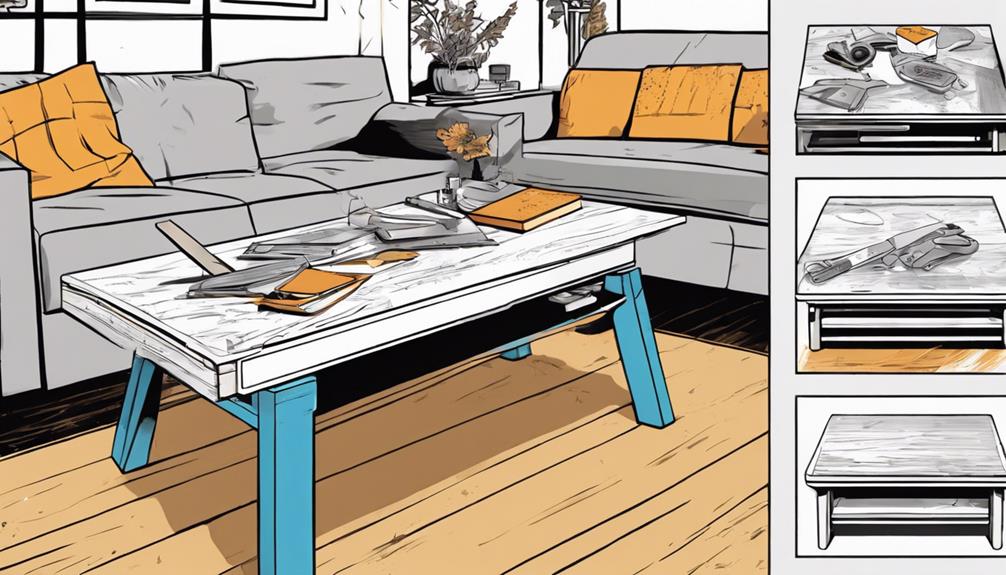
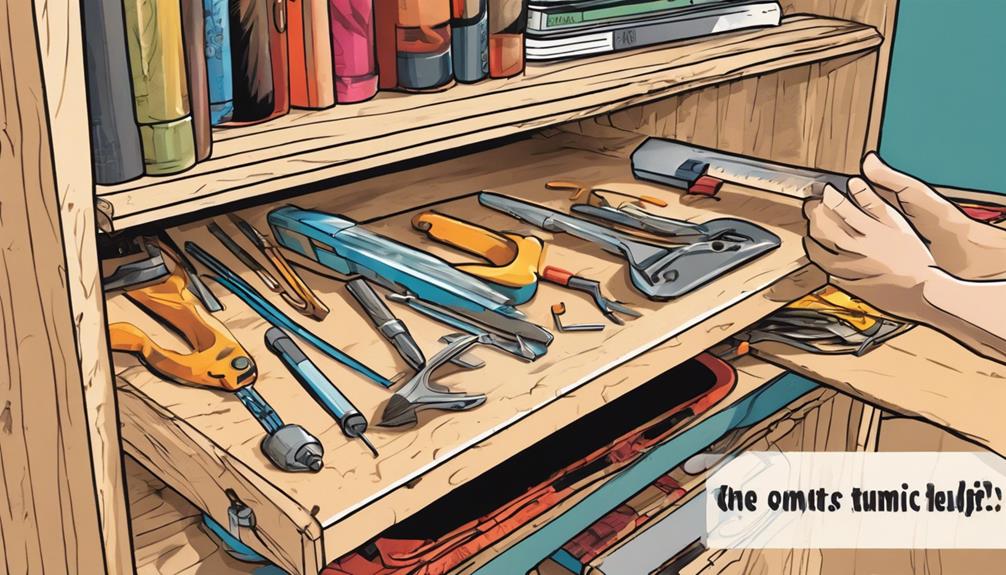
To enhance your coffee table, opt for durable knotty alder wood. Cut it to the correct size, secure it with pocket holes for stability, and ensure the assembly is square for longevity. Construct side panels, attach legs, and securely add the shelf. Include supporting aprons and back panels for additional strength, and think about adding drawers for extra storage. Use basic tools to sand, cut, and fasten the wood. This simple DIY project not only maximizes space but also improves the appearance of your coffee table. Ready to elevate your coffee table game? Adding a shelf not only boosts functionality but also offers a chance to display your woodworking talent. By using the right materials and a bit of knowledge, you can elevate your coffee table to a new level of sophistication and usefulness. And why not also dive into the art of home brewing to further enhance your coffee experience? With a custom coffee table and freshly brewed coffee, you’ll create a warm and welcoming space to savor your favorite beverage.
Key Takeaways
- Choose knotty alder wood for a rustic touch.
- Securely attach the shelf with pocket holes.
- Ensure precise alignment for a sturdy structure.
- Incorporate a seamless shelf addition to the coffee table.
- Utilize the wasted space under the table for storage.

Hally Open Base Stainless Steel Table 24 x 48 Inches, NSF Commercial Heavy Duty Prep & Work Table with Galvanized Legs for Restaurant, Home and Hotel
Large & Practical Storage: The commercial folding table has a weight capacity of 400 lbs and a size...
As an affiliate, we earn on qualifying purchases.
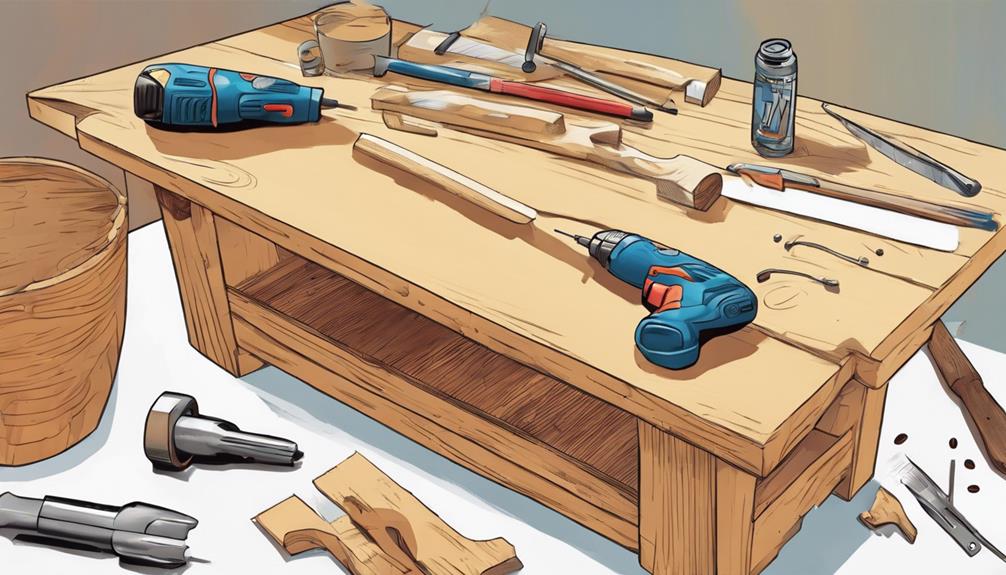
Materials and Preparation
To secure a sturdy and visually attractive coffee table shelf, start by choosing and preparing the necessary materials. For this project, you'll require 4/4 and 6/4 knotty alder wood. Make certain that you mill down the wood to the required thickness and dimensions.
When cutting the panel pieces, be sure to cut them slightly longer to allow for squaring up later on. Proper preparation of materials is essential to the success of your shelf addition. By following these steps diligently, you'll establish a strong foundation for your coffee table shelf.
Selecting the appropriate materials, such as knotty alder wood, and preparing them correctly by milling to the right dimensions and cutting slightly oversized pieces, will guarantee that your shelf fits perfectly into your coffee table design.
This attention to detail in material selection and preparation is vital for achieving a robust and visually appealing coffee table shelf.

Stainless Steel Table for Prep & Work, 24x48 Inches, Metal Commercial Heavy Duty Table with Adjustable Under Shelf for Restaurant, Home and Hotel
Installation: We have added an indicator line at the bottom of the support leg for easy installation.
As an affiliate, we earn on qualifying purchases.
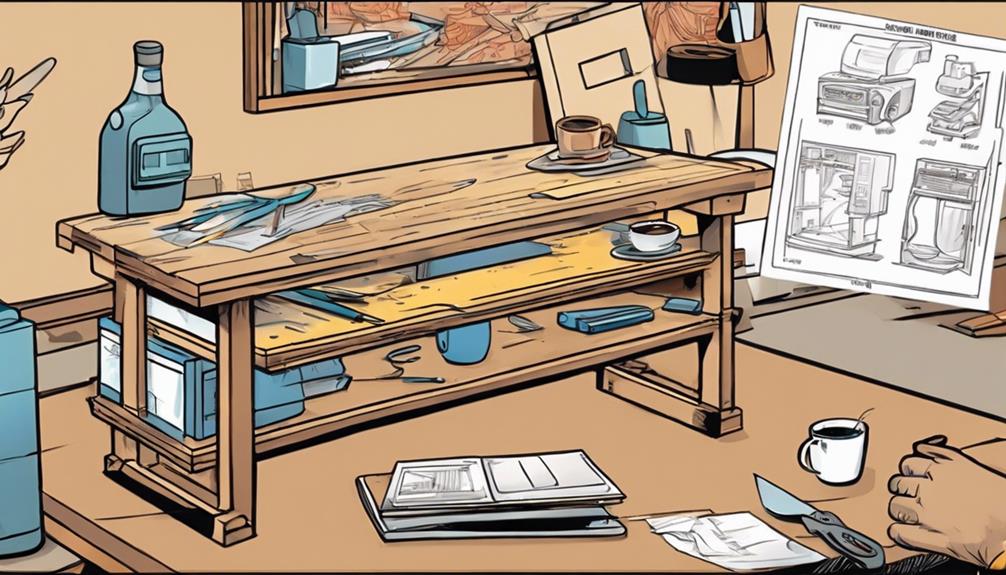
Building Side Panels and Shelf
Select 4/4 and 6/4 knotty alder wood to construct the side panels and shelf for your coffee table, guaranteeing a sturdy and visually appealing addition. To create a seamless addition, follow these steps:
| Step | Instructions |
|---|---|
| Glue up side panel edges | Avoid over-tightening clamps to prevent bowing during assembly. |
| Attach the shelf | Utilize pocket holes for a secure attachment. Drill 3/4 pocket holes, glue, clamp, and secure the shelf boards. |
| Confirm square assembly | Cut the side panels to final length and square them up for a sturdy structure. |

VEVOR Stainless Steel Prep Table, 30 x 72 x 34 Inch, 920 lbs Load Capacity, Heavy Duty Metal Worktable with 3 Adjustable Height Levels, Commercial Workstation for Kitchen Garage Restaurant Backyard
High-Quality Stainless Steel: This work table, measuring 30 x 72 x 34 inch, is made from SUS201 stainless...
As an affiliate, we earn on qualifying purchases.
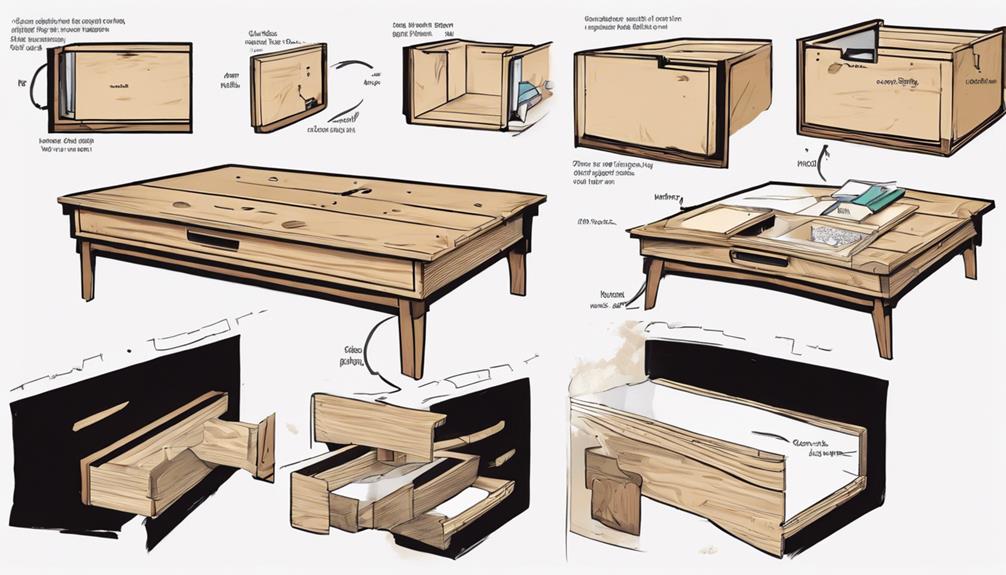
Constructing the Coffee Table
You'll begin by assembling the side panels and attaching the legs to the cross supports. Make sure to drill pocket holes for stability and square up the panels for precise alignment.
Side Panel Assembly
For a sturdy and well-constructed coffee table, make certain to drill pocket holes in the cross supports to firmly attach them to the side panels. Square up the side panels and cut them to their final length for a precise fit. Assemble the frame of the coffee table using wood glue and pocket screws to guarantee a strong bond. This step is vital in creating a stable and durable foundation for your coffee table.
To help you visualize the process, here is a table outlining the Side Panel Assembly steps:
| Step | Description | Importance |
|---|---|---|
| Drill Pocket Holes | Ensure secure attachment of cross supports to side panels | Essential |
| Square Panels | Cut side panels accurately for a precise fit | Critical |
| Assemble Frame | Use wood glue and pocket screws for a sturdy structure | Fundamental |
Leg Attachment Process
To secure the stability and integrity of your coffee table, start by attaching the legs to the cross supports using wood glue and pocket screws. Here's a step-by-step guide to help you through the leg attachment process:
- Drill Holes: Begin by drilling pocket holes in the cross supports for the coffee table frame assembly. These pocket holes will allow you to firmly fasten the legs to the supports later on.
- Secure Legs: Once the pocket holes are drilled, apply wood glue to the ends of the cross supports and attach the legs using pocket screws. This method ensures a sturdy and long-lasting connection between the legs and the frame.
- Align Side Panels: Make sure the side panels are squared up and cut to the final required length before attaching the legs. Proper alignment is essential for the overall stability and aesthetics of the coffee table.
- Stability: Use wood glue and pocket screws to attach the frame, reinforcing the structure and providing additional stability for your coffee table. This step will help create a well-aligned and sturdy base for adding a shelf later on.

YITAHOME NSF Stainless Steel Table with Overshelves, 42" X 24" Work Table with 42" X 12" Shelf, Metal Table Prep Table for Home Kitchen Restaurant Garage Warehouse
VERSATILITY: YITAHOME stainless steel workbench is suitable for the kitchen, garage, workshop, bar, restaurant, laundry room, school, hospital,...
As an affiliate, we earn on qualifying purchases.
Installing Shelf, Aprons, and Back Panels
You'll need to drill pocket holes in the shelf ends for easy attachment to the coffee table and firmly mount it using screws for stability.
Make sure you attach the aprons at the base of the table for added support and a polished finish.
Don't forget to fix the center support and back panels securely to maintain structural integrity.
Shelf Mounting Techniques
Consider drilling pocket holes in the shelf ends for easy attachment to your coffee table.
Mount the shelf securely using screws at the specified height to ensure stability.
Attaching aprons at the base of the table will provide additional support for the shelf structure.
Attaching Aprons Securely
For added stability and reinforcement, securely attaching aprons at the base of your coffee table is vital when installing the shelf, aprons, and back panels.
Aprons not only provide additional support but also contribute to the overall visual appeal of your DIY furniture piece.
To attach the aprons, begin by aligning them properly along the base of the table. Use screws to secure the aprons in place, ensuring a snug fit that will help maintain the structural integrity of the coffee table.
The aprons act as an important element in distributing the weight evenly across the table, preventing any potential sagging or instability over time.
By fixing the aprons securely, you create a solid foundation for the shelf and back panels to be mounted onto, resulting in a sturdy and durable coffee table that will stand the test of time.
Back Panel Installation
Drill pocket holes in the shelf ends to guarantee secure attachment to the coffee table. Once the shelf is properly prepared, it's time to focus on the back panel installation to complete the assembly process.
Follow these steps for a successful installation:
- Align Back Panel: Position the back panel against the back of the coffee table, ensuring it lines up correctly with the edges.
- Secure with Screws: Use appropriate screws to fasten the back panel to the table frame securely, providing stability and structural support.
- Check Alignment: Double-check the alignment of the back panel to avoid any misalignment that could affect the overall look and functionality of the coffee table.
- Final Inspection: Inspect the back panel, ensuring it's firmly fixed and complements the shelf and aprons for a cohesive and sturdy furniture piece.
Building Drawers and Final Assembly
Rip plywood to the appropriate size for the drawers to guarantee a perfect fit within your coffee table.
Assemble the drawer boxes using pocket screws for a strong and durable construction.
Adding optional roundover edges to the drawers can provide a decorative touch.
Confirm the drawer bottoms are securely attached for stability and functionality.
Precisely install the drawer slides and fronts to enable smooth opening and closing.
Once the drawers are built, carefully place them within the allocated spaces in the coffee table.
Double-check that the drawers slide in and out smoothly without any obstructions.
Finally, conduct a thorough inspection to make certain everything is aligned correctly before proceeding with the final assembly steps.
Table Preferences and Cats' Setup
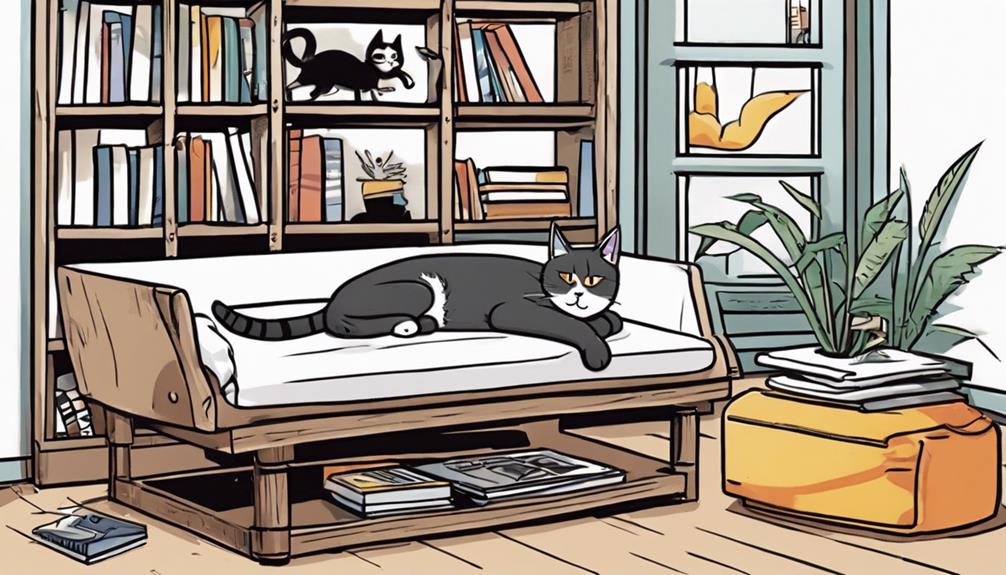
Consider designating a nesting table specifically for your cats to prevent them from accessing other furniture in your living space. This dedicated side table can serve as a safe and comfortable spot for your feline friends while keeping them away from your main coffee table and other delicate items.
Matching the shelf color with the table won't only create a cohesive look in your living space but also provide a designated area for your cats to lounge and play.
To make sure your cats feel at home, understand their specific food preferences, and set up a designated area for their meals on the side table. Utilize the shelf addition to keep your cats off the sofa table and redirect their focus towards their designated spot.
Incorporating vegetarian meal preparation for your cats can cater to their dietary needs and promote their well-being. This setup won't only make your cats happy but also keep your furniture safe from their playful antics.
DIY Shelf Addition for Storage Space Under Side Table
For enhancing storage space under your side table, consider adding a DIY shelf using wood and notches for stability. By incorporating a shelf addition under your side table, you can make use of previously wasted space and improve organization in your living area.
To create a sturdy and practical shelf, follow these steps:
| Materials Needed | Tools Required | Time Required |
|---|---|---|
| Timber planks | Saw | 1-2 hours |
| Fasteners | Drill | |
| Sanding paper | Screwdriver |
Designing the shelf supports with notches guarantees the shelf stays in place and provides a secure storage solution. Opt for a reversible shelf design for easy removal and versatility. By following a straightforward guide, you can efficiently make and fit the shelf under your side table, enhancing both functionality and organization in your living space.
Frequently Asked Questions
What to Put on the Lower Shelf of a Coffee Table?
On the lower shelf of a coffee table, showcase decorative items like books, magazines, or a small plant. Store remote controls, coasters, or trays. Create a cozy feel with candles, a basket, or a sculpture.
How Do I Make My Coffee Table Higher?
To make your coffee table taller, try adding furniture legs or risers for extra elevation. Opt for decorative elements like metal hairpin legs or wooden blocks for style. Guarantee stability by evenly distributing weight.
What Can You Make Out of an Old Table?
You can repurpose an old table into a variety of items like a desk, bench, or plant stand. Get creative and add your personal touch to transform that unused furniture into something practical and stylish.
Conclusion
Now that you've added a shelf to your coffee table, your living room is like a well-oiled machine, with everything in its place and easy to access.
Keep enjoying the satisfaction of a DIY project well done, and revel in the extra storage space you've created.
Your coffee table is now not just a piece of furniture, but a functional and stylish addition to your home.
Happy DIYing!