This guide helps students learn how to pick and use a portable coffee maker for quick, quality coffee anywhere on campus or during travel. Designed for beginners, it covers choosing the right device and operating it step-by-step to get fresh coffee fast, fitting into a busy student schedule.

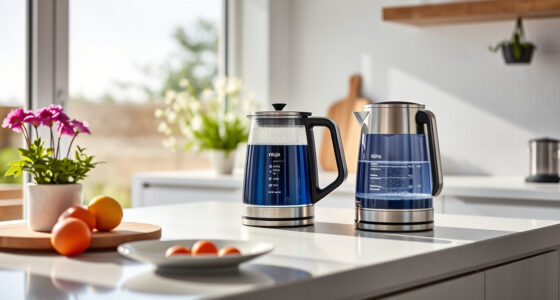
Elite Gourmet EHC113M Personal Single-Serve Compact Coffee Maker with Travel Mug
- ✔ Capacity: 14 oz.
- ✔ Power: 600 Watts
- ✔ Material: Stainless steel interior

Elite Gourmet EHC111A Personal Single-Serve Compact Coffee Maker with Travel Mug
- ✔ Power: 600 Watts
- ✔ Capacity: 12 oz. (brew), 14 oz. (mug)
- ✔ Material: Stainless Steel

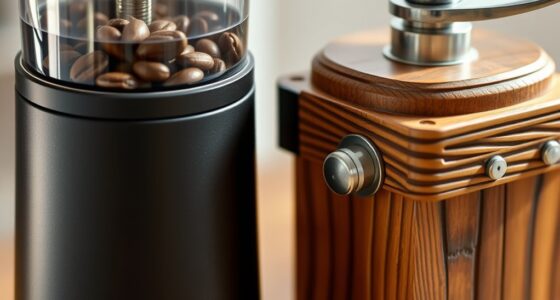
Portable Espresso Machine for Travel, 20-Bar Extraction, 150 ML, Self-Heating with USB-C
- ✔ Extraction Pressure: 20 Bar
- ✔ Water Tank Capacity: 150 ML
- ✔ Battery Capacity: 7500mAh
Difficulty: Beginner | Time: 10-15 minutes
What You’ll Need
Tools & Materials:
- Portable coffee maker
- Filtered water
- Coffee grounds or pods
- Power source or batteries (if applicable)
Knowledge:
- Basic understanding of coffee preparation
- Ability to follow simple instructions
Ensure your coffee maker is compatible with the available power source (USB, batteries, or mains). Have a clean workspace to avoid messes. Check the device instructions for specific care or limitations.

Elite Gourmet EHC113M Personal Single-Serve Compact Coffee Maker Brewer Includes 14Oz. Stainless Steel Interior Thermal Travel Mug, Compatible with Coffee Grounds, Reusable Filter, Mint
- Universal design with travel mug: Includes 14oz stainless steel mug
- Waste-reducing and eco-friendly: No paper or plastic cups needed
- Fast brew time: Brew coffee in under 60 seconds
As an affiliate, we earn on qualifying purchases.
Elite Gourmet EHC113M Personal Single-Serve Compact Coffee Maker with Travel Mug
This pick stands out for its ability to brew fresh coffee in under 60 seconds, making it ideal for students rushing out the door. Its compact design and included 14 oz. stainless steel travel mug make it highly portable. The single-touch operation simplifies brewing, and the reusable filter reduces waste and costs. Compared with the EHC111A, it offers a slightly larger capacity and faster brewing, but it’s limited to coffee grounds and cannot use pods. Its main tradeoff is that the base isn’t dishwasher safe, so cleaning requires more effort.
Pros:
- Fast brewing in under 60 seconds
- Includes reusable filter and travel mug
- Compact and highly portable
Cons:
- Limited to coffee grounds only
- Small 14 oz. capacity
- Base is not dishwasher safe
Best for: Students who need quick, reliable coffee in a small space and don’t mind using grounds over capsules.
Not ideal for: Those who prefer pod-based brewing or larger servings.
Bottom line: Best for students who prioritize speed and portability with simple ground coffee brewing.
“Best for students who prioritize speed and portability with simple ground coffee brewing.”
Elite Gourmet EHC111A Personal Single-Serve Compact Coffee Maker with Travel Mug
This model is better suited to students living in tight dorms or needing a quick, no-fuss coffee maker. It brews a slightly smaller 12 oz. cup in under 60 seconds and comes with an insulated 14 oz. travel mug. The one-touch operation makes it easy to use, and its compact size fits easily on a desk or countertop. Like the EHC113M, it uses coffee grounds and lacks pod compatibility. A key tradeoff is its smaller brew size, which may require multiple refills for a full day’s caffeine.
Pros:
- Brews in under 60 seconds
- Includes insulated travel mug
- Very compact for small spaces
Cons:
- Limited to 12 oz. per brew
- Uses only coffee grounds, no pods
- May require frequent refills
Best for: Students who need a space-efficient, straightforward coffee maker with quick turnaround.
Not ideal for: Those wanting larger servings or capsule options.
Bottom line: Ideal for students needing a tiny, quick coffee solution without sacrificing portability.
“Ideal for students needing a tiny, quick coffee solution without sacrificing portability.”
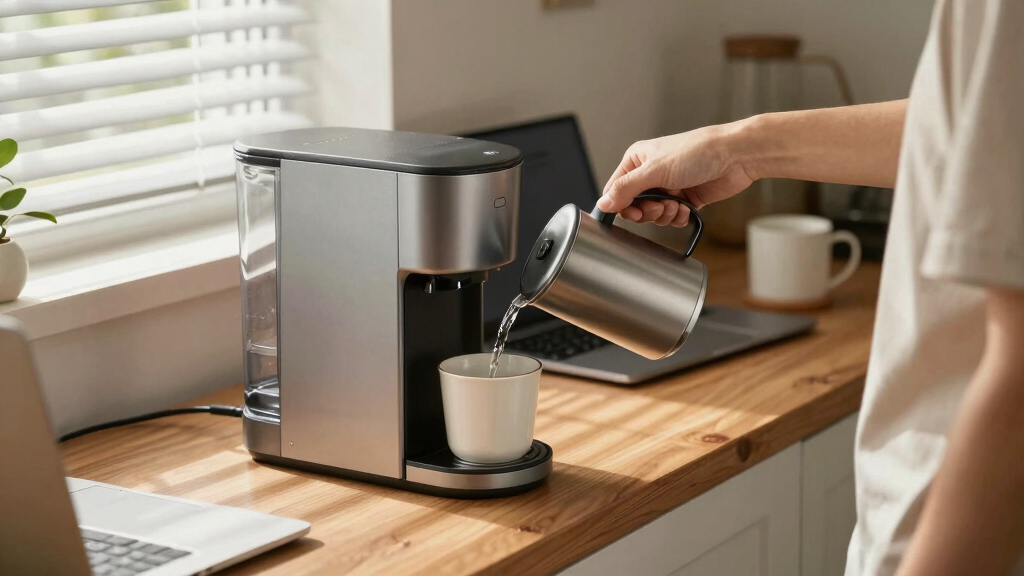
Portable Espresso Machine for Travel, 20-Bar Extraction, 150 ML, Self-Heating with USB-C
This option offers a different experience, focusing on high-quality espresso rather than drip coffee. Its 20-bar extraction pressure ensures rich crema, comparable to barista-quality shots. The machine supports both ground coffee and Nespresso capsules, providing versatility for different preferences. Its rechargeable 7500mAh battery allows multiple cups per charge, making it perfect for outdoor adventures or long days on campus. Compared with drip coffee makers, it’s bulkier and has a smaller water capacity—so it’s better suited for occasional espresso rather than all-day coffee needs. The USB-C charging port might be a limiting factor if universal compatibility is a concern.
Pros:
- 20-bar extraction for rich espresso with crema
- Rechargeable battery supports multiple cups
- Compatible with ground coffee and Nespresso capsules
Cons:
- Limited 150ml water capacity
- Requires USB-C charging, which may be less universal
- More complex operation compared to drip machines
Best for: Students who want premium espresso or capsule options and enjoy outdoor activities.
Not ideal for: Those seeking large volumes of coffee or simple drip brewing.
Bottom line: Best for students craving quality espresso and outdoor portability, with some limitations on volume.
“Best for students craving quality espresso and outdoor portability, with some limitations on volume.”
As an Amazon Associate we earn from qualifying purchases.
Before You Start
Verify the device is clean and assembled correctly. Prepare your coffee grounds or pods. Have fresh water ready. Confirm your power source or batteries are available and compatible with your device.
Step-by-Step Instructions
Step 1: Prepare your coffee maker
Unpack the portable coffee maker and assemble any removable parts according to the manufacturer’s instructions. Fill the water reservoir with filtered water, avoiding overfilling.
Tip: Use filtered water for better taste and to prevent mineral buildup.
Check: The water reservoir is filled correctly, and the device is assembled securely with no leaks.
Step 2: Add coffee grounds or insert a pod
If using grounds, place the appropriate amount into the filter basket. If using a pod, insert it into the designated compartment, ensuring it sits properly.
Tip: Use the recommended amount of coffee grounds—usually one to two tablespoons—per cup for balanced strength.
Check: Coffee grounds or pod are properly placed; the device’s lid closes securely without spillage.
Step 3: Power on the coffee maker
Connect the device to a power source or insert batteries if required. Turn the machine on using the designated button or switch.
Tip: Check the device’s indicator lights to confirm it has powered on correctly.
Check: The machine starts brewing, indicated by lights or sounds, and the water begins to heat or circulate.
Step 4: Wait for the brewing process to complete
Allow the coffee maker to brew according to its cycle time, usually 2-5 minutes. Do not open or disturb the device during brewing.
Tip: Set a timer if needed to know when the brewing will finish; avoid removing the cup prematurely.
Check: Brewing completes without leaks or error signals, and coffee flows into the cup or carafe.
Step 5: Pour and enjoy your coffee
Carefully remove the cup or carafe. Pour the brewed coffee into your mug, and enjoy immediately.
Tip: Stir gently if needed to mix flavors or cool slightly before drinking.
Check: Coffee is hot, fresh, and ready to drink with no spills or leaks.
Common Mistakes to Avoid
- Overfilling the water reservoir — Fill only up to the indicated maximum line to prevent leaks or overflow.
- Using incompatible coffee grounds or pods — Check the device instructions for compatible coffee types to avoid jams or poor brewing.
- Not securing the lid or parts properly — Ensure all parts are fitted correctly and tightly before powering on.
- Leaving the device on for too long or without supervision — Monitor the brewing process and turn off the device promptly once brewing is complete.
Troubleshooting
Problem: Coffee isn’t brewing or flows very slowly
Solution: Check for clogs or blockages in the filter or nozzle. Clear any debris or rinse parts if needed.
Problem: Device doesn’t power on
Solution: Verify the power source or batteries are working and properly connected. Test with another device if possible.
Problem: Leaking water or coffee spills
Solution: Ensure all parts are correctly assembled and sealed. Avoid overfilling the water reservoir.
Problem: Coffee tastes weak or burnt
Solution: Use fresh, quality coffee grounds and avoid overfilling the water. Adjust brewing time if possible.
What Success Looks Like
The finished coffee is hot, brewed properly, free from leaks or spills, and ready to enjoy. The device operates smoothly, and the coffee tastes fresh and strong enough for your preference.
Next Steps
Clean your portable coffee maker after each use according to the manufacturer’s instructions. Keep it charged or stocked with batteries for quick access. Try different coffee types or brewing settings to customize your flavor. Use the device regularly to ensure it stays in good working order.
Frequently Asked Questions
Can I use any coffee grounds in a portable coffee maker?
Not all grounds are suitable. Use medium grind coffee unless the device specifies otherwise. Check the manufacturer’s recommendations for best results.
How do I clean my portable coffee maker?
Disassemble removable parts and wash them with warm soapy water. Wipe the main body with a damp cloth. Follow specific cleaning instructions provided by the manufacturer to prevent damage.
How long does a typical portable coffee maker take to brew?
Most devices brew coffee within 2 to 5 minutes. Refer to your device’s manual for exact timing.
Is a portable coffee maker suitable for travel?
Yes, most are designed for travel, being lightweight and compact. Ensure it has a compatible power source for your destination.