
Set up your Keurig on a steady surface close to a water source. First, rinse and fill the tank with filtered water. Power it on to get started. Using filtered water helps prevent any build-up. Place the K-Cup with the label facing up. For optimal performance, clean and descale regularly. Plug in, fill up, choose your cup size, and you’re ready to go! Always double-check before brewing. Easily troubleshoot any common issues that may arise. Customize your brew settings to your liking. Set reminders and explore different options. Keep the exterior clean for peak performance. Remember to descale every 3-6 months, change filters, and effortlessly enjoy your delicious coffee! Don’t hesitate to reach out for support if needed. Visit the website for helpful tips.
Key Takeaways
- Unbox Keurig on stable surface near water source.
- Rinse, fill water reservoir with filtered water.
- Power on Keurig to start setup process.
- Insert K-Cup with label facing up for brewing.
- Confirm functionality before brewing for a smooth setup.
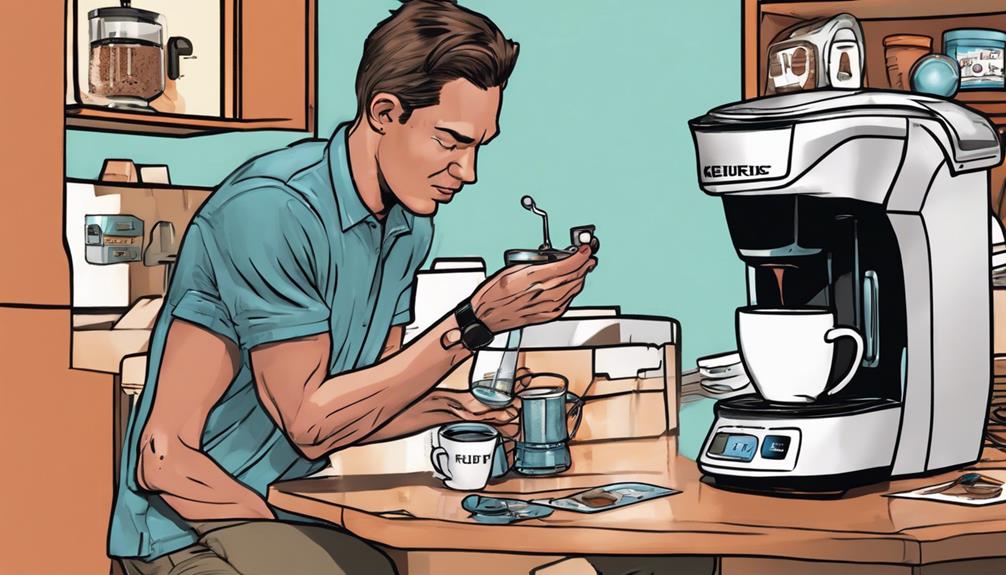
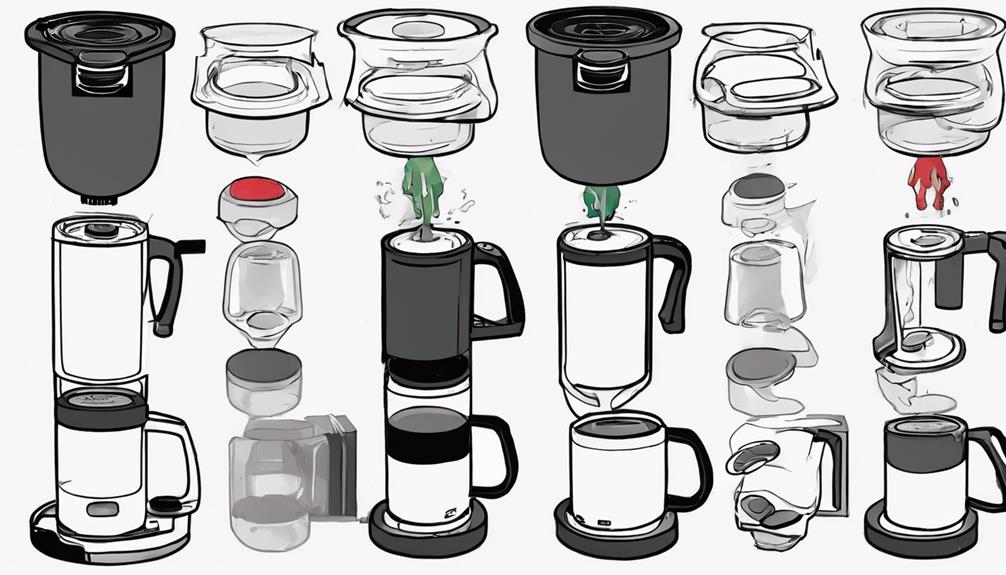
Unpacking and Setup
When assembling your Keurig coffee maker, begin by unboxing and setting up the machine. Carefully unbox the Keurig, making sure all packaging materials are removed to reveal the sleek coffee maker. After unboxing, you will need to set up the machine by plugging it in and turning it on. Once the Keurig is powered up, you can begin attaching a coffee maker by following the instructions provided in the user manual. This may involve connecting the water reservoir, inserting a coffee pod, and selecting your desired cup size.
Locate the power cord and plug it into a nearby grounded outlet, ideally close to a water source for easy access. Place the Keurig on a stable, flat surface, ensuring there's ample room for the water reservoir and K-Cup holder.
Next, focus on the water reservoir. Check for any remaining packaging material, give it a thorough rinse, and then fill it with water to your desired level. Once filled, connect the water reservoir securely to the Keurig machine. This step is essential to guarantee a proper water supply for brewing your favorite beverages.
With the water reservoir in place, you're now ready to power on the Keurig and proceed with the setup process. This initial setup stage establishes the groundwork for enjoying delicious coffee with your new Keurig coffee maker.
Water Reservoir and Pods

Now, let's talk about how to fill the water reservoir, insert pods, and maintain the water filter in your Keurig coffee maker. These steps are essential for ensuring that your machine brews the perfect cup of coffee every time.
Get ready to enjoy the convenience and variety of K-Cups with these easy-to-follow instructions.
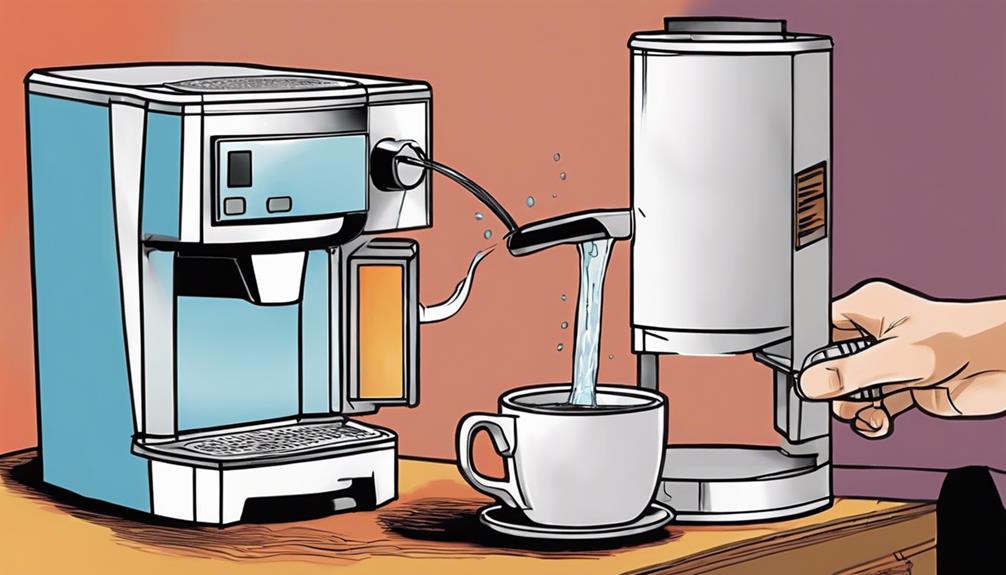
Reservoir Filling Instructions
Filling the water reservoir with filtered or bottled water is recommended to prevent mineral buildup and ensure the finest tasting coffee.
For that perfect first cup of coffee, make sure the reservoir is securely in place to avoid any leaks.
The Keurig water reservoir can hold up to 80 ounces of water, allowing for multiple brewing cycles without constant refills.
Prioritize using hot water from a dependable source to enhance the flavor of your brew.
To maintain peak performance, remember to clean and descale the water reservoir regularly.
When inserting your K-Cup or coffee pod, ensure it's correctly aligned to prevent any brewing issues or malfunctions.
By following these simple steps, you can enjoy a consistent and delicious cup of coffee every time.
Taking care of your Keurig coffee maker ensures a longer lifespan and continued satisfaction with each brew.
Pod Insertion Process
To guarantee a seamless brewing experience, properly inserting the K-Cup pod into the pod holder of your Keurig coffee maker is key. Begin by lifting the handle of the Keurig machine to access the pod holder. With the label facing up, carefully insert the K-Cup pod into the holder. Lower the handle back down firmly to puncture the foil lid of the pod, ensuring a secure seal for brewing.
Once the pod is securely in place, it's time to select your desired cup size. Keurig machines typically offer a range of options, from 6 to 12 ounces, allowing you to customize your coffee to your liking. After choosing the cup size, press the brew button to start the brewing process.
As the machine dispenses hot water through the pod, you can sit back and wait for your freshly brewed cup of coffee to be ready.
This straightforward pod insertion process sets the stage for a delicious and convenient brewing experience with your Keurig coffee maker.
Water Filter Maintenance
Regularly maintaining the water filter in your Keurig coffee maker is essential for guaranteeing a consistent and delicious brewing experience.
The water filter starter kit for a Keurig costs $17.99 and includes two cartridges for a four-month supply. These filters, made of activated carbon/charcoal material, enhance the taste of your coffee by filtering tap water.
To upkeep your Keurig's water filter properly, follow these steps:
- Initial Setup: Ensure the filter is inserted properly, arrows facing down.
- Reservoir Rinse: Open and close the lid of the water reservoir.
- Cleansing Brew: Run a cleaning cycle with the water filter in place.
- Water Filter Setup: Set up maintenance reminders to keep track of when to replace the filter.
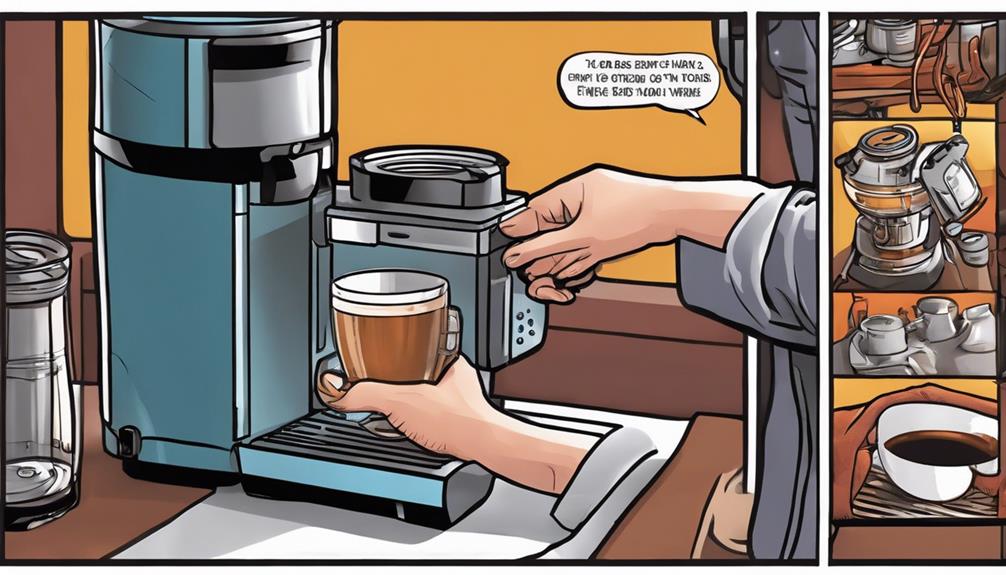
Powering On and Brewing
To get your Keurig up and running, start by plugging it into an outlet and filling the water reservoir.
Press the power button to begin heating the water and initiate the brewing process.
Following these simple steps will have you enjoying a fresh cup of coffee in no time.
Powering Keurig Machine
Plug the Keurig into a grounded outlet to power it on. Once connected, follow these steps to brew your favorite cup of coffee:
- Fill the water reservoir and press the power button to start the heating process.
- Start the brewing process without a K-Cup to confirm everything is functioning correctly.
- Insert a K-Cup of your choice into the machine.
- Select your desired brew size and wait for the Keurig to finish the brewing process.
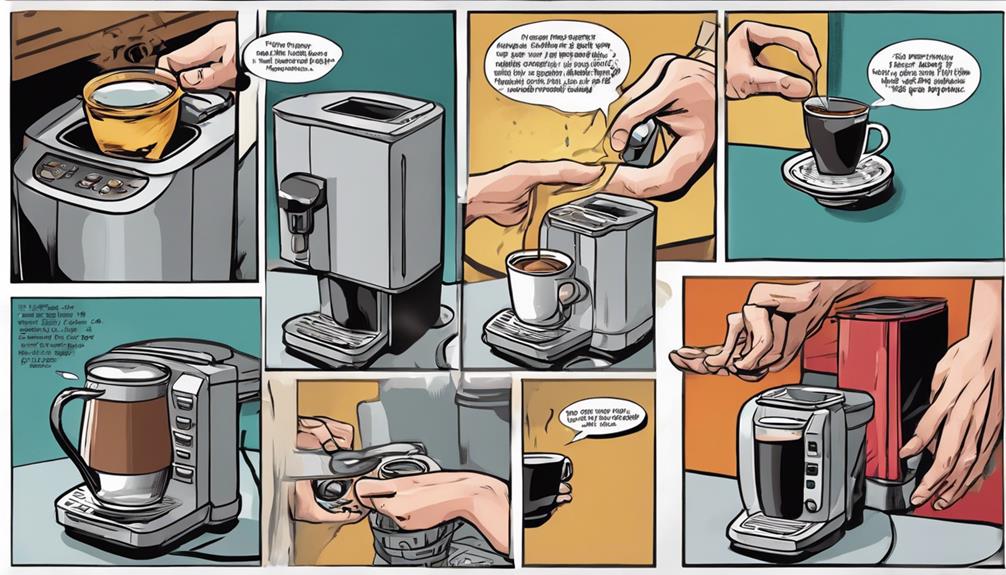
Brewing Process Steps
Begin the brewing process by making sure the Keurig is powered on and the water reservoir is filled to the desired level. To start with, plug the Keurig into a grounded outlet to provide power.
Next, fill the water reservoir with water and give it a rinse. Press the power button on the machine to start heating the water in the reservoir. Once the water is heated, run a brewing cycle without a K-Cup to confirm everything is functioning correctly.
Now, it's time to brew your first cup! Place a K-Cup of your choice into the designated slot. Select your desired brew size – usually, options include 6 oz, 8 oz, or 10 oz. Once you've chosen the size, initiate the brewing process by pressing the brew button.
Sit back and relax while your Keurig does its magic, brewing a perfect cup of coffee just for you. Enjoy your freshly brewed cup of coffee and savor the convenience of your Keurig machine putting together a delicious beverage in no time.
Troubleshooting Common Issues
If your Keurig coffee maker is experiencing issues with powering on or brewing, troubleshooting common problems is essential to guarantee a smooth brewing experience. Here are some quick steps to help you make your first cup:
- Check Power Supply: Confirm the Keurig is plugged into a working outlet and the power button is pressed to turn it on.
- Inspect Water Reservoir: If the Keurig isn't brewing, check if the water reservoir is filled, properly seated, and free of any blockages.
- Verify Heating Element: If the machine isn't heating water, verify that it has enough time to heat up and that the water reservoir is adequately filled.
- Proper K-Cup Insertion: Make sure the K-Cup is inserted correctly, the lid is closed securely, and the brew size is selected before pressing the brew button.
Adjusting Brew Settings
To customize your brewing experience with the Keurig 2.0 K525 Plus, adjust the brew settings such as cup size, strength, and temperature according to your preferences. Start by selecting your desired brew size, whether you prefer a small cup or a larger mug.
The strength control feature allows you to choose between a regular or bold flavor profile, catering to your taste preferences. If you like your coffee hot, adjust the brew temperature accordingly.
Additionally, the Keurig 2.0 K525 Plus offers features like setting reminders for water filter replacements to maintain brewing quality. Explore advanced options such as high altitude adjustment and energy-saving mode to further enhance your brewing experience.
Cleaning and Descaling
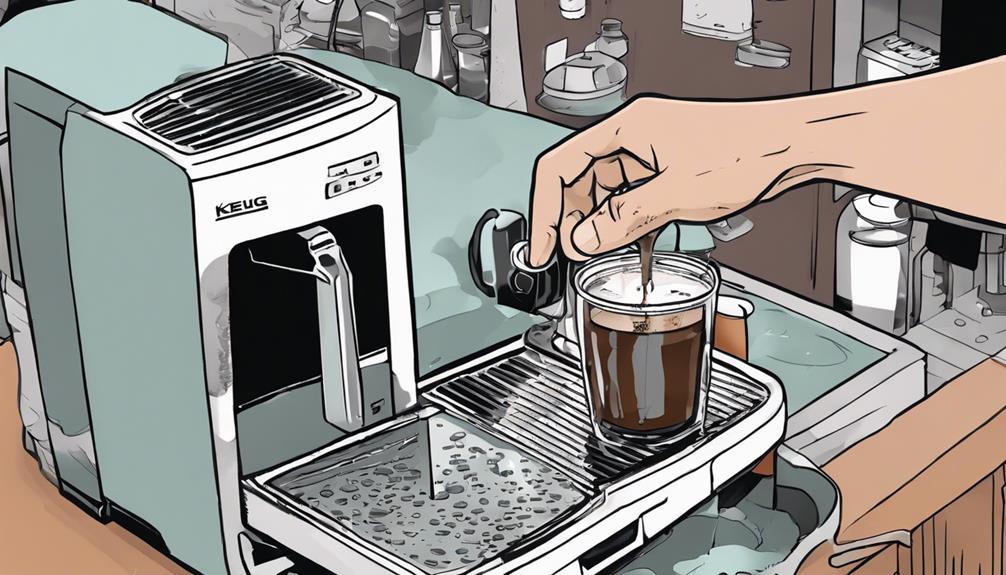
Regularly maintaining your Keurig machine through cleaning and descaling is crucial for top performance and longevity. To keep your coffee maker running smoothly, follow these key steps:
- Cleaning Brew: Run cleaning cycles to prevent clogs and buildup inside the machine.
- Descaling Keurig: Descale your Keurig every 3-6 months using vinegar or a descaling solution to eliminate mineral deposits.
- Wipe Down Externals: Ensure peak performance by wiping down all external parts of the Keurig and cleaning the needle.
- Replace Water Filters: Follow the manufacturer's recommendations for replacing water filters to uphold water quality and prevent scale buildup.
Troubleshooting and Support
For troubleshooting and support with your Keurig coffee maker, contact the Keurig customer support team for expert assistance with any technical issues you encounter.
If you face any challenges with your Keurig coffee maker, visiting the Keurig website can provide valuable resources such as FAQs, troubleshooting guides, and user manuals to help you address common problems efficiently.
Additionally, joining online forums or social media groups dedicated to Keurig coffee makers can connect you with experienced users who may offer useful troubleshooting tips based on their own experiences.
In situations where your Keurig coffee maker requires warranty information, replacement parts, or repair services, contacting Keurig's customer service is recommended for additional assistance.
Moreover, consider attending Keurig workshops or events to gain hands-on troubleshooting assistance and maintenance tips directly from the experts.
Video Tutorials and Guides

Explore the Keurig website for informative video tutorials that provide detailed guidance on assembling your Keurig coffee maker. Watching instructional videos can greatly enhance your understanding of how to correctly set up your Keurig machine.
Here are some benefits of utilizing these video guides:
- Gain insights into the specific parts and components of your Keurig coffee maker through detailed video tutorials.
- Follow step-by-step instructions from experts on how to assemble your Keurig model accurately.
- Access troubleshooting videos to help you address any issues you may encounter during the assembly process.
- Stay updated on new features and enhancements related to Keurig coffee makers by regularly watching video guides on the official Keurig website.
Maintenance Tips and Resources
To sustain your Keurig coffee maker's performance, regular cleaning and descaling are important. Cleaning the brewer regularly prevents clogs and guarantees your machine operates at its best. Wipe down all parts of the machine and clean the needle to avoid coffee grounds buildup, which can impact the taste of your brew.
Descaling with vinegar or a descaling solution every 3-6 months is essential to eliminate mineral buildup that can hinder the machine's efficiency. Additionally, replacing water filters as recommended by the manufacturer is vital to maintain water quality and prevent impurities from affecting the taste of your coffee.
Using bottled water instead of tap water can also help prevent scale buildup in your Keurig machine. By following these maintenance tips and utilizing the right resources such as descaling solutions and replacement filters, you can prolong the lifespan of your Keurig coffee maker and continue enjoying delicious cups of coffee.
Frequently Asked Questions
How Do I Set up My Keurig Smart Coffee Maker?
To set up your Keurig Smart Coffee Maker, download the Keurig app on your smartphone. Connect the coffee maker to your WiFi network for remote control. Customize brewing settings, schedule brew times, adjust strength, and receive alerts.
How to Program a Keurig K Duo Coffee Maker?
To program your Keurig K-Duo coffee maker, simply press the Auto On button, choose your brew time, and press Auto On again to validate. Whether you want a single cup or a carafe, the programmable feature guarantees your coffee is ready when you need it.
How Do I Get My Single Cup Keurig to Work?
To get your single cup Keurig working, make sure it's plugged in, filled with water. Press power, brew empty to prime. Insert K-Cup, choose brew size, wait. Troubleshoot: check water, clean needle, insert K-Cup correctly. Seek help if needed.
What Should I Do With My Keurig Before First Use?
Before first use, rinse the water reservoir and fill it with fresh water. Run a cleansing brew cycle without a K-Cup. Plug in your Keurig and explore the control panel to set preferences. Prime the machine following the manufacturer's recommendations for a perfect brew.
Conclusion
Now that you've assembled your Keurig coffee maker, you're just a button press away from your perfect cup of coffee.
It's like having your very own barista at home, ready to whip up your favorite brew at any time.
So sit back, relax, and enjoy the convenience and deliciousness of your new coffee companion!