

To keep flies away, burn coffee grounds for a natural and powerful solution. Light the dry grounds in a well-ventilated area like incense. The strong aroma and smoke will effectively repel bugs. Choose a location upwind and cover with a damp towel for a longer-lasting effect. This technique is safe for outdoor spaces and an environmentally friendly way to deter pests. Get prepared to see those flies fly away!
Key Takeaways
- Gather dry coffee grounds for burning.
- Ignite in a well-ventilated area.
- Use like incense to repel flies.
- Opt for upwind location for effectiveness.
- Cover with a damp towel for longer-lasting results.

OXO Brew Single Serve Pour-Over Coffee Maker
Brews consistent, flavorful pour-over coffee with minimal effort
As an affiliate, we earn on qualifying purchases.
Benefits of Burning Coffee Grounds
Burning coffee grounds effectively repels pests due to their strong scent and repelling properties. When burnt, coffee grounds act as a natural deterrent against various insects, including mosquitoes, wasps, bees, and flies.
The smoke released from burning coffee grounds sends out a warning signal to bugs, keeping them away from your outdoor area. This method not only proves to be effective but is also environmentally friendly.
By utilizing burnt coffee grounds as a pest control measure, you're opting for a natural solution that's safe for the environment and those around you. The natural and potent aroma emitted by burnt coffee grounds serves as a powerful tool in warding off pests, making it a versatile and reliable option for repelling unwanted insects in your surroundings.

7 Pack Espresso Tamper Station&Coffee Distributor Tamper&Espresso WDT Stirrer&Coffee Tamping&Brush&Coffee Dosing Funnel&Espresso Puck Screen, Multipurpose Tools for Bar Home Office (51 mm)
Barista Essential Tools: get what you need to be a pro barista with our espresso tamper set, including...
As an affiliate, we earn on qualifying purchases.
Mosquito Breeding Grounds
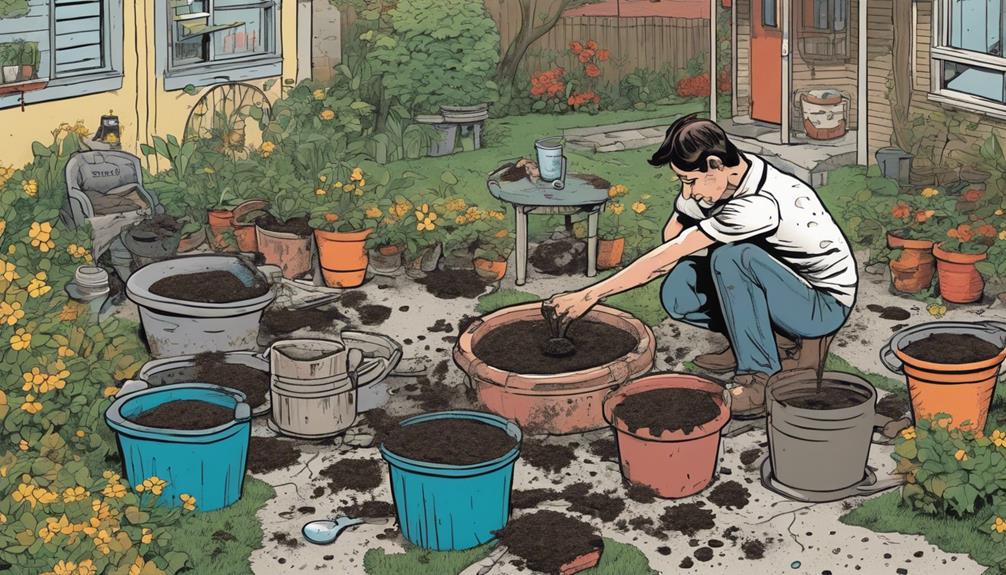
To prevent mosquitoes from breeding in your outdoor space, it's vital to eliminate sources of standing water where they can lay their eggs. Here are some key points to keep in mind:
- Standing Water: Mosquitoes are attracted to standing water in various places like buckets and plant pots, creating ideal breeding grounds.
- Neglected Areas: Areas such as bird feeders and children's pools, when overlooked, can quickly become mosquito breeding grounds.
- Stagnant Water: Stagnant water provides the perfect conditions for mosquito larvae to thrive and develop into adult mosquitoes.
- Removal of Water Sources: Removing sources of standing water is essential in reducing mosquito populations and preventing breeding.
- Decrease Mosquito Population: Taking steps to prevent stagnant water accumulation can markedly reduce the number of mosquitoes in your yard.

7 PCS Espresso Accessories,51mm Espresso Tamper Tools,WDT Tool Espresso Machine Accessories Kit,Coffee Tamper with Wood Espresso Tamping Station,Distributor,Stirrer,Dosing Funnel,Brush,Puck Screen
1. 【All-In-One Espresso Accessories Kit】Elevate your coffee ritual with this 7-piece professional barista kit, designed for precision and...
As an affiliate, we earn on qualifying purchases.
Using Coffee Grounds as Repellent
To deter flying pests like mosquitoes and flies in your outdoor space, consider utilizing coffee grounds as a natural repellent. Coffee grounds have a strong scent that repels flies effectively, making them a great option for keeping these pests at bay.
When burnt, coffee grounds produce a smoldering effect that acts as a barrier against flying insects, creating an environment that's less attractive to them. This fly repellent method isn't only natural but also safe for outdoor spaces where chemical sprays may not be desirable.
Whether used indoors or outdoors, incorporating burnt coffee grounds into your pest control routine can help you enjoy a fly-free environment without the need for harsh chemicals. By taking advantage of the aromatic properties of coffee grounds, you can effectively manage fly populations and make your outdoor space more enjoyable.

GdHaHSP 51mm Espresso Accessories Kit,Spring Loaded Calibrated Espresso Tamper,Wdt Tool Espresso and Dosing Funnel Set,Coffee Tamper Espresso Machine Accessories For 51 mm Portafilter Barista Tools
4 IN 1 Espresso accessories kit: Espresso kit can improve your coffee making experience. Espresso machine accessories kit...
As an affiliate, we earn on qualifying purchases.
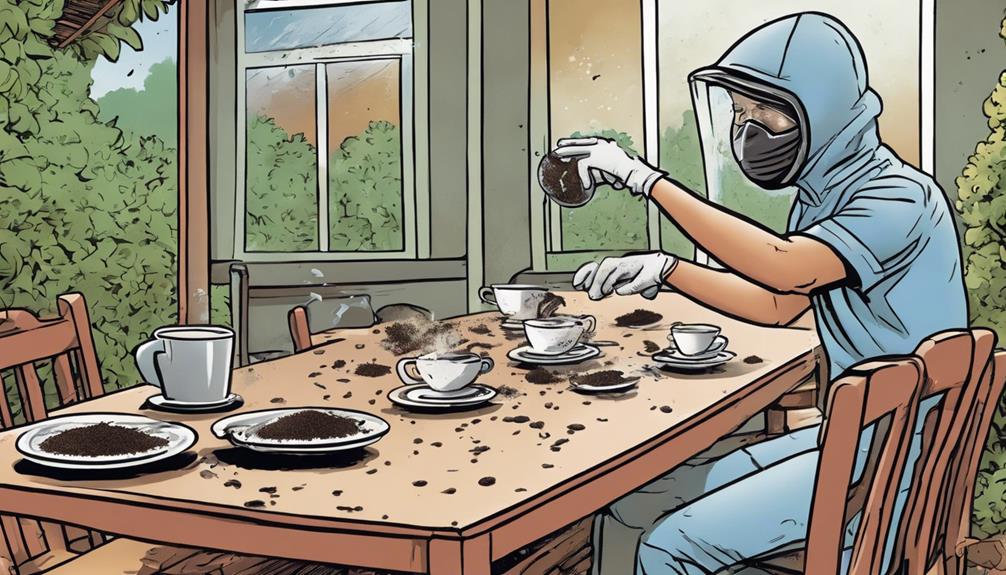
Burning Coffee Grounds Technique

Consider collecting dry, used coffee grounds to prepare for utilizing the burning technique as a natural repellent against flying pests in your outdoor space.
When burning coffee grounds, follow these steps for an effective smoldering effect to repel flies:
- Start by gathering dry, used coffee grounds.
- Place the coffee grounds in a bowl or on a flat surface in a well-ventilated area.
- Ignite the coffee grounds like incense, adding a few drops of lighter fluid if necessary.
- Opt for an upwind location to maximize the effectiveness of repelling flies.
- To create a smoldering effect for longer-lasting results, cover the burning coffee grounds with a damp towel.
Applying Coffee Grounds to Plants
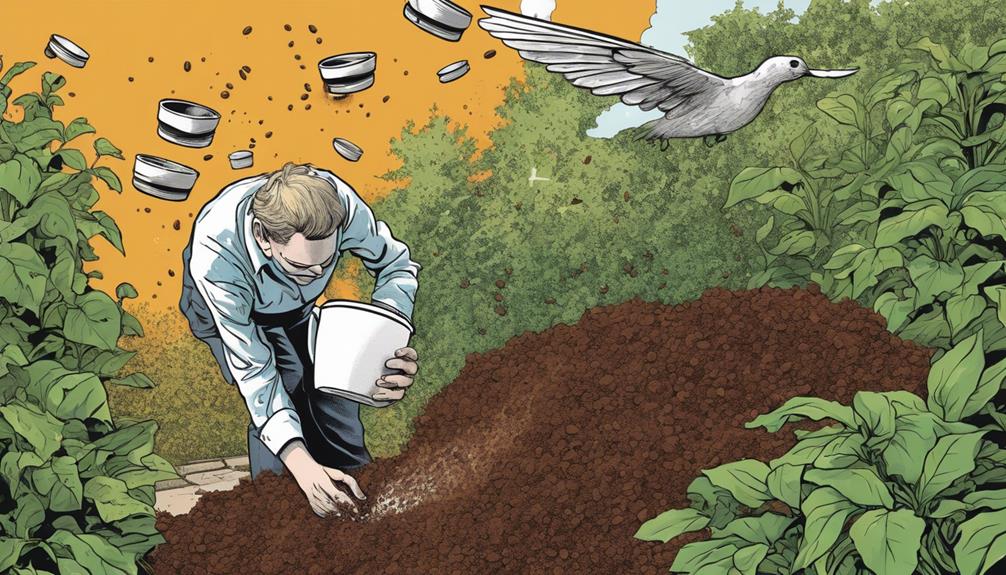
When applying coffee grounds to plants, make sure you strategically utilize this natural pest repellent to protect your garden effectively. Spread used coffee grounds around garden plants and trees to keep bugs at bay. Coffee grounds are known to repel insects when smelled by pests, serving as a safe and natural deterrent.
For instance, sprinkling coffee grounds can help prevent mosquito larvae, especially when added to standing water to target and eliminate these pests effectively.
However, it's important to be cautious and avoid adding coffee grounds to ponds or water sources for animals to prevent any potential negative impacts.
To make the most of using coffee grounds as a pest control method in your garden, make sure you apply them strategically and in the right areas. By incorporating coffee grounds in your gardening routine, you can create a natural barrier against unwanted insects while also benefiting your plants.
Effectiveness Against Flies
Using coffee grounds to repel flies involves burning them to create smoke, which acts as a natural barrier against flying insects. When it comes to keeping pests away, coffee grounds excel at this task. Here's why they're so effective against flies:
- COFFEE GROUNDS: Burning coffee grounds produces smoke that effectively deters flies.
- Grounds Keep Bugs Away: The smoke from coffee grounds keeps bugs, especially flies, at bay.
- Masking the Scents: The strong scent of burnt coffee grounds masks the scents that attract flies.
- KEEP PESTS AWAY: Using coffee grounds is a chemical-free and eco-friendly method to repel flies.
- Incorporating burnt coffee grounds: Utilizing burnt coffee grounds in outdoor spaces notably reduces fly infestations.
Incorporating burnt coffee grounds in your outdoor activities not only helps in repelling flies but also adds a pleasant aroma to your surroundings. This natural pest control method can be a game-changer in keeping your outdoor spaces fly-free.
Benefits of Coffee Grounds for Flies

Coffee grounds offer a natural way to repel flies with their potent scent. When burned, coffee grounds emit compounds that deter flies effectively without harmful chemicals.
This eco-friendly method provides a safe and cost-effective solution for keeping flies at bay.
Fly Repellent Benefits
Releasing a strong aroma, coffee grounds effectively repel flies, making them a natural and chemical-free insect deterrent. When you utilize coffee grounds for fly control, you benefit in various ways:
- Natural Repellent: The strong scent of coffee grounds keeps flies away without the need for harmful chemicals.
- Smoke Barrier: Burning coffee grounds produces smoke that acts as a barrier against flies and other flying pests.
- Effective Compounds: Compounds like caffeine and diterpenes in coffee grounds contribute to their efficacy in repelling flies.
- Eco-Friendly Solution: Using coffee grounds is a chemical-free and environmentally friendly method for fly control.
- Outdoor Protection: Incorporating burnt coffee grounds in outdoor spaces can help maintain a fly-free environment, making your outdoor activities more enjoyable and pleasant.
Grounds for Fly Control
Burning coffee grounds effectively deters flies, creating a pest-free outdoor environment. The smoke produced by burning coffee grounds acts as a natural barrier against flying insects like flies, helping to repel them effectively. This method of using coffee grounds to keep flies at bay has been proven to work, making outdoor spaces more enjoyable without the annoyance of pests. By incorporating burnt coffee grounds into your outdoor activities, you can minimize fly disturbances and create a more pleasant environment for yourself and your guests.
| Benefits of Coffee Grounds for Fly Control | |
|---|---|
| Acts as a natural barrier against flies | Effective in repelling flying insects |
| Creates a pest-free outdoor environment | Proven method to keep flies at bay |
Techniques for Fly Repellent

You can effectively repel flies by burning dry coffee grounds to create smoke in outdoor spaces. This technique can help keep these pests away and prevent fly infestations in your surroundings.
Utilizing coffee grounds as a natural fly repellent is a simple and eco-friendly way to tackle bug issues.
Burning Coffee Grounds Techniques
For best results in repelling flies, consider lighting dry, used coffee grounds on fire to create smoke.
Here are some techniques to effectively burn coffee grounds for fly repellent in your outdoor space:
- Start by gathering dry, used coffee grounds to ensure they ignite easily.
- Place the coffee grounds in a bowl or on a flat surface outdoors to contain the burning process.
- Ignite the coffee grounds carefully to produce smoke that repels flies effectively.
- Burning coffee grounds can act as a natural fly deterrent for an extended period, keeping your outdoor space fly-free.
- Opt for a breezy spot to burn the coffee grounds as the smoke will spread better, maximizing its fly-repelling potential.
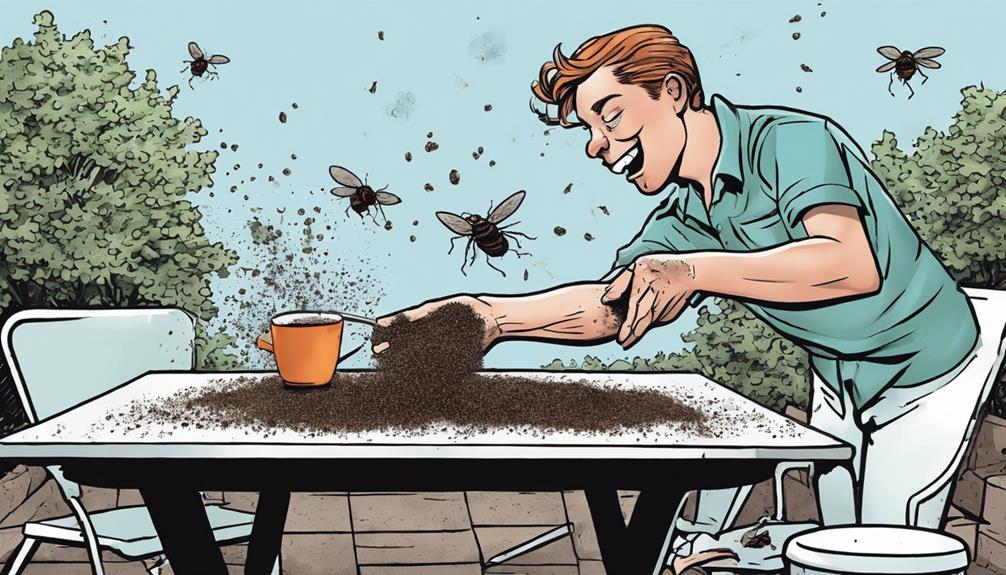
Coffee Grounds for Flies
When looking to effectively repel flies in your outdoor space, consider utilizing coffee grounds in innovative ways to create a natural barrier against these pests. Burning coffee grounds can be a potent method to repel flies due to the smoke they produce. Opt for fresh, dry coffee grounds for the best results in deterring flies. Additionally, scattering coffee grounds around outdoor seating areas and entryways can also help to discourage flies from congregating in these spaces. The pleasant coffee bean scent acts as a natural deterrent, making it less appealing for flies to linger in the area. This natural and cost-effective method can be a simple yet effective solution for keeping flies at bay in your outdoor space.
By lighting coffee grounds on fire, you not only keep mosquitoes at bay but also ward off flies effectively. The smoldering effect of burning coffee grounds acts as a natural barrier that flies find unpleasant.
Get creative with your pest control methods by incorporating coffee grounds into DIY candles or other projects to prevent fly infestations. Embracing the use of coffee grounds in pest control can be a sustainable and natural way to combat fly nuisances in your outdoor living spaces.
Frequently Asked Questions
How Do You Burn Coffee Grounds to Get Rid of Flies?
To get rid of flies, burn coffee grounds like incense outdoors. The smoldering smoke creates a barrier flies avoid. Add a bit of lighter fluid to help burn the grounds. Choose a spot upwind for maximum effect.
How Do You Use Coffee Grounds for Pest Control?
When dealing with pests, employ coffee grounds for natural control. Spread around seating areas or gardens to repel flies, snails, and slugs. Create barriers or mix with water for a spray. Place indoors to keep flies away effortlessly.
Is Burning Coffee Grounds Toxic to Dogs?
Burning coffee grounds can be toxic to dogs due to the caffeine content. Inhaling the smoke can harm their respiratory system. Keep them away from burnt coffee grounds to prevent accidental ingestion or inhalation.
Do Coffee Grounds Keep Gnats Away?
Yes, coffee grounds do keep gnats away. Their strong aroma repels gnats effectively, making them stay clear of your space. Sprinkle coffee grounds in gnat-prone areas to prevent infestations. It's a non-toxic and eco-friendly solution.
Conclusion
So next time you're looking for a natural way to repel flies, remember to try burning coffee grounds! Before you start burning coffee grounds, it’s important to remember some burning coffee safety tips. Make sure to use a heat-safe container and never leave the burning grounds unattended. Additionally, be aware of the smoke and fumes that may be produced, and ensure proper ventilation in the area where you are burning the grounds. These safety precautions will help you effectively repel flies while keeping your environment safe.
Not only does it help keep those pesky insects away, but it also has the added bonus of enriching your plants with nutrients.
Just ask Sarah from Ohio, who saw a significant decrease in flies around her outdoor patio after using this simple and effective method.
Give it a try and see the results for yourself!