To construct a coffee cup calorimeter, you will need a Styrofoam cup, cardboard, lab thermometer, plastic stirrer, and a clamp. Create a cover with holes for the thermometer and stirrer, then tightly secure the cup within the cover. Mix the liquid, keep track of temperatures, and carefully follow the construction guide. Don’t forget to allow the sample to cool for accurate results. Heat transfers from hot to cold within the calorimeter, so pay attention to the direction of heat flow and ensure the lid is secured tightly. Understand the paths of heat for precise measurements. More tips and insights can be found in further details. For more precise results, make sure the Styrofoam cup is securely placed in the cover to minimize heat loss. It’s crucial to follow the instructions for using the lab thermometer and plastic stirrer accurately to monitor temperature changes correctly. Lastly, for more coffee table building tips, consult the construction guide for detailed step-by-step instructions on assembling the calorimeter and conducting precise measurements.
Key Takeaways
- Use a Styrofoam cup for insulation.
- Construct a cardboard lid for the cup.
- Insert a thermometer and stirring stick.
- Secure the lid tightly to prevent heat loss.
- Follow a guide for coffee cup calorimeter construction.
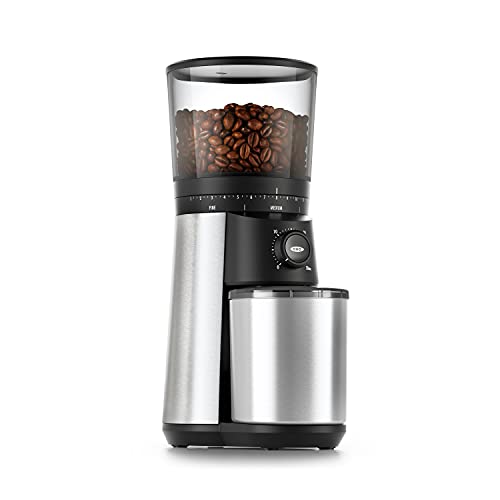
OXO Brew Conical Burr Coffee Grinder - Silver, Stainless Steel Burrs, One-Touch Automatic Smart Grind
Stainless steel conical burrs: Precision grinding system produces uniform coffee grounds for rich, balanced flavor in every cup.
As an affiliate, we earn on qualifying purchases.
Importance of Letting the Sample Cool
Cooling your sample in a desiccator is vital to guarantee accurate and dependable measurements in your experiments.
When determining the specific heat of a substance, it's important to start with a sample at a uniform, controlled temperature.
Allowing the sample to cool properly in a desiccator ensures that it reaches thermal equilibrium with its surroundings, minimizing any temperature differences that could affect the measurements.
This cooling process also prevents moisture from condensing on the sample, reducing the risk of contamination that could alter the results.
Ollygrin Burr Coffee Grinder, Electric Conical Coffee Bean Grinder With 30 Adjustable Grind Settings For 2-12 Cups, Sliver & Black
【Durable Conical Burr】With 40-millimeter stainless steel conical burrs, OLLYGRIN burr coffee grinder ensure optimal flavor extraction and create...
As an affiliate, we earn on qualifying purchases.
Materials Needed for Calorimeter
To build a coffee cup calorimeter, gather necessary materials such as a Styrofoam cup, cardboard, a lab thermometer, a plastic stirrer, and a clamp or ring stand. These items are essential for constructing a functional calorimeter for your science project: You will also need a hot plate or other heat source to conduct your experiments. Once you have assembled all the materials, carefully follow the instructions for assembling the calorimeter. If you are looking for a fun and practical project for your next science experiment, consider trying out the diy coffee table pallet project.
- Styrofoam cup: Acts as the main container, providing insulation for the calorimeter.
- Cardboard: Used to create a lid that covers the cup, establishing a closed system for accurate calorimetry experiments.
- Lab thermometer: Critical for measuring temperature changes precisely during the experiment.
- Plastic stirrer: Utilized for mixing the contents inside the calorimeter to guarantee uniform heat distribution.
- Clamp or ring stand: Required for securing the calorimeter setup in place during experiments.
Gathering these materials will set you on the right path to constructing a coffee cup calorimeter successfully. Each item plays a significant role in the functionality and accuracy of your calorimeter, allowing you to conduct experiments with confidence.
Cuisinart Coffee Grinder, Electric One-Touch Automatic Burr Coffee Grinder with 18-Position Grind Selector, Cup Size Selector for 4 – 18 Cups, DBM-8P1, Black Stainless
ENJOY OPTIMUM FLAVOR: The Cuisinart Coffee Grinder with 18-position slide-dial grind selector provides a uniform grind from ultra-fine...
As an affiliate, we earn on qualifying purchases.
Steps to Make Calorimeter
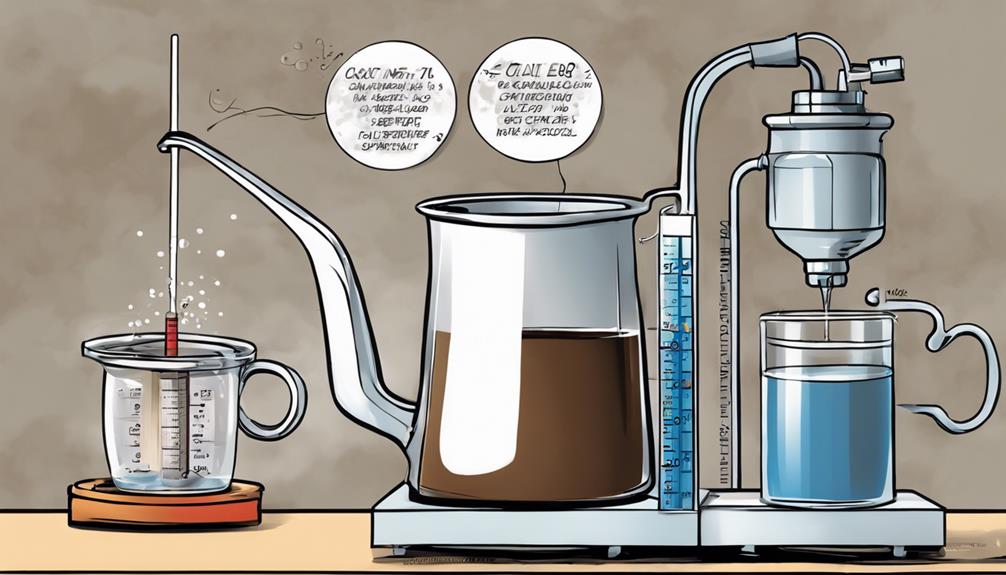
Consider creating a cardboard cover with openings for the thermometer and stirring stick as the initial step in producing your coffee cup calorimeter. Utilize a Styrofoam cup to contain the hot liquid and pour it into the cup before placing the cover on top. Confirm the cover is firmly attached to prevent heat loss during measurements. Stir the liquid and gauge the heat by taking temperature readings periodically for precise results.
To assist you in visualizing the process better, here is a simple guide on how to create your coffee cup calorimeter:
| Step | Description |
|---|---|
| Create cardboard cover with openings | Make openings for thermometer and stirring stick. |
| Utilize Styrofoam cup | Position the cup inside the cardboard cover. |
| Ensure the cover is attached securely | Confirm the cover is tightly secured to prevent heat loss. |

Fellow Opus Conical Burr Coffee Grinder – Electric Espresso Grinder for Home Use, 41 Adjustable Settings for Drip, French Press, Cold Brew & More, 40mm Stainless Steel Burrs, Matte Black
THE DO-IT-ALL GRINDER: Opus is a powerful all-purpose grinder that grinds for the full range of coffee brewing...
As an affiliate, we earn on qualifying purchases.
Tips for Using Calorimeter
When using the calorimeter, guarantee the heat flow direction is accurately noted for precise measurements.
Enhance the accuracy of your results by calculating heat flow meticulously to determine specific heat values.
These points will help you conduct experiments effectively and obtain reliable data.
Heat Flow Direction
Guard the lid of the coffee cup calorimeter tightly sealed to prevent heat loss and maintain accurate measurements during the experiment.
In a calorimeter setup, heat flows from the system (metal) to the surroundings (water).
To effectively manage heat flow within the calorimeter, follow these tips:
- Stir Contents: Periodically stir the contents of the calorimeter to distribute heat evenly and improve accuracy.
- Tape Lid: Secure the lid with tape to maintain isolation during the reaction and prevent heat exchange with the surroundings.
- Mix Thoroughly: After adding metal to water in the calorimeter, guarantee thorough mixing of the water to facilitate heat transfer and accurate measurements.
- Observe Flow: Pay attention to the direction of heat flow within the calorimeter to understand the energy exchange process.
- Maintain Isolation: Keep the calorimeter insulated to minimize external heat influences and maintain the integrity of the experiment.
Accuracy Enhancement
To enhance the accuracy of your calorimeter measurements, consistently stir the contents to guarantee even heat distribution throughout the experiment. Ensuring that the heat is uniformly distributed within the calorimeter will lead to more precise results when calculating heat flow and specific heat values. Remember to take initial temperature readings before introducing any reactive substances to the liquid in the calorimeter. Additionally, using two Styrofoam cups nested together can provide better insulation and temperature control. Secure the cardboard lid tightly with tape to prevent any heat loss or escape during the experiment.
| Tips for Using Calorimeter |
|---|
| 1. Stir Contents Regularly |
| 2. Take Initial Temperature Readings |
| 3. Calculate Heat Flow Accurately |
| 4. Use Nested Styrofoam Cups |
| 5. Secure Cardboard Lid |
Related Lab Equipment Articles
Explore a variety of informative lab equipment articles covering essential tools used in scientific experiments.
When it comes to experimenting with water and heat transfer, having the right equipment is vital. Here are some related lab equipment articles that can enhance your understanding and skills:
- Chemistry Flasks: Immerse in the world of chemistry flasks and learn about their different types and uses in experiments.
- Insulating Materials: Discover the best insulating materials to maintain water temperature effectively during lab tests.
- Temperature Calculations: Understand how to accurately calculate temperature ranges when working with water in experiments.
- Liquid Handling Equipment: Explore essential lab tools designed for safe and efficient handling of liquids in the laboratory.
- Beaker Techniques: Master the proper techniques for utilizing beakers in various scientific experiments to guarantee precision and safety.
These articles will provide valuable insights into selecting the right equipment and using it effectively in your scientific endeavors.
Troubleshooting and Discussion Questions

Be sure to check the lid seal tightness on your calorimeter to prevent any heat loss that could impact your results.
Additionally, consider the direction of heat flow within the system to guarantee accurate measurements.
These two points are essential in troubleshooting and optimizing the performance of your coffee cup calorimeter.
Lid Seal Tightness
Maintaining a tight seal on the lid of the calorimeter is vital for accurate temperature measurements and preventing heat loss or gain during experiments. When dealing with lid seal tightness, here are some troubleshooting tips and discussion points to take into account:
- Check Seal Integrity: Examine the lid seal for any visible gaps or damage that could compromise its tightness.
- Apply Pressure: When closing the lid, apply gentle force to ensure a secure fit and proper sealing.
- Avoid Over-Tightening: While it's important to have a tight seal, be careful not to tighten the lid excessively, which could damage the seal.
- Monitor for Fluctuations: Keep an eye on temperature changes during experiments; sudden shifts may indicate a loose lid seal.
- Re-Evaluate Seal Periodically: Regularly inspect and reassess the lid seal tightness to maintain consistent and dependable results in your calorimetry experiments.
Understanding the impact of lid seal tightness on the calorimeter's performance is essential for achieving accurate and reproducible results.
Heat Flow Direction
Understanding the direction of heat flow in a calorimeter experiment is essential for achieving accurate measurements and interpreting results effectively.
Heat naturally flows from hot objects to cold objects in a calorimeter setup. Troubleshooting issues often revolve around making sure that heat isn't escaping to the surroundings, which can skew measurements.
By comprehending how heat moves within the system, you can pinpoint areas where improvements are needed to maintain the integrity of the experiment.
Discussion questions frequently explore the effects and direction of heat flow, shedding light on the intricacies of calorimetry.
Knowing the path heat takes helps in interpreting results accurately and refining experimental setups for better precision.
Frequently Asked Questions
How to Construct a Coffee Cup Calorimeter?
To construct a coffee cup calorimeter, start by using a Styrofoam cup with a cardboard lid. Make a hole in the lid for a thermometer and stirring rod. Pour hot liquid, seal, and take initial temperature measurements for experiments.
How to Make a Homemade Calorimeter?
To make a homemade calorimeter, grab a Styrofoam cup, poke a hole in the lid for a thermometer and stirring rod. Pour hot liquid in, cover it, and stir. Take temp readings for accurate heat calculations. Consider using two cups for better insulation.
What Is the Purpose of the Coffee Cup in a Calorimetry Experiment?
To understand the purpose of the coffee cup in a calorimetry experiment, it's key to recognize that it acts as an insulating container, maintaining temperature, isolating reactions, ensuring accuracy in heat flow measurement, and providing controlled conditions.
What Property Makes a Coffee Cup an Ideal Calorimeter?
To make a coffee cup an ideal calorimeter, its insulating Styrofoam keeps temperatures stable during experiments. Lightweight and inexpensive, Styrofoam cups create effective heat barriers, ensuring precise measurements. Cleanup is a breeze with disposable cups.
Conclusion
Now you know how to build a coffee cup calorimeter for your science project!
Did you know that approximately 90% of the heat generated by the reaction is absorbed by the water in the calorimeter?
This concept demonstrates the importance of using a calorimeter to measure heat changes accurately in chemical reactions.
Have fun experimenting with your new calorimeter!