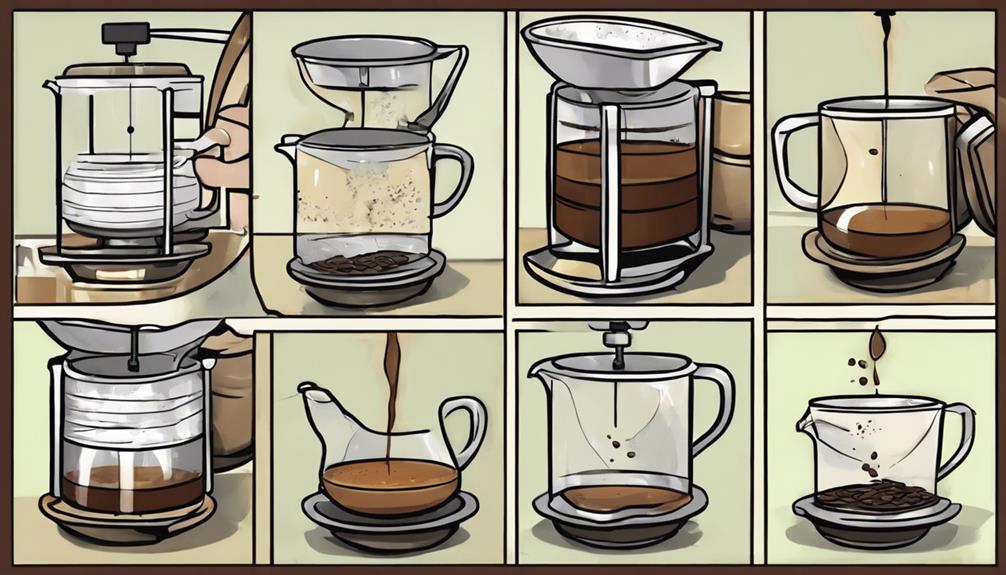

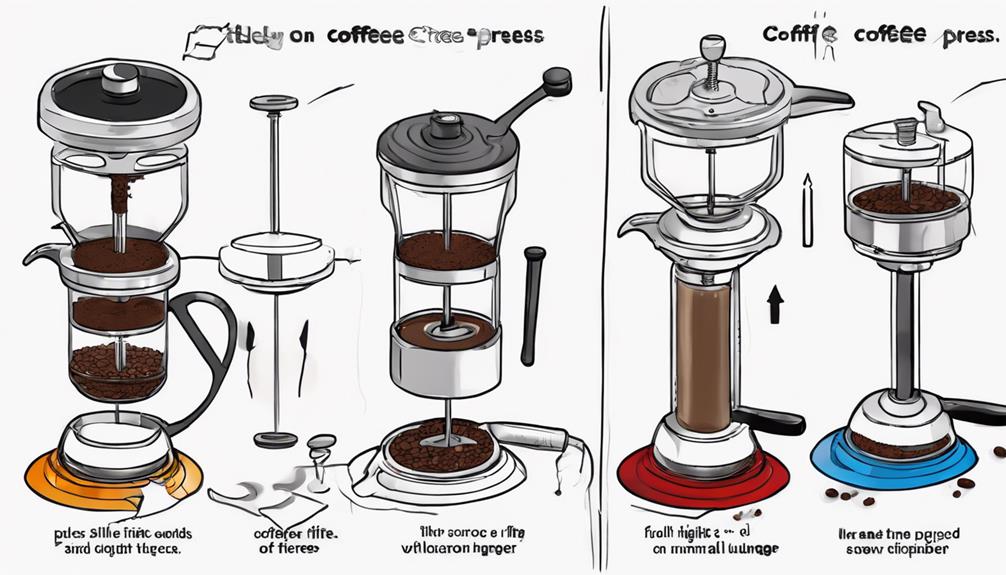
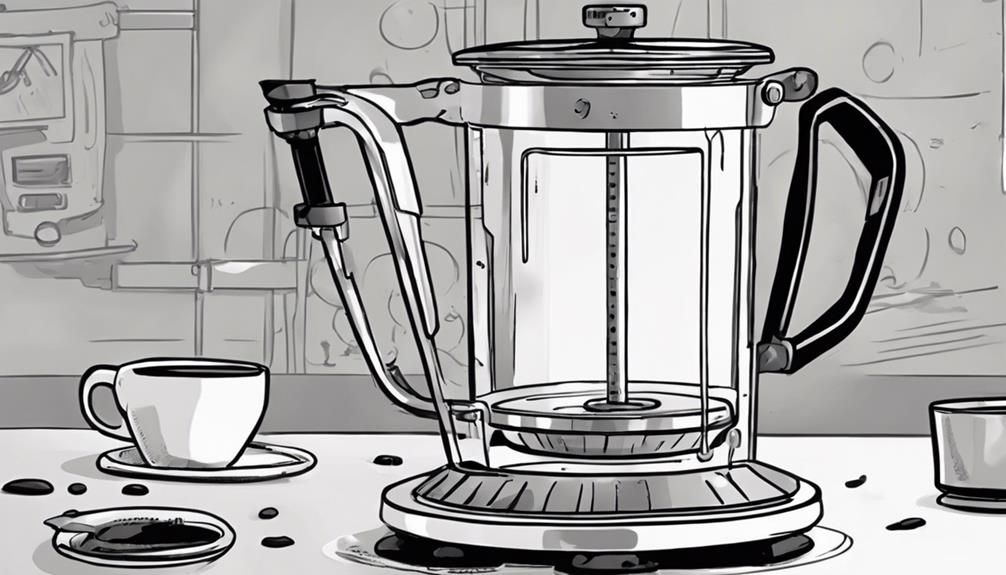
To properly assemble your coffee press, begin by taking apart all the parts completely. Keep the pieces organized and take note of how many turns each part has. Be sure to secure the plunger and filter during the disassembly process. When putting it back together, start with the bottom piece and place the filter on top. Tighten the pieces in the correct order, making sure they are securely fitted and aligned properly. Pay attention to each step for a perfect brew. For flawless assembly, follow the steps diligently – the secret to a perfect coffee press lies within.
Key Takeaways
- Disassemble by unscrewing all parts carefully.
- Keep parts in order and note turns.
- Secure plunger rod and filter during disassembly.
- Place base first, add film, then screw parts.
- Confirm tightness, alignment for successful assembly.

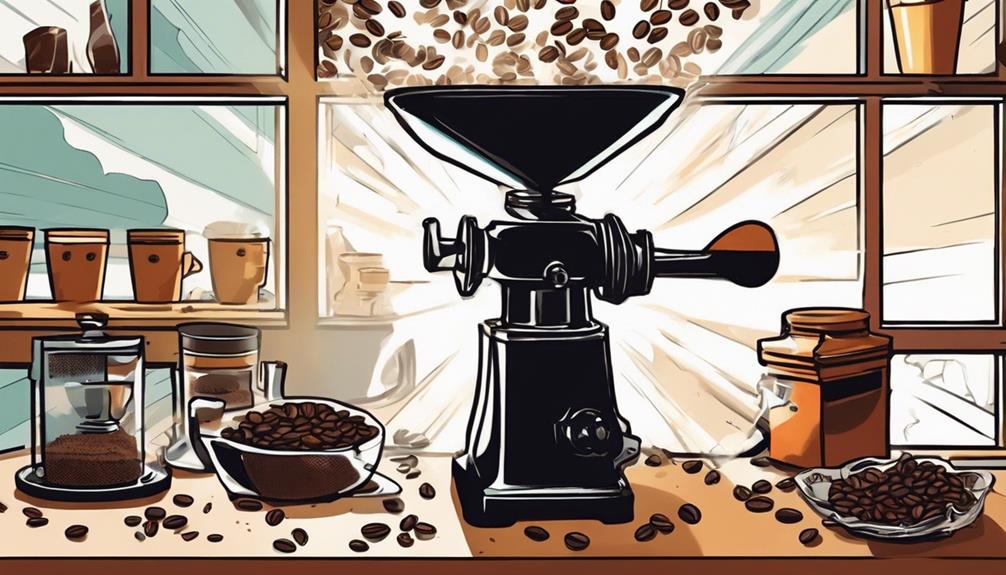
Gevi Coffee Grinder Electric,Coffee Bean Grinder with 35 Grind Settings for Espresso,Drip,French Press,Burr Coffee Grinder for Home Use,Anti-static Design,Black
Precision Grind Settings: Offers 35 adjustable grind settings for fine-tuning coffee powder thickness.
As an affiliate, we earn on qualifying purchases.
Disassembling the Coffee Press
To begin disassembling the coffee press, start by unscrewing it completely. Take your time with this step; it might require a little bit of patience. Remember to keep all the pieces in the correct order as you remove them. Pay close attention to how many turns it takes to disassemble each part, as this will be important during reassembly.
Once you have unscrewed the coffee press entirely, make sure to secure the plunger rod and filter assembly. These components are vital, and you'll need them intact for when you put everything back together. Double-check that everything is disassembled correctly before moving on to the next steps.
It's important to have a clear understanding of how the coffee press is taken apart to guarantee a smooth reassembly process later on.

Neretva Espresso Grinder, 2 in 1 Professional Coffee Bean Grinder Stainless Steel Suit 51~58mm Portafilter Burr Coffee Grinder 30 Precise Setting&Anti-Static for Espresso/French Press/Drip/Moka-Silver
PROFESSIONAL CONICAL BURR COFFEE GRINDER- WIth new upgraded 3.0 conical burr grinding technoloy, the coffee grinder ensures that...
As an affiliate, we earn on qualifying purchases.
Reassembling the Contraption
Place the piece on the bottom first, then add the film on top during reassembly.
Screw all the pieces back together in the correct order for a secure fit.
Secure the rad into the base with a few turns to complete the process.
Part Placement Sequence
Start by carefully positioning the piece at the base of the coffee press before layering the film on top to start reassembling the contraption. After this initial step, screw everything back together meticulously, making certain each component fits snugly into place. Secure the rad into the base with a few turns to stabilize the coffee press effectively. Next, tighten the bottom screw firmly to avoid any leaks during use. It is essential to verify that all parts are assembled correctly and check for a good fit before using the coffee press.
To highlight the significance of proper part placement sequence, refer to the table below:
| Step | Description | Importance |
|---|---|---|
| Position Piece | Place at the base of the press | Foundational |
| Layer Film | Add on top of the piece | Essential |
| Secure Rad | Stabilize by screwing into base | Stability |
| Tighten Bottom Screw | Prevent leaks by tightening firmly | Leak Prevention |
| Confirm Assembly | Ensure correct placement | Final Check |
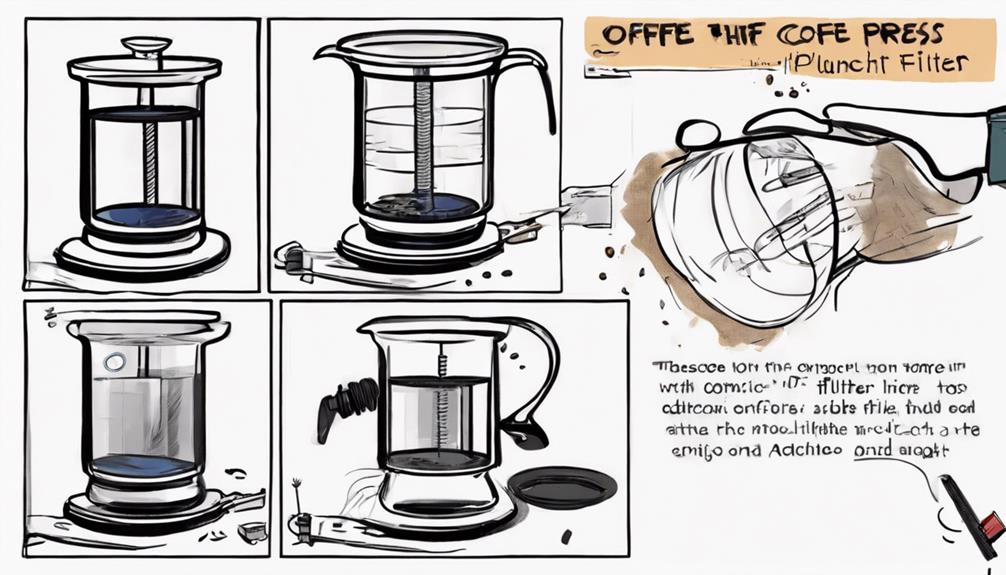
Proper Film Installation
When reassembling the coffee press contraption, make sure the film is placed securely on top of the piece at the base before proceeding with the next steps. This step is important to achieve that the components fit together correctly and prevent any potential leaks during use.
After adding the film, secure the rod into the base with a few turns to hold everything in place.
Once the film is in position, tighten the bottom screw until it's secure. This tight seal is necessary for brewing your coffee effectively without any issues.
Confirm that all parts are assembled correctly and double-check for a good fit to guarantee best performance of your coffee press.
Proper film installation sets the foundation for the rest of the assembly process, so take your time to do it right. Following these steps will help you enjoy a perfect cup of coffee every time you use your press.
Secure Screw Tightening
Anchor firmly the rod into the base with a few turns to hold it in place during the reassembly of the coffee press contraption. This step is essential to ensure the press functions correctly without any leaks.
As you tighten the bottom screw, make sure it's firmly in place to prevent spills during the coffee pressing process. Once the contraption is fully assembled, confirm the tightness of the screw to guarantee a proper seal.
Be mindful of not over-tightening or under-tightening the screw—use the correct number of turns for best functionality. After tightening, check for a good fit to verify that all components are aligned correctly and securely in place.

SHARDOR Conical Burr Espresso Coffee Grinder Electric with Precision Timer 2.0, Touchscreen Adjustable Burr Mill with 51 Precise Settings for Home Use, Anti-static, Stainless Steel
Premium 40 Millimeter Stainless Steel Conical Burr: Designed to minimize grinding heat and protect the essential oils in...
As an affiliate, we earn on qualifying purchases.
Key Steps in Disassembly Process
To start the disassembly process, unscrew all parts of the coffee press contraption completely. Make sure to follow the correct order of pieces, beginning with the base piece at the bottom and the filter on top.
Confirm a secure fit during reassembly by screwing all components back together tightly.
Unscrew All Parts
Begin by carefully detaching all components of the coffee press apparatus to kickstart the disassembly process. Remember to follow the correct sequence of pieces to make reassembly easier later on.
As you detach each part, make sure that it fits securely before proceeding to the next step. Use the appropriate number of turns when detaching to prevent any damage to the parts. Before moving forward with further disassembly, ensure that the bottom screw is tightly secured.
By taking these precautions and being meticulous in your detaching process, you'll set yourself up for a successful disassembly and reassembly of your coffee press. Paying attention to detail now will save you time and frustration when it comes time to put everything back together.
Correct Piece Order
During the disassembly process of a coffee press, make certain you follow the correct order of pieces for a smooth reassembly later on. Start by placing the piece on the bottom and adding the film on top to secure an organized process.
To help you visualize the correct piece order, remember the following steps:
- Place the piece on the bottom
- Add the film on top
- Unscrew all parts completely
- Confirm each piece is separated and accessible
Following these steps will make reassembling the coffee press much easier later on. By disassembling in the correct order, you set yourself up for success in making certain a secure fit and proper functionality of your coffee press.
Remember to take your time and pay attention to detail as you disassemble each piece in the correct order.
Confirm Secure Fit
Always double-check a secure fit during the disassembly process of your coffee press to ensure smooth reassembly later on.
When taking apart your coffee press, make sure that you unscrew all components completely. Following the correct order of disassembly is pivotal to make the reassembly process easier.
As you begin to put the pieces back together, confirm a secure fit by aligning them correctly and tightening the screws appropriately. Using the right number of turns when reassembling will help prevent any loose parts that could impact the press's functionality.
Lastly, don't forget to double-check the tightness of the bottom screw at the end of the reassembly process to make sure everything is securely put together. By confirming a secure fit at each step of the disassembly and reassembly process, you'll maintain the efficiency and functionality of your coffee press.

Coffee Grinder, Viesimple Gen 4, Single Dose Burr Coffee Grinders with Magnetic Dosing Cup, Electric Coffee Bean Grinder with Anti-Static Design, Espresso Grinder Compact & Quiet for Home Use Black
THE DO-IT-ALL GRINDER:The electric coffee grinder is a powerful all-purpose coffee grinder featuring 5-blade of 48 mm conical...
As an affiliate, we earn on qualifying purchases.
Key Steps in Reassembly Process
To guarantee a successful reassembly process for your coffee press, carefully follow the key steps outlined below.
- Follow the correct order: Begin by reassembling your coffee press in the correct sequence to make certain all pieces fit together properly.
- Secure the rad: Make sure to tighten the rad into the base with a few turns to prevent any potential leaks during use.
- Tighten the bottom screw: Make certain the bottom screw is securely tightened to keep all components in place and prevent any loose parts.
- Confirm tightness: Once the reassembly process is complete, double-check the tightness of all screws and pieces to ensure a well-functioning coffee press.
Following these key steps will help you successfully reassemble your coffee press and guarantee that it functions properly. Remember to check for a good fit once everything is put together to ensure the best brewing results.
Overall Assembly Process Overview
You can streamline the overall assembly process of your coffee press by following a systematic approach to piece everything back together securely. Start by reassembling the coffee press in the correct order, beginning with securing the filter and plunge rod in place before screwing everything tightly back together.
Pay close attention to the bottom screw, making sure it's tightened adequately to prevent any leaks during use. Double-check each component for a snug fit to guarantee proper functionality of the coffee press once fully assembled.
Remember to take your time during the assembly process to avoid any mistakes that could lead to issues later on. By following these steps diligently, you can make sure that your coffee press is put together correctly and ready for use.
After completing the assembly, perform a quick functionality test to confirm that everything is working as it should.
Final Checks and Adjustments
To verify your coffee press is properly assembled, conduct final checks and adjustments to secure peak brewing performance. Here are some key steps to confirm your coffee press is ready to brew the perfect cup:
- Validate the plunger is aligned properly to prevent leaks or uneven pressure during pressing.
- Check that the filter screen is securely attached to the metal rod to avoid grounds seeping into the coffee.
- Adjust the tightness of the plunger by turning the knob at the top to achieve the desired brewing strength.
- Confirm that the lid is securely in place to maintain heat retention and prevent spills while pouring.
Frequently Asked Questions
How to Put a Coffee Press Together?
To put a coffee press together, start by disassembling all parts. Place the piece on the bottom, add the filter on top, and screw everything back tightly. Secure the plunger rod into the base and tighten the bottom screw to prevent leaks. Check for proper fit before use.
How to Take Apart a Bodum French Press?
When you disassemble a Bodum French Press, start by unscrewing it in the correct order. Remember to secure the plunger and filter before putting everything back together. Tighten the rod and bottom screw for a snug fit.
How Do You Set up a Bodum French Press?
To set up a Bodum French press, place the piece on the bottom, add the filter on top, and screw everything together tightly. Secure the plunger rod and filter assembly into the base with a few turns, ensuring a tight fit.
How Do I Change the Filter in a French Press?
To change the filter in a French press, unscrew the contraption to access the filter at the bottom. Place the new filter on top, secure it, and tighten the screw to prevent leaks. Confirm a proper fit for press perfection.
Conclusion
Congratulations on successfully assembling your coffee press! Now that you're a pro at putting it together, get ready to enjoy a perfectly brewed cup of coffee every time. Once you’ve mastered the art of assembling a french press coffee maker, you can experiment with different coffee grounds and brewing times to find the perfect combination that suits your taste. With your newfound expertise, you can impress your friends and family with a delicious cup of coffee made with your freshly assembled coffee press. So sit back, relax, and savor the fruits of your labor as you enjoy a rich, flavorful coffee experience.
Just remember, even though you've mastered the art of press perfection, there's always room for improvement – but hey, at least your coffee will always be perfect!