Connect with us

Tips and Tricks

How to Prevent Coffee Grounds From Blocking Drains

Prevent coffee grounds from clogging drains with simple tips and tricks to maintain a clear and efficient plumbing system.

Published

on

preventing coffee ground clogs

To prevent coffee grounds from blocking drains, avoid disposal down the sink. Dispose of them in a designated trash bin or consider composting for eco-friendly options. When cleaning coffee machine parts, flush drains regularly to prevent buildup. Use paper or mesh filters to trap fine particles and oils. Avoid mixing grounds with grease in sinks. DIY methods like boiling water or baking soda and vinegar can help unclog drains. Consider snaking or plunging drains for stubborn blockages. Prevent plumbing issues by consulting a professional plumber. Proper maintenance and care of drains are essential to avoid future problems with coffee grounds.

Key Takeaways

  • Use a paper or mesh filter to trap grounds.
  • Dispose of grounds in the trash, not the sink.
  • Regularly clean drains to prevent buildup.
  • Avoid pouring hot coffee down the drain.
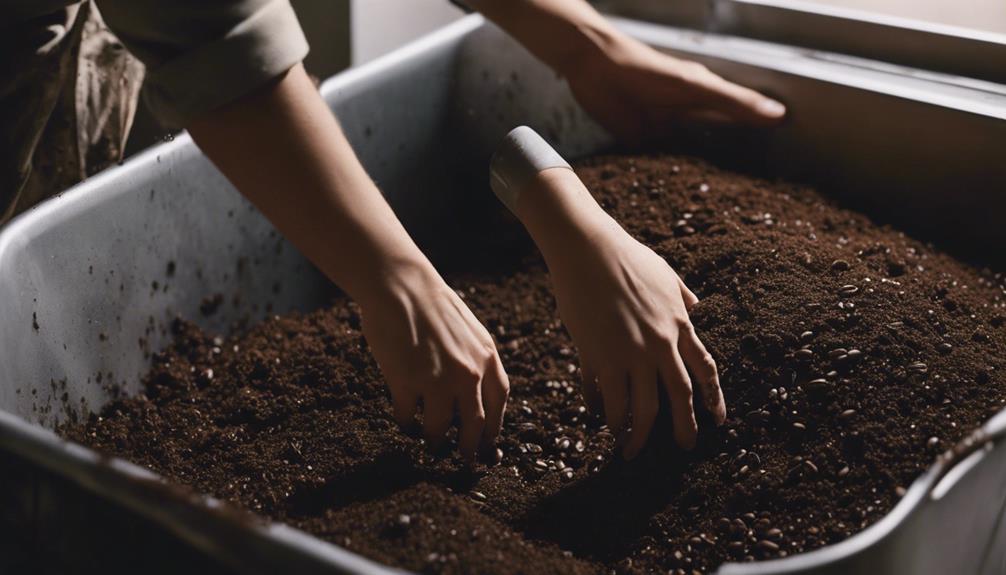
  • Consider composting coffee grounds for eco-friendly disposal.

Proper Disposal Methods

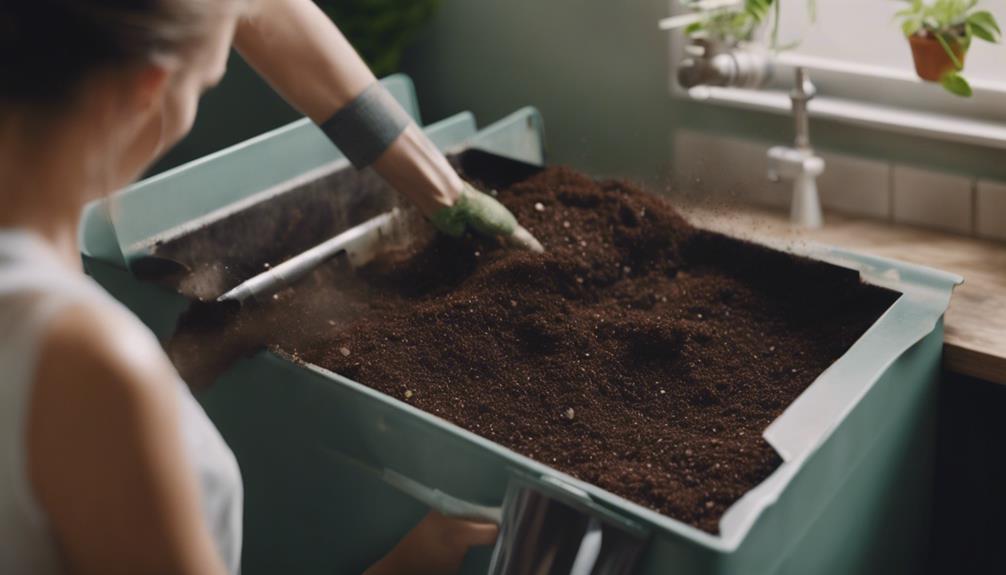
To prevent drain blockages and plumbing issues, avoid disposing coffee grounds down the sink. Improperly disposing of coffee grounds can lead to clogged drains and costly repairs. Instead, consider using a designated trash bin for your coffee grounds or explore composting them as environmentally friendly disposal methods.

By taking these simple steps, you can help maintain the smooth operation of your drainage system and avoid potential blockages caused by coffee grounds accumulating in your pipes.

It is essential to remember that even when washing parts of your coffee machine in the sink, you should regularly flush the drains to prevent buildup. Additionally, when dealing with filters, make sure to properly dispose of used ones and clean reusable filters regularly to prevent clogs.

Ensuring that coffee grounds and filters don't enter the drain system will considerably reduce the risk of blockages and keep your plumbing in good working order. By following these proper disposal methods, you can enjoy your coffee without worrying about potential plumbing issues.

Use of Coffee Filters
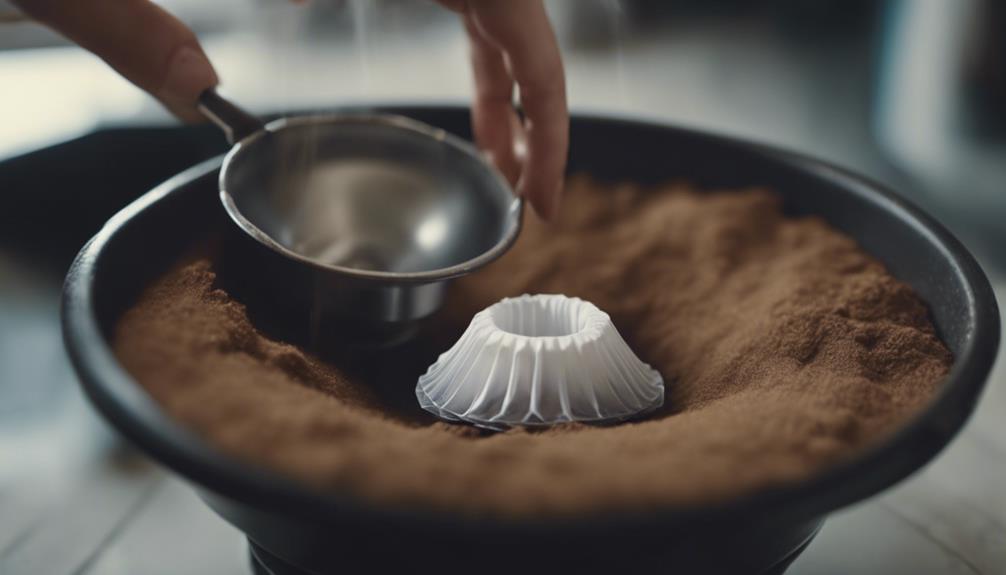
filtering coffee with care

Coffee filters come in various sizes and materials, with each serving a distinct purpose. Understanding the significance of filter size can help prevent coffee grounds from clogging drains.

Proper disposal methods of used filters are essential to maintain plumbing systems, and considering the environmental impact of your filter choice is also paramount.

Advertisement

Filter Size Importance

Consider using a paper or mesh coffee filter to effectively prevent fine particles and oils from clogging your drains. The size of the filter plays an important role in ensuring that coffee grounds are adequately contained during the brewing process.

Opting for a filter with a mesh design can greatly reduce the risk of drain blockages by capturing even the smallest particles that could otherwise pass through. Reusable filters with a mesh structure are particularly useful as they can be washed and reused, providing a sustainable solution while maintaining their effectiveness in preventing grounds from entering your plumbing system.

Proper Disposal Methods

How can coffee filters assist in the proper disposal of coffee grounds to prevent drain blockages?

Coffee filters are a simple yet effective tool in managing coffee grounds and keeping your drains clear. Here are a few ways they can help:

  • Containment: Use a coffee filter to trap and hold the coffee grounds before disposing of them. This prevents the grounds from entering the drains and causing blockages.
  • Easy Disposal: Place a coffee filter over the drain and pour the used grounds through it. Once filled, twist the filter shut for convenient and mess-free disposal without risking drain clogs.
  • Retaining Grounds: Coffee filters not only aid in proper disposal but also help in retaining the grounds for composting, discarding in the trash, or reuse in various ways, preventing any issues with the drains.

Environmental Impact Consideration

When evaluating the environmental impact of using coffee filters, it's important to take into account their biodegradability and reusability to minimize waste.

Paper filters, commonly used in drip coffee makers, offer the advantage of quick biodegradation in compost, reducing their environmental impact significantly. By choosing paper filters over non-biodegradable options, you contribute to sustainable waste management practices.

Advertisement

On the other hand, reusable filters, typically made of mesh, provide a more eco-friendly alternative by reducing the generation of waste. These filters can be rinsed and used multiple times, effectively minimizing the environmental footprint associated with single-use paper filters.

Opting for reusable filters not only helps in waste reduction but also prevents coffee grounds from entering plumbing systems, reducing the risk of drain blockages.

Proper disposal of used filters, whether paper or reusable, is essential to maintain the integrity of plumbing systems and mitigate environmental harm caused by clogs and blockages.

Avoid Sink Disposal
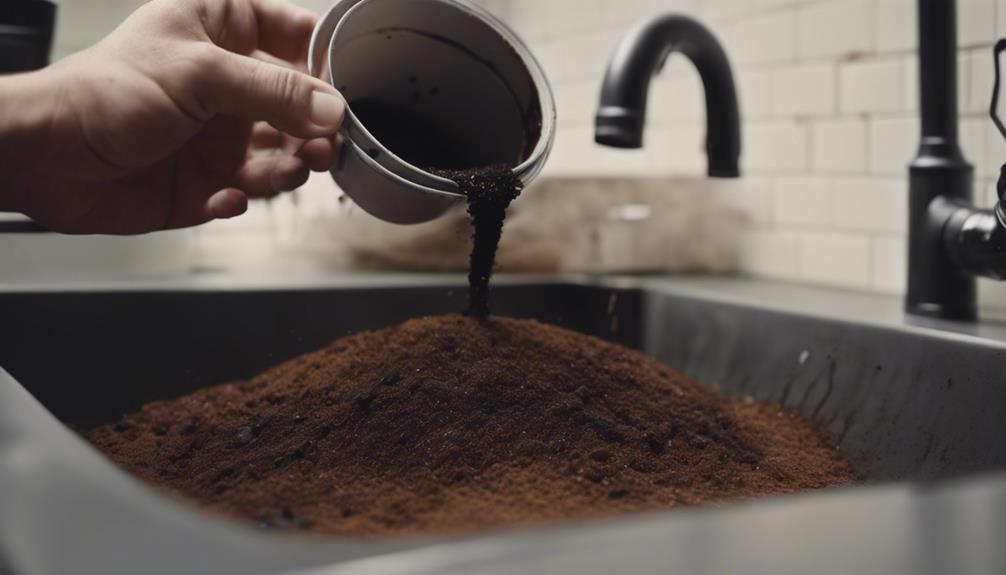
don t use garbage disposal

To prevent drain blockages, avoid disposing of coffee grounds down the sink. Flushing coffee grounds down the sink can lead to plumbing system issues and clogged drains. Instead, opt for proper disposal methods such as using a designated trash bin or composting the coffee grounds.

Here are some key points worth noting:

  • Sink Damage: Coffee grounds can accumulate in the sink pipes, causing blockages and potential damage to the plumbing system.
  • Clog Formation: When coffee grounds mix with grease or other substances in the pipes, they can form clogs that are difficult to remove.
  • Odor Concerns: Decomposing coffee grounds in the drains can create unpleasant odors and attract pests.

Shake Grounds Into Trash
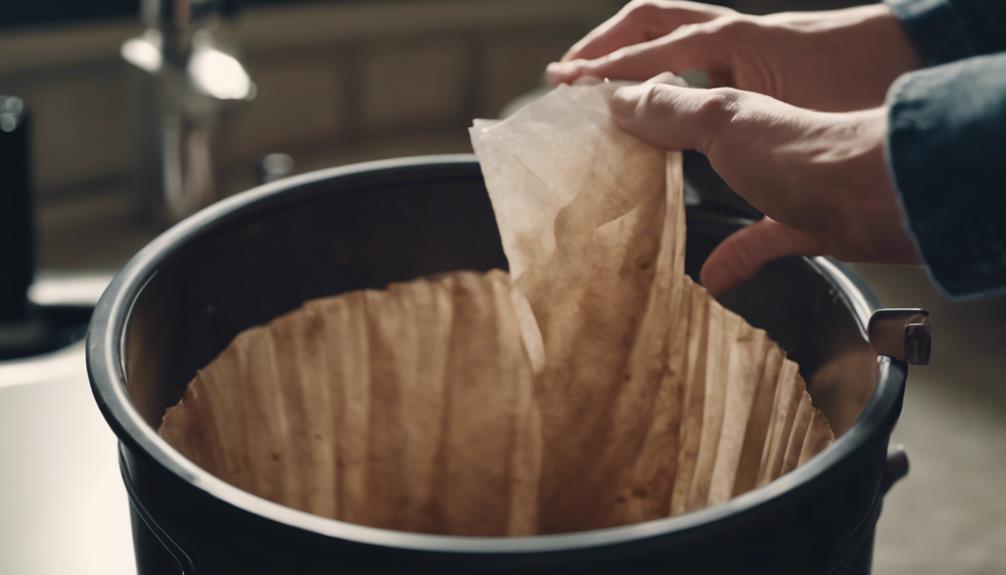
sweep coffee grounds away

Shaking coffee grounds into the trash is a simple yet effective method to prevent drain blockages. When you dispose of coffee grounds by shaking them into the trash instead of rinsing them down the sink, you greatly reduce the risk of clogged drains.

By directly depositing the grounds into the trash, you avoid potential plumbing issues that can arise from using the sink as a disposal for coffee grounds. This straightforward approach not only maintains clear drains but also helps in preventing blockages that can result from improperly disposing of coffee grounds.

Advertisement

Properly shaking the grounds into the trash is a quick and efficient way to make sure that your drains remain free from clogs. Remember, a little effort in disposing of coffee grounds correctly can go a long way in preventing the headache of dealing with clogged drains in the future.

DIY Unclogging Methods
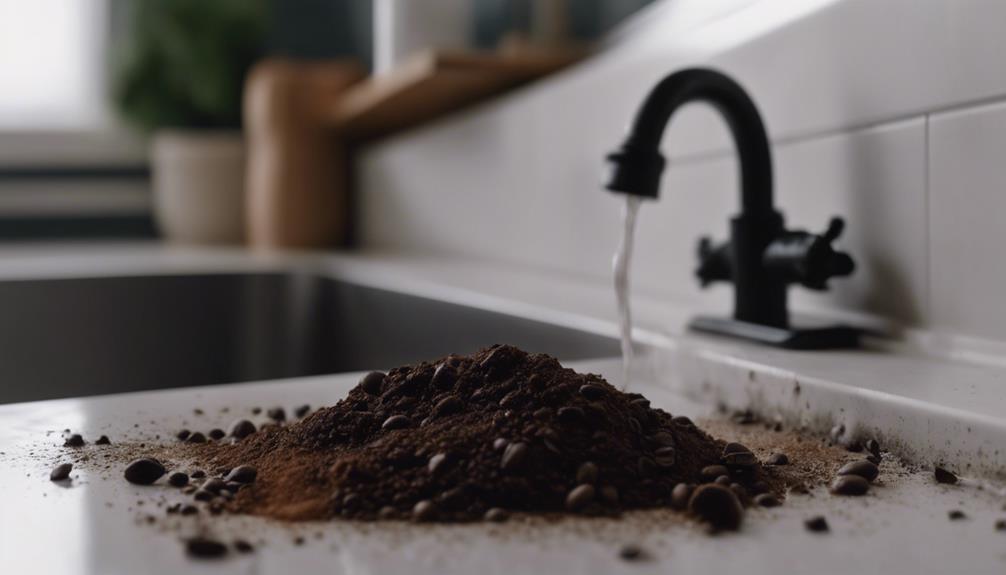
clogged drain solutions at home

To effectively address clogs caused by coffee grounds in your drains, consider safe drain cleaning methods and natural clog removers.

Boiling water can help break down and flush away coffee grounds, while a sink plunger can dislodge blockages.

Additionally, a mixture of baking soda and vinegar can dissolve clogs, and using a plumbing snake can physically remove compacted grounds.

Safe Drain Cleaning

Using common household ingredients like baking soda and vinegar can effectively unclog drains and prevent coffee grounds from causing blockages. To keep your sink drain flowing smoothly and avoid issues with your garbage disposal, it's important to regularly clean and maintain your plumbing system.

Here are some safe drain cleaning tips to help you prevent coffee grounds from blocking your drains: To prevent coffee grounds from clogging your drains, make sure to use a fine mesh strainer to catch any large particles before they go down the drain. Additionally, try mixing a tablespoon of baking soda with a cup of vinegar and pouring it down the drain to help break down any remaining coffee residues. Lastly, safely dispose of coffee granules by composting them or throwing them in the trash to prevent them from causing future blockages.

Advertisement
  • Use a drain strainer: Install a drain strainer to catch coffee grounds and other debris before they enter the drain, reducing the risk of clogs.
  • Avoid pouring hot coffee down the drain: Hot coffee can contribute to clogs over time by solidifying grease and other substances in the pipes.
  • Dispose of coffee grounds properly: Instead of washing coffee grounds down the drain, dispose of them in the trash or use them for beneficial purposes like composting to prevent drain blockages.

Natural Clog Removers

Boiling water can effectively dissolve coffee grounds and clear minor blockages in drains. The heat from boiling water helps break down the coffee grounds, allowing them to move through the pipes more easily and prevent clogs.

Another natural method to unclog drains is by using a mixture of baking soda and vinegar. When combined, these two ingredients create a fizzy reaction that can help break down the coffee grounds and clear the blockage.

Additionally, utilizing a sink plunger can dislodge coffee grounds stuck in the drain, improving water flow and preventing future clogs.

For more stubborn blockages, manual pipe cleaning with a drain snake or auger can physically remove the coffee grounds causing the issue.

Remember, coffee grounds can contribute to clogging your drains, so it's essential to dispose of them properly and regularly manually clean your pipes to avoid blockages in the future.

Snaking the Drain
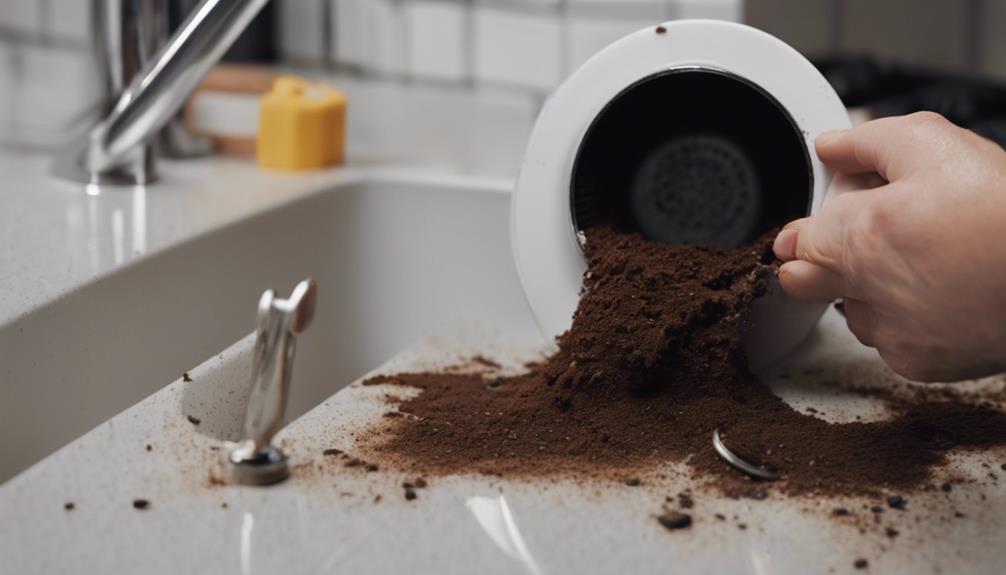
clearing clogged bathroom pipes

One effective method for clearing coffee grounds from drains is by utilizing a drain snake to break up and remove blockages.

When it comes to snaking the drain, consider the following:

Advertisement
  • Flexible Tool: A drain snake is a flexible plumbing tool designed to navigate through pipes and dislodge clogs effectively.
  • Blockage Removal: Drain snakes are adept at breaking up and removing coffee grounds that may be obstructing the water flow in your pipes.
  • Preventive Maintenance: Snaking the drain not only clears existing blockages but also helps in maintaining a smooth pathway for water to flow freely, reducing the likelihood of future clogs.

Plunging Technique
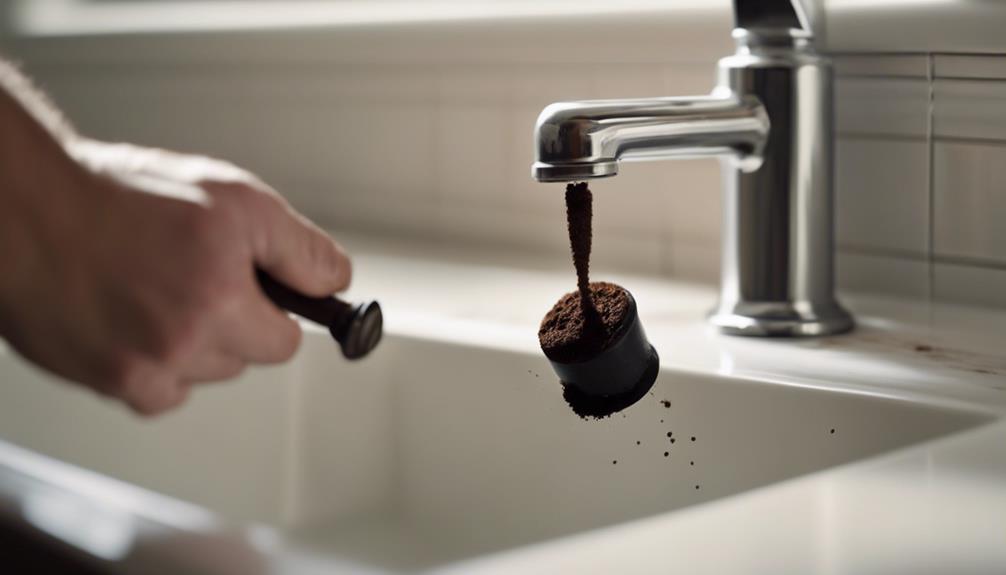
perfecting the diving form

To effectively clear coffee grounds from drains, utilizing the plunging technique with a sink plunger is a practical method for dislodging blockages. When using a sink plunger, make sure it has a flat bottom to create a strong seal over the drain. Apply quick and vigorous plunges to generate pressure that can dislodge clogs caused by coffee grounds in your pipes. The repeated plunging motion helps break up the blockage, allowing the grounds to move through the pipes more easily.

To enhance the effectiveness of the plunging technique, ensure the plunger's flange fits securely around the drain opening. This seal increases the pressure applied to the blockage, aiding in its removal. Remember to slowly release the pressure on the plunger to prevent splashing and allow water to flow freely through the cleared pipes.

Plunging Technique Steps
1. Create a strong seal with the sink plunger.
2. Apply quick and vigorous plunges.
3. Repeat plunging motion to dislodge coffee grounds.

Coffee Grounds and Drain Blockage

clogged drain from coffee

Properly disposing of coffee grounds is essential in preventing drain blockages caused by their accumulation and propensity for sticking in pipes. When dealing with coffee grounds and drain blockage, it's important to understand the potential plumbing issues that can arise from improper disposal methods.

Here are some key points to keep in mind:

  • Accumulation: Coffee grounds can build up in drains over time, leading to blockages.
  • Sticking: Due to their texture and buoyancy, coffee grounds have a tendency to adhere to the inner walls of pipes, contributing to clogs.
  • Plumbing Problems: Flushing coffee grounds down the sink can result in plumbing issues and drain blockages, requiring costly repairs.

To avoid these issues, make sure to dispose of coffee grounds properly by using a designated trash bin or composting them. By adopting these practices and refraining from pouring coffee grounds down the sink, you can help maintain clear drains and prevent potential plumbing headaches.

Other Items to Avoid Flushing
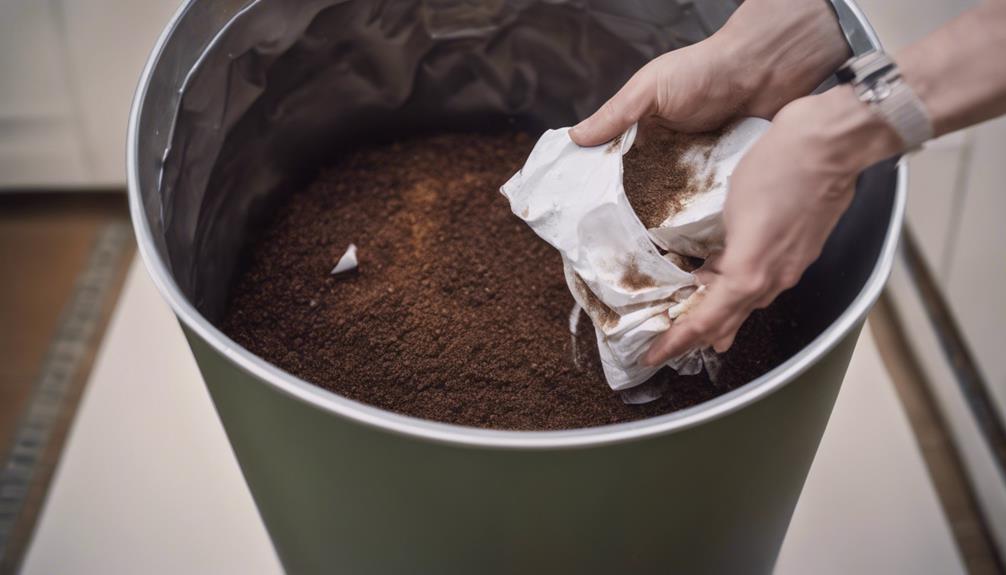
toilet paper towels wipes

Avoid flushing certain items like cooking oil, fats, grease, and fibrous foods down the drain to prevent blockages in your plumbing system. Cooking oil, fats, and grease can solidify in pipes, leading to clogs. Similarly, fibrous foods like eggshells, pasta, rice, and others can tangle and obstruct the flow of water.

It's essential to refrain from disposing of coffee grounds, paper towels, cotton balls, or personal hygiene products in sinks to avoid potential plumbing issues. Additionally, items such as hair, dental floss, and wet wipes should be thrown in the trash rather than being flushed down the drain to prevent further complications.

Remember that substances like paint, chemicals, medications, and cigarette butts must never be poured into sinks as they can harm the environment and damage plumbing systems. In case you encounter severe blockages or issues caused by flushing inappropriate items down the drain, it's advisable to call a professional plumber who can help remove these substances effectively and prevent future complications.

Professional Plumber Consultation
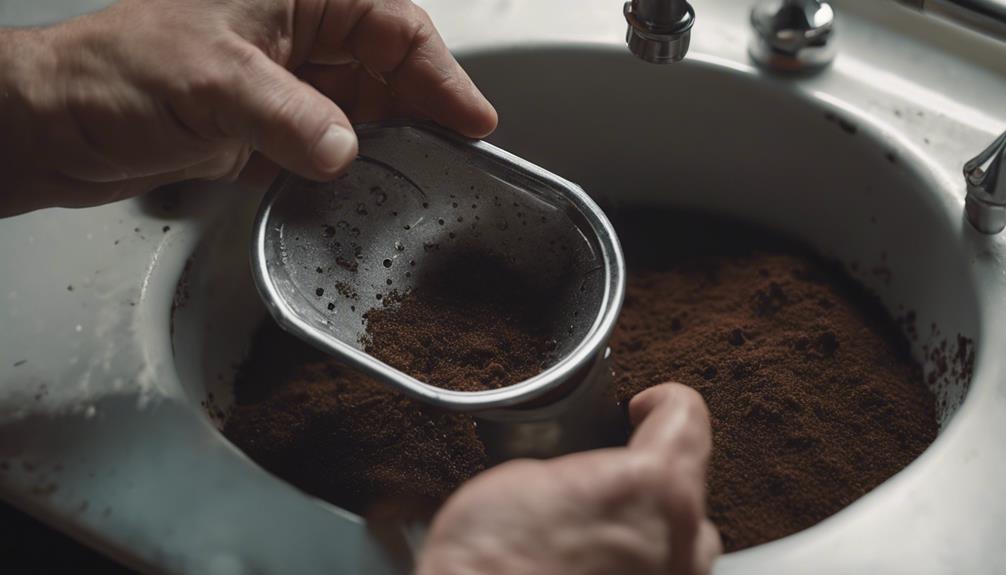
expert plumbing advice available

When facing issues with coffee grounds clogging your drains, consulting a professional plumber is essential. Their expertise can offer valuable tips on preventing blockages and maintaining the health of your drains.

Plumber's Expertise Tips

Plumbers strongly advise against pouring coffee grounds down the drain to prevent potential blockages. These grounds can accumulate in the pipes, leading to clogs that may hinder water flow and cause damage to the plumbing system. To maintain the health of your water lines, it's important to follow expert advice on proper disposal methods for coffee grounds.

Advertisement

Here are some essential tips from professional plumbers to help you avoid common issues:

  • Flush Coffee Grounds: Instead of rinsing coffee grounds down the sink, consider flushing them down the toilet or disposing of them in the trash to prevent blockages.
  • Seek Professional Help: If you encounter persistent drain problems due to coffee grounds, don't hesitate to seek assistance from a professional plumber to address the issue efficiently.
  • Regular Maintenance: Regularly clean and maintain your drains to prevent coffee grounds and other debris from causing plumbing issues in the future.

Drain Maintenance Advice

Regularly consulting with a professional plumber can provide valuable insights on maintaining your drains to prevent coffee grounds from causing blockages. A professional plumbing team possesses the expertise to assess your plumbing system's condition and identify potential issues related to coffee grounds accumulation.

By seeking their advice, you can learn proper drain maintenance techniques to avoid coffee grounds clogging your pipes. These experts can offer tailored drain maintenance advice, helping you understand the detrimental effects of coffee grounds on your plumbing system and suggesting preventive measures to keep your drains clear and efficient.

Professional consultation guarantees that your plumbing remains in top-notch condition, free from blockages caused by coffee grounds. By following the guidance of a professional plumber, you can proactively address any concerns related to coffee grounds and maintain the smooth operation of your drainage system.

Frequently Asked Questions

What Dissolves Coffee Grounds in the Drain?

Boiling water effectively dissolves coffee grounds in the drain.

Combining baking soda and vinegar can also break down the grounds.

Advertisement

Enzyme-based commercial drain cleaners are another option for dissolving coffee grounds.

Mechanical methods such as drain snakes and plungers can help dislodge and remove the residue.

Regular maintenance and preventive measures are essential in preventing the accumulation of coffee grounds that could lead to drain blockages.

Will Small Amounts of Coffee Grounds Clog Drain?

Small amounts of coffee grounds can indeed clog drains. They've a tendency to clump together and accumulate over time, leading to blockages in pipes.

Even a small quantity of grounds can cause plumbing issues. It's vital to prevent coffee grounds from entering drains to avoid potential clogs and costly repairs.

Advertisement

Regularly disposing of them in the sink can contribute to drain blockages, making it imperative to find alternative disposal methods.

Will Coffee Grounds Clog the Shower Drain?

Coffee grounds pose a real threat to your shower drain's well-being. These small particles can band together, creating a stubborn clog over time.

To prevent this drain disaster, refrain from pouring coffee grounds down the drain. Opt for composting or trash disposal instead.

Keeping your drain clear of these grounds through regular maintenance is key to smooth water flow. Remember, a happy shower drain means a happy you!

How to Get Rid of Coffee Grounds?

To properly dispose of coffee grounds, you should avoid pouring them down the sink as it can lead to potential plumbing issues. Instead, toss them in the trash or compost bin.

Advertisement

Consider using a drain strainer to catch any stray grounds and prevent them from entering the drain. Remember to also dispose of used filters correctly to prevent build-up in the plumbing system.

Regularly cleaning reusable filters will help avoid contributing to drain blockages.

Conclusion

To prevent coffee grounds from blocking drains, remember to dispose of them properly. Avoid using the sink and consider DIY unclogging methods if needed.

Did you know that coffee grounds are one of the most common causes of drain blockages in households? By following these simple tips, you can help keep your drains clear and avoid costly plumbing issues in the future.
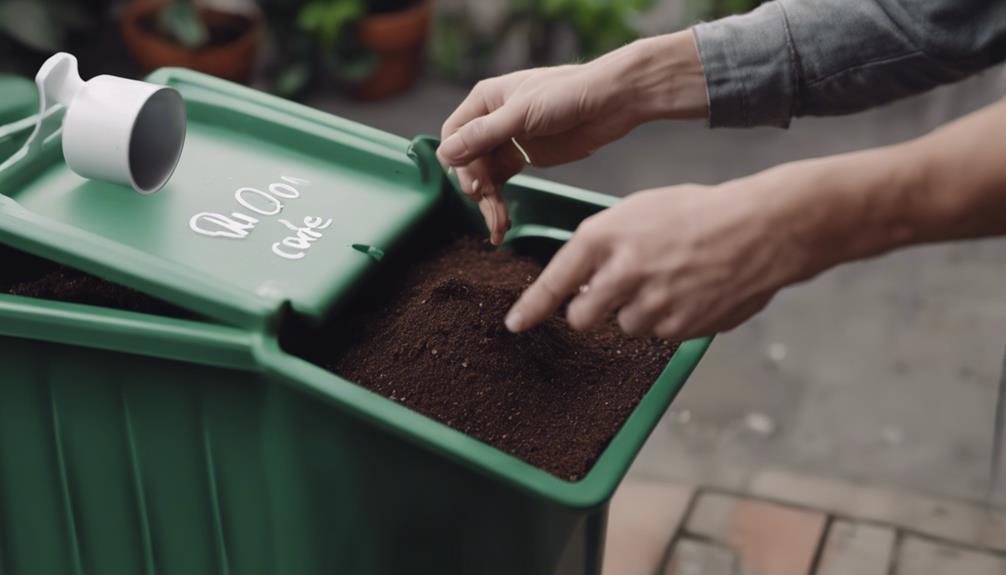
Advertisement
Advertisement

Tips and Tricks

Vermouth Spritz

You’ll love the refreshing twist of a Vermouth Spritz, but wait until you discover the perfect garnishes to elevate your cocktail experience!

Published

on

By

refreshing vermouth cocktail delight

A Vermouth Spritz combines the herbal complexity of vermouth with bubbly soda water for a refreshing cocktail. It's perfect as an aperitif or on warm days, and you can easily customize it by choosing between dry or sweet vermouth. To prepare, chill your glass, fill it with ice, pour in 3 oz of vermouth, then add 2 oz of soda. Garnish with fresh herbs and citrus slices for added flair. This drink not only tastes delightful but also looks stunning, making it a great choice for any occasion. Stick around to discover tips and variations for your perfect spritz!

Key Takeaways

  • The Vermouth Spritz combines vermouth with sparkling water, creating a refreshing aperitif ideal for warm weather and social gatherings.
  • Key ingredients include 3 oz of vermouth, 2 oz of sparkling water, ice cubes, fresh herbs, and citrus slices.
  • The drink can be customized with different types of vermouth and flavored garnishes to suit personal preferences.
  • Presentation is important; use fresh herbs and citrus for visual appeal and to enhance the aroma of the drink.
  • Enjoy the Vermouth Spritz responsibly, celebrating its rich history and versatility across various occasions.

History

historical knowledge and context

The history of vermouth spritz is a fascinating journey through time and culture. You'll find that this delightful cocktail has roots tracing back to Italy in the late 19th century. Initially, vermouth, an aromatic fortified wine, was enjoyed neat or on the rocks.

But as social gatherings evolved, so did the way people enjoyed their drinks. In the early 20th century, the spritz emerged in Venice, where locals mixed wine with soda water for a refreshing twist. Vermouth found its place in the spritz during this period, thanks to its herbal complexity.

As you sip on a vermouth spritz today, you're tasting a blend of Italian tradition and innovation. The drink gained popularity outside of Italy, particularly in the post-war era. You might notice how vermouth spritz became a symbol of leisure in stylish European cafes, embodying the art of slow living.

Its light and refreshing qualities make it perfect for sunny afternoons, inviting conversations and relaxation. Today, the vermouth spritz continues to evolve, adapting to modern tastes while honoring its rich heritage.

Each sip connects you to a vibrant history of social culture and culinary creativity.

Advertisement

Recipe

delicious homemade chocolate cake

The Vermouth Spritz is a refreshing and stylish cocktail that perfectly balances the herbal notes of vermouth with the effervescence of sparkling water or soda. Ideal for warm days or as an aperitif before a meal, this spritz isn't only easy to make but also versatile. You can customize it by choosing different types of vermouth – dry, sweet, or even flavored – to suit your taste preferences, making it a delightful addition to any gathering.

To create the perfect Vermouth Spritz, you need to focus on the quality of your ingredients. A good vermouth is essential, as it serves as the foundation of the drink. Pair it with a crisp sparkling water or a flavored soda for a twist, and don't forget the garnishes, which can elevate the drink's presentation and flavor profile.

This cocktail isn't only visually appealing but also offers a refreshing sip that can be enjoyed throughout the evening.

Ingredients:

  • 3 oz vermouth (dry or sweet, depending on preference)
  • 2 oz sparkling water or soda
  • Ice cubes
  • Fresh herbs (like rosemary or mint) for garnish
  • Citrus slices (lemon or orange) for garnish

To prepare the Vermouth Spritz, fill a wine glass with ice cubes to chill it. Pour in the vermouth first, followed by the sparkling water or soda. Stir gently to combine the ingredients without losing the bubbles. Finally, garnish with fresh herbs and citrus slices, allowing the aromatics to enhance the overall drinking experience.

When crafting your Vermouth Spritz, consider experimenting with different garnishes and flavor combinations. You could add a splash of fruit juice for a fruity twist, or infuse the drink with additional herbs such as basil or thyme for a more complex flavor.

Additionally, using high-quality ice can make a difference in the overall presentation and temperature of your cocktail. Enjoy your refreshing Vermouth Spritz responsibly!

Cooking Steps

step by step culinary instructions

To start making your Vermouth Spritz, chill your glass to keep the drink refreshing.

Next, add ice cubes generously before pouring in the vermouth.

Advertisement

Step 1. Chill Your Glass

chill your glass first

Chilling your glass is essential for serving a refreshing Vermouth Spritz. It enhances the overall drinking experience by keeping your drink cool and crisp. Start by selecting the right glass; a large wine glass or a highball glass works beautifully.

To chill your glass, fill it with ice water and let it sit for a few minutes. This quick method ensures the glass cools evenly. While you wait, prepare your other ingredients, so you're ready to assemble your spritz as soon as the glass is chilled.

After a few minutes, empty the ice water and dry the glass with a clean towel. This step is crucial, as any residual water can dilute your drink. You want the glass to be dry to maintain the right balance of flavors.

Alternatively, you can place your glass in the freezer for about 10-15 minutes if you prefer a quicker chill. Just be cautious not to leave it too long, as you don't want it to freeze.

Once your glass is perfectly chilled, you'll be ready to create that refreshing Vermouth Spritz that's sure to impress!

Step 2. Add Ice Cubes Generously

generously add ice cubes

With your glass now perfectly chilled and ready to go, it's time to add ice cubes generously. Grab a handful of ice and fill your glass to the brim. The goal here is to create a refreshing drink that stays cold, so don't be shy with those ice cubes!

Choose larger cubes if you can; they melt slower and keep your spritz from getting watered down too quickly. As you add the ice, listen for that satisfying clink as the cubes settle. This will help ensure your drink remains frosty for longer.

Advertisement

Arrange the ice cubes so they touch the sides of the glass, creating a nice aesthetic while maximizing surface area for chilling. You want to create a solid foundation for your upcoming ingredients.

If you're feeling adventurous, consider using flavored ice cubes, like those made from fruit juices or herbal infusions. These can add an extra layer of flavor as they melt.

Just remember, the main focus here is to chill your glass and prepare for a delightful drink. Once your ice is in place, you're all set for the next step in crafting your perfect Vermouth Spritz.

Step 3. Pour in the Vermouth

add vermouth next step

Now that your glass is brimming with ice, it's time to pour in the vermouth. Grab your favorite vermouth—whether you prefer sweet or dry—and measure out about two ounces.

Position the bottle above your glass, tilting it slightly to create a gentle stream. Don't rush; you want to pour slowly enough to control the flow and avoid splashing. As the liquid cascades over the ice, watch it mingle with the cubes, creating a refreshing chill.

The vermouth won't only add flavor but also deepen the drink's complexity. If you're feeling adventurous, you can even experiment with flavored vermouths, like herbal or citrus-infused varieties, to elevate your spritz.

Advertisement

Just remember that the type of vermouth you choose will influence the final taste, so pick one that excites your palate.

Once you've poured in the vermouth, take a moment to admire the vibrant colors swirling together in your glass. This is your chance to savor the anticipation of what's to come.

Now, you're one step closer to creating a delightful Vermouth Spritz that's perfect for any occasion!

Step 4. Add Soda Water Gently

gently add soda water

Next, gently add about three ounces of soda water to your glass. This step is crucial as it brings a delightful effervescence to your vermouth, making each sip refreshing.

Pour slowly to prevent excessive fizzing, which can cause your drink to overflow. As the bubbles rise, they'll blend with the vermouth, enhancing its flavor without overwhelming it. You want to maintain a balanced ratio, so stick to the three-ounce guideline.

Adjust the amount slightly based on your taste preferences, but remember that too much soda can dilute the drink's character. While pouring, keep an eye on the glass's contents. If you notice the bubbles starting to foam up, pause and let them settle before continuing.

Advertisement

This way, you'll avoid losing any precious liquid. A gentle stir with a spoon may help incorporate the soda water evenly, but be cautious not to agitate the mixture too much.

Once you've added your soda water, take a moment to admire the beautiful blend of colors. Your vermouth spritz is shaping up nicely, and you're just a step away from finishing it off perfectly.

Step 5. Garnish With Fresh Herbs

garnish with fresh herbs

To elevate your vermouth spritz, it's time to add a touch of freshness with herbs. Fresh herbs not only enhance the drink's aroma but also add a vibrant visual appeal.

Start by selecting your favorite herbs—basil, mint, or rosemary work particularly well. Each brings its unique flavor profile to the mix.

Once you've chosen your herbs, give them a gentle rinse to remove any dirt or debris. Pat them dry with a clean towel.

Now, take a few sprigs and place them in your glass. If you're using mint or basil, consider gently slapping the leaves between your palms before adding them. This releases their essential oils, boosting their fragrance and flavor.

Advertisement

As you garnish, be mindful of the balance. You want the herbs to complement the vermouth spritz, not overpower it.

Place them strategically in the glass so that they float just above the liquid, allowing their aroma to waft up as you sip.

Final Thoughts

concluding reflections and insights

Savoring the complexity of a Vermouth Spritz can elevate any gathering, making it a delightful choice for both casual and refined occasions. This refreshing cocktail isn't just about the ingredients; it's about the experience. The blend of aromatic vermouth, bubbly wine, and a splash of soda creates a symphony of flavors that dance on your palate.

As you enjoy this drink, consider how the astrological influences of your guests might enhance the experience; for example, horoscope insights can provide a fun twist to your gathering.

As you explore this drink, consider the nuances it brings to your gatherings. Whether you're hosting friends for a casual brunch or celebrating a special occasion, the Vermouth Spritz adapts beautifully. Its versatility allows you to experiment with various garnishes, enhancing the drink's character and tailoring it to your guests' preferences.

Don't forget the importance of presentation. A well-crafted Vermouth Spritz, adorned with fresh herbs or vibrant citrus slices, not only tastes good but looks stunning, making it a true centerpiece in your drink lineup.

Advertisement

Frequently Asked Questions

What Type of Vermouth Is Best for a Spritz?

When choosing vermouth for a spritz, you'll want a dry or bianco variety. These options balance sweetness and bitterness perfectly, enhancing your drink's flavor profile while keeping it refreshing and light for any occasion.

Can I Use Sparkling Water Instead of Soda?

Absolutely, you can use sparkling water instead of soda! It'll give your drink a lighter, refreshing taste. Just remember to adjust the proportions to maintain the balance of flavors you're aiming for. Enjoy experimenting!

How Can I Make a Non-Alcoholic Version?

To make a non-alcoholic version, mix equal parts of flavored sparkling water and tonic. Add a splash of fresh citrus juice for brightness. Garnish with herbs or fruit slices for extra flavor and visual appeal. Enjoy!

What Garnishes Pair Well With a Vermouth Spritz?

When garnishing your drink, think about fresh herbs like basil or mint, citrus slices, or even olives. These add vibrant flavors and visual appeal, enhancing your overall experience while enjoying a refreshing beverage.

How Should I Store Leftover Vermouth?

To store leftover vermouth, keep it in the refrigerator. Use an airtight bottle to maintain freshness, and enjoy it within a month for the best flavor. Don't forget to label the date you opened it!

Advertisement
Continue Reading

Tips and Tricks

Hugo Spritz

Juicy and refreshing, the Hugo Spritz is the ideal cocktail for any occasion—discover how to elevate your gatherings with this delightful drink!

Published

on

By

hugo spritz cocktail recipe

The Hugo Spritz is a delightful cocktail that's perfect for warm weather or festive gatherings. You combine 3 oz of prosecco, 1 oz of elderflower syrup, and a splash of soda water, then garnish with fresh mint and a lime wedge. This drink offers a refreshing balance of sweetness and carbonation, making it a lighter alternative to other spritz variations. With its vibrant presentation, it's sure to impress your guests and spark conversation. Plus, it's easy to make multiple servings for gatherings. Stick around, and you'll discover even more tips and tricks for crafting the perfect Hugo Spritz!

Key Takeaways

  • Hugo Spritz originated in Northern Italy, combining prosecco, elderflower syrup, soda water, and fresh mint for a refreshing cocktail.
  • It gained popularity in the early 2000s as a lighter alternative to traditional bitter Spritz variations.
  • The drink is visually appealing, often garnished with mint leaves or lime slices, making it perfect for gatherings.
  • Easy to prepare in large batches, Hugo Spritz is ideal for summer events and social occasions.
  • Its balanced flavor profile offers a sweet, effervescent experience, customizable based on personal taste preferences.

History

historical events and timelines

The rich history of the Hugo Spritz reflects both innovation and tradition in the world of cocktails. You might be surprised to learn that this refreshing drink originated in Northern Italy, specifically the Trentino-Alto Adige region. It gained popularity in the early 2000s, capturing the hearts of locals and travelers alike.

The cocktail emerged as a lighter alternative to the more bitter Spritz variations, emphasizing a delightful balance of flavors.

As you sip on a Hugo Spritz, you're savoring a blend of prosecco, elderflower syrup, sparkling water, and fresh mint. This combination highlights the Italian penchant for using locally sourced ingredients, showcasing a commitment to freshness and quality.

The drink's rise can be attributed to social media and its vibrant presentation, making it a favorite for summer gatherings and aperitivo moments.

Over the years, the Hugo Spritz has evolved, maintaining its essence while adapting to various tastes and preferences. You'll find it on menus across the globe, symbolizing the trend of lighter, herb-infused cocktails.

Advertisement

Its journey from a regional favorite to an international sensation illustrates how traditions can innovate, inviting you to enjoy a taste of Italy, no matter where you are.

Recipe

cooking instructions and ingredients

The Hugo Spritz is a refreshing Italian cocktail that perfectly blends the herbal notes of elderflower syrup with the crispness of Prosecco and a splash of soda water.

It's an ideal drink for summer afternoons or festive gatherings, offering a delightful balance of sweetness and effervescence. The addition of mint and lime gives it a vibrant twist, making it not just a beverage but a refreshing experience.

To prepare the Hugo Spritz, you'll want to gather your ingredients and have a few simple tools on hand, such as a jigger for measuring, a stirring spoon, and a glass to serve it in.

This cocktail is incredibly easy to make, allowing you to whip up multiple servings in no time. Once you have everything ready, you can impress your guests with this elegant drink that's sure to become a favorite.

Ingredients:

Advertisement
  • 3 oz Prosecco
  • 1 oz elderflower syrup
  • 1 oz soda water
  • Fresh mint leaves
  • 1 lime wedge
  • Ice cubes

Instructions:

In a large wine glass filled with ice cubes, pour in the Prosecco, elderflower syrup, and soda water.

Gently stir the mixture to combine the flavors. Squeeze the lime wedge into the drink, then drop it in for added zest.

Finally, add a few fresh mint leaves and stir lightly to release their aroma before serving.

Extra Tips:

For an extra touch of elegance, consider garnishing your Hugo Spritz with additional mint leaves or even a slice of cucumber.

Advertisement

You can adjust the sweetness by varying the amount of elderflower syrup according to your taste.

If you want to make a larger batch for a party, simply scale up the ingredients while maintaining the same proportions, and serve it in a pitcher for easy self-service.

Enjoy your refreshing cocktail!

Cooking Steps

recipe preparation instructions

To make the perfect Hugo Spritz, you'll want to start by chilling your glass with ice.

Next, add the Aperol and Prosecco, then garnish with fresh mint.

Step 1. Chill Glass With Ice

chill glass using ice

Chilling your glass with ice is a simple yet effective way to enhance your Hugo Spritz experience.

Start by selecting your favorite glass, whether it's a wine glass or a large tumbler. Next, grab some ice cubes from your freezer. Fill your glass about halfway with ice, making sure not to overfill it. This will help keep your drink cold without diluting it too quickly.

Advertisement

Let the ice sit for a few minutes, allowing the glass to chill thoroughly. You can even swirl the ice gently to speed up the cooling process. As the glass chills, you're setting the stage for a refreshing drink.

Once you feel your glass has cooled enough, carefully discard the ice. You can do this by tipping the glass over the sink or a bowl, ensuring all the ice is removed.

Now, your glass is perfectly prepped to hold your Hugo Spritz ingredients. A chilled glass not only keeps your drink at the ideal temperature but also enhances the overall presentation.

You'll notice the difference in your drink's taste and enjoyment when you take that first sip. Cheers to a refreshing start!

Step 2. Add Aperol and Prosecco

add aperol and prosecco

With your glass now chilled and ready, it's time to layer in the key ingredients that make a Hugo Spritz so delightful.

Start by pouring in a generous shot of Aperol—about 2 ounces. It's the vibrant orange liqueur that gives your drink a slightly bitter yet refreshing kick. Pour it gently over the ice to keep everything chilled.

Advertisement

Next, grab your bottle of Prosecco. You'll want to add about 3 ounces of this sparkling wine, which adds a bubbly effervescence that elevates the entire drink. Pour it slowly over the Aperol, allowing the two to mix naturally without creating too much foam.

As you watch the colors swirl together, you'll notice the beautiful orange hue complemented by the golden bubbles.

Don't be afraid to adjust the ratios slightly based on your taste preferences; some enjoy a more pronounced Aperol flavor, while others prefer the sweetness of the Prosecco. Just remember, balance is key!

Once you've combined these two delicious ingredients, your Hugo Spritz is almost complete.

Take a moment to admire your creation before moving on to the final touch.

Advertisement

Step 3. Garnish With Fresh Mint

garnish with fresh mint

Fresh mint leaves add a burst of aroma and a touch of elegance to your Hugo Spritz. To incorporate this refreshing ingredient, start by selecting fresh, vibrant mint leaves. Look for leaves that are bright green and free from any wilting or browning.

Once you've got your mint, gently rinse the leaves under cold water to remove any dirt or residue. Pat them dry with a clean towel.

Next, take a few leaves—about three to five should do the trick—and place them in your glass. You can either leave them whole or give them a gentle slap between your hands to release more of their aromatic oils. If you prefer a stronger mint flavor, feel free to muddle them lightly in the glass before adding your other ingredients.

As you finish assembling your Hugo Spritz, position the mint leaves so they're visible above the ice. This not only enhances the drink's visual appeal but also releases a lovely scent as you sip.

The fresh mint will elevate your cocktail experience, making each sip refreshing and fragrant. Enjoy your beautifully garnished Hugo Spritz!

Step 4. Stir Gently to Combine

gently stir for combination

After you've garnished your Hugo Spritz with fresh mint, it's time to mix the ingredients together.

Start by grabbing a long spoon or a stirrer. You'll want to gently stir the mixture to ensure all the flavors meld nicely without losing the fizz.

Advertisement

First, dip your spoon into the glass, reaching all the way to the bottom where the syrup and other ingredients settle. Slowly lift the spoon and then push it back down.

Repeat this motion, making sure not to agitate the drink too much. The goal is to combine the elderflower syrup, wine, and mint without causing too many bubbles to rise and spill over the rim.

Take your time with this step; a gentle stir will help to integrate the flavors while keeping the drink refreshing and vibrant.

You might notice the mint leaves start to release their aromatic essence as you stir, enhancing the overall scent and taste.

Once you feel satisfied with the blending, take a moment to admire your creation. The beautiful layers of color and the aromatic mint will have you eager to take that first sip.

Advertisement

Enjoy the process!

Step 5. Add a Splash of Soda

add soda for flavor

Now that you've gently combined the flavors of your Hugo Spritz, it's time to add a splash of soda.

Grab your favorite soda water or tonic—both work beautifully. Pour about two ounces into your glass, letting the bubbles dance through the mixture. This step not only adds effervescence but also balances the sweetness of the elderflower liqueur and the bitterness of the Prosecco.

As you pour, give the drink a gentle stir with a spoon or a straw. You want to incorporate the soda without losing that refreshing fizz. The goal here is to enhance the drink's lightness while keeping the vibrant flavors intact.

Once you've added the soda, take a moment to taste your creation. Adjust the soda to your liking; if you prefer a lighter drink, feel free to add more. Remember, the key to a great Hugo Spritz is finding that perfect balance between sweetness and carbonation.

Garnish your drink with a fresh sprig of mint and a slice of lime for that final touch.

Advertisement

Now you're ready to sip and enjoy your delightful Hugo Spritz! Cheers!

Final Thoughts

concluding reflections and insights

As you reflect on the delightful experience of enjoying a Hugo Spritz, it's clear that this refreshing cocktail has the potential to elevate any gathering. Its bright flavors, combining elderflower cordial, Prosecco, and fresh herbs, create a drink that's not only pleasing to the palate but also visually appealing.

You'll find that the simplicity of the ingredients allows for easy customization, making it a versatile choice for any occasion.

When you craft a Hugo Spritz, you're not just mixing a drink; you're creating a moment. Whether it's a sunny afternoon on the patio or a festive evening with friends, this cocktail invites conversation and connection. It encourages you to savor the experience, taking time to appreciate the little things.

As you consider hosting your next event, think about incorporating this delightful beverage into the mix. It's an effortless way to impress your guests while keeping the atmosphere light and enjoyable.

Frequently Asked Questions

What Is the Origin of the Name "Hugo Spritz"?

The name "Hugo" has Germanic origins, meaning "mind" or "intellect," while "Spritz" comes from the German word for "splash." Together, they evoke a lively, refreshing essence, perfect for a vibrant drink.

Advertisement

Can I Use Non-Alcoholic Alternatives in a Hugo Spritz?

Absolutely, you can use non-alcoholic alternatives! Try a non-alcoholic sparkling wine, elderflower syrup, and soda water. Mix them together for a refreshing drink that captures the essence of the original without the alcohol.

What Type of Glass Is Best for Serving a Hugo Spritz?

You'll want to serve your drink in a large wine glass or a stemmed glass. This shape enhances the presentation and allows for adequate space to appreciate the aromas and flavors in your refreshing beverage.

How Can I Make a Large Batch of Hugo Spritz for a Party?

To make a large batch for a party, mix equal parts prosecco and elderflower syrup in a pitcher. Add soda water, fresh mint, and lime slices. Serve over ice, and enjoy your refreshing drink with guests!

What Are Some Popular Food Pairings With a Hugo Spritz?

When enjoying a refreshing spritz, consider pairing it with light appetizers. Think bruschetta, seafood tapas, or fresh salads. These flavors complement your drink's herbal notes, enhancing the overall experience for you and your guests.

Advertisement
Continue Reading

Tips and Tricks

St-Germain Spritz

Fizzy and floral, the St-Germain Spritz is a refreshing cocktail that promises delightful sips—discover how to craft this elegant drink yourself!

Published

on

By

refreshing st germain cocktail recipe

The St-Germain Spritz is your go-to refreshing cocktail, elegantly combining the floral sweetness of elderflower liqueur with crisp prosecco and a splash of soda water. To make it, chill a stylish glass, add 2 oz of St-Germain, then fill with 3 oz of prosecco and a splash of soda. Garnish with fresh herbs like mint or basil for added flavor and appeal. This delightful drink is perfect for warm days or lively gatherings, offering a wonderful balance of sweetness and effervescence. If you're curious about other tips and tricks for perfecting your spritz, keep exploring!

Key Takeaways

  • The St-Germain Spritz combines elderflower liqueur, prosecco, and soda water for a refreshing, effervescent cocktail perfect for warm days.
  • Originating in the French Alps, St-Germain liqueur is made from hand-picked elderflowers, providing a unique floral flavor.
  • The ideal ratio for the drink is 3 oz of prosecco to 1.5 oz of St-Germain, with a splash of soda for balance.
  • Garnish with fresh herbs or fruit slices to enhance the drink's aroma and presentation.
  • The St-Germain Spritz is versatile, suitable for various occasions, and can be easily prepared in large batches for gatherings.

History

historical events and timelines

The St-Germain Spritz, a refreshing cocktail that showcases the delicate flavors of elderflower liqueur, has roots that trace back to the early 20th century. During this time, the elderflower was harvested in the French Alps, where it grew wild.

The liqueur itself, St-Germain, was created in 2007 by Robert Cooper, who wanted to capture the essence of these blossoms. He meticulously developed a process to hand-pick the flowers at their peak, ensuring a unique flavor profile.

As the cocktail culture blossomed in the 21st century, the St-Germain Spritz quickly gained popularity among mixologists and cocktail enthusiasts. You'll find it served at trendy bars and upscale restaurants, often enjoyed on sunny terraces or during festive gatherings.

Its sophisticated yet approachable taste makes it a crowd-pleaser, appealing to both seasoned drinkers and those new to cocktails.

The cocktail embodies a blend of tradition and innovation. By combining classic French ingredients with modern mixology, the St-Germain Spritz transports you to a sun-drenched afternoon in Europe.

Advertisement

Recipe

culinary preparation instructions provided

The St-Germain Spritz is a refreshing cocktail that beautifully combines the floral notes of elderflower liqueur with sparkling wine and soda water. This elegant drink is perfect for warm days and festive gatherings, offering a delightful balance of sweetness and effervescence.

Its simplicity makes it easy to whip up in large batches, ensuring that your guests will be satisfied with a light and invigorating beverage.

To make the St-Germain Spritz, you'll need just a few key ingredients that highlight the liqueur's delicate flavors. The combination of prosecco, soda water, and St-Germain creates a sparkling treat that's both sophisticated and approachable.

Garnished with a slice of lemon or a sprig of mint, this cocktail is as pleasing to the eye as it's to the palate, making it a standout option at any celebration.

Ingredients:

  • 2 oz St-Germain elderflower liqueur
  • 3 oz prosecco
  • 1 oz soda water
  • Ice cubes
  • Lemon slice or mint sprig (for garnish)

To prepare the St-Germain Spritz, fill a wine glass with ice cubes, then pour in the St-Germain elderflower liqueur. Next, add the prosecco and top it off with soda water.

Gently stir the mixture to combine, being careful not to lose the bubbles. Finally, garnish with a slice of lemon or a sprig of mint for an extra touch of freshness.

Advertisement

For the best St-Germain Spritz experience, use chilled prosecco and soda water to maintain a refreshing temperature. You can also experiment with different garnishes, such as fresh berries or cucumber slices, to create your own twist on this classic cocktail.

Remember to serve it immediately after mixing to ensure the drink remains bubbly and vibrant. Enjoy this delightful spritz as a perfect companion to sunny afternoons or celebratory evenings!

Cooking Steps

step by step cooking instructions

To start making your St-Germain Spritz, you'll want to chill your glass with ice first.

Then, add the St-Germain liqueur and sparkling wine.

Step 1. Chill Glass With Ice

chill glass using ice

Chilling your glass with ice is a crucial step that often enhances the overall experience of a St-Germain Spritz. By taking this simple action, you ensure that your drink stays cool longer, allowing the refreshing flavors to shine through without dilution.

To chill your glass, start by selecting a stylish, stemmed glass—preferably a wine glass or a large coupe. Fill it generously with ice cubes, allowing them to cover the bottom and rise a bit up the sides.

Next, let the ice sit for about five minutes. This brief wait gives the glass time to reach a desirable temperature, which is key for serving the spritz at its best.

Advertisement

While you wait, you can prepare other ingredients. Once your glass is chilled to perfection, simply discard the ice. If you want, you can wipe the inside with a clean cloth to remove any excess moisture.

This ensures that your St-Germain Spritz will be served in a perfectly cold glass, ready to impress. Enjoy the crisp, invigorating flavors that the St-Germain liqueur will bring to your drink!

Step 2. Add St-Germain Liqueur

incorporate st germain liqueur

With your glass perfectly chilled, it's time to add the star of the show: St-Germain liqueur. Grab your bottle of this exquisite elderflower liqueur and pour 1.5 ounces into your glass. As you do, take a moment to appreciate the floral aroma that fills the air. This liqueur is what makes your spritz truly special, so don't skimp on the pour.

Once you've added the St-Germain, gently swirl the glass to combine the liqueur with the ice that's already chilling it. You want to ensure that the flavors meld beautifully. Remember, this step is crucial, as the liqueur's delicate sweetness will balance out the other components you'll add later.

If you want to elevate your drink even further, consider adding a few fresh herbs or slices of fruit at this stage. They'll infuse the drink with additional layers of flavor, enhancing the overall experience.

Now that you've added the St-Germain liqueur, you're one step closer to enjoying this delightful spritz. Your drink is shaping up beautifully, just wait until you add the sparkling wine next!

Advertisement

Step 3. Add Sparkling Wine

incorporate effervescent beverage

Now that your glass is infused with the floral notes of St-Germain, it's time to add the sparkling wine.

Choose a dry sparkling wine that complements the sweetness of the liqueur. A Brut Prosecco or Champagne works beautifully, enhancing the overall flavor without overpowering it.

Pour gently into the glass, filling it about two-thirds full. You'll want to maintain that effervescent quality, so be careful not to pour too aggressively.

As the bubbles rise, they'll mix with the St-Germain, creating a delightful visual effect.

Once you've added the sparkling wine, give it a gentle stir with a bar spoon or a straw. This combines the ingredients without losing the fizz.

Taste your spritz at this stage; if you prefer it a bit stronger, feel free to add a splash more St-Germain.

Advertisement

Step 4. Garnish With Fresh Herbs

garnish with fresh herbs

Elevate your St-Germain Spritz by finishing it off with a garnish of fresh herbs. Adding herbs not only enhances the drink's aesthetic but also infuses it with fresh, aromatic flavors.

For a refreshing twist, consider using herbs that are known for their aromatic properties, similar to how airless paint sprayers enhance the finish of surfaces by providing a smooth application proper priming ensures smooth paint flow. Start by selecting your favorite herbs—basil, mint, or thyme work beautifully. Each brings its unique note, so choose according to your taste preference.

Once you've picked your herbs, give them a gentle rinse under cold water to remove any dirt or residue. Pat them dry with a clean towel to avoid excess moisture in your drink.

Next, take a sprig of your chosen herb and lightly bruise it by tapping it between your fingers. This releases the oils and maximizes the flavor.

Now, it's time to garnish your St-Germain Spritz. Place the bruised herb sprig on top of the drink or nestle it alongside the ice for a delightful presentation.

If you're feeling adventurous, you can even add a few small herb leaves directly into the drink. This not only looks lovely but also enhances each sip with a fresh herbal aroma.

Advertisement

Enjoy your beautifully garnished Spritz, and savor the refreshing experience!

Step 5. Add a Splash of Soda

add soda splash now

Adding a splash of soda to your St-Germain Spritz not only enhances its effervescence but also balances the sweetness of the elderflower liqueur. To achieve this, you'll want to use a high-quality soda water or sparkling water.

Start by pouring your St-Germain and sparkling wine into a glass filled with ice. Aim for a 3:1 ratio of wine to St-Germain for the perfect blend.

Once you've got your base ready, take your soda and gently pour it over the mixture. About a splash—roughly two ounces—should do the trick, but you can adjust to your taste.

Give it a gentle stir to combine the ingredients without losing too much fizz.

Now, it's time to enjoy your creation! The addition of soda not only adds a refreshing quality but also makes the drink lighter and more invigorating, perfect for warm days or lively gatherings.

Advertisement

Don't forget to add your fresh herb garnish from the previous step; it'll elevate both the flavor and presentation.

Sip slowly and savor the delightful balance of flavors in your St-Germain Spritz. Cheers!

Final Thoughts

concluding reflections and insights

When you take that first sip of a St-Germain Spritz, the refreshing blend of elderflower liqueur and sparkling wine transports you to a sun-drenched terrace.

This cocktail isn't just a drink; it's an experience that embodies the joy of leisurely afternoons and warm gatherings. Each ingredient plays a crucial role in crafting a perfect balance of sweetness and effervescence.

The enjoyment of this spritz can be enhanced by pairing it with a light tea, as many teas offer distinct flavor profiles that complement its freshness, making it a great option for those exploring health benefits of tea alongside delightful cocktails.

As you savor the flavors, you'll appreciate how versatile this spritz is.

Advertisement

Whether you're hosting a brunch or unwinding after a long day, it fits seamlessly into any occasion. You can easily customize it to your liking, adding fresh herbs or fruit to elevate the presentation and taste.

Don't hesitate to share this delightful concoction with friends, as it's sure to impress.

The St-Germain Spritz encourages connection and conversation, making it the ideal choice for social moments.

Frequently Asked Questions

What Is St-Germain and Where Does It Come From?

You might be curious about St-Germain; it's a French elderflower liqueur, crafted from hand-picked elderflowers. Originating in the French Alps, its delicate flavor makes it a popular choice for cocktails and culinary creations.

Can I Substitute St-Germain With Another Liqueur?

Yes, you can substitute St-Germain with another liqueur, like elderflower liqueur or a floral gin. Just remember, the flavor might change slightly, so adjust other ingredients to maintain balance in your drink.

Advertisement

What Type of Wine Pairs Best With St-Germain Spritz?

When pairing wine, you'll want something crisp and refreshing. A dry Prosecco or a sparkling Sauvignon Blanc works beautifully, enhancing the flavors without overpowering them. These wines elevate your experience, making it even more delightful.

Is St-Germain Spritz Suitable for Special Occasions?

Absolutely, a refreshing cocktail can elevate any special occasion. Whether you're celebrating a birthday or hosting a dinner party, a well-crafted drink adds a touch of sophistication and enjoyment to the festivities. You won't regret it!

How Should I Store Leftover St-Germain?

To store leftover St-Germain, keep it in a cool, dark place. Make sure the cap's tightly sealed to maintain freshness. It'll last for about a year, so enjoy it whenever you're ready!

Continue Reading
Advertisement

Affiliate disclaimer

As an affiliate, we may earn a commission from qualifying purchases. We get commissions for purchases made through links on this website from Amazon and other third parties.

Advertisement

Vetted

Tanpopo Konditorei Café Munich Tanpopo Konditorei Café Munich
Vetted3 months ago

Indulge in Delights at Tanpopo Konditorei Café Munich

Savor the exquisite pastries and serene ambiance at Tanpopo Konditorei Café Munich, your go-to spot for a sweet retreat in...

Vetted3 months ago

Here’s a new version of the review for “The Creative Spark: Unleashing Your Inner Artist”:

Book Review: “The Creative Spark: Unleashing Your Inner Artist” Illuminating the Path to Creative Awakening Spark: A Novel Amazon Manifestation...

top shower scrubbers 2024 top shower scrubbers 2024
Vetted4 months ago

15 Best Shower Scrubbers to Make Cleaning a Breeze in 2024

Discover the top 15 shower scrubbers of 2024 that promise effortless cleaning—find out which one will transform your scrubbing experience!

top storm doors 2024 top storm doors 2024
Vetted4 months ago

The 15 Best Storm Doors of 2024 – Enhance Your Home's Curb Appeal and Protection

Optimize your home's curb appeal and security with the 15 best storm doors of 2024—discover the unique features that could...

stylish outdoor dining sets stylish outdoor dining sets
Vetted4 months ago

15 Best Outdoor Dining Sets for Stylish Al Fresco Dining in 2024

Browse our curated list of the 15 best outdoor dining sets for stylish al fresco dining in 2024, and discover...

top cordless lawn mowers top cordless lawn mowers
Vetted4 months ago

15 Best Cordless Electric Lawn Mowers of 2024 – Power and Convenience Combined

Harness the power of convenience with the 15 best cordless electric lawn mowers of 2024—discover which one will revolutionize your...

top stackable washer dryers top stackable washer dryers
Vetted4 months ago

15 Best Stackable Washer Dryers of 2024 – Space-Saving Solutions for Your Laundry Room

Get ready to discover the 15 best stackable washer dryers of 2024 that will transform your laundry room into a...

ultimate comfort chair massagers ultimate comfort chair massagers
Vetted4 months ago

15 Best Back Massagers for Your Chair: Ultimate Comfort and Relief

Have you been searching for the perfect back massager to elevate your comfort? Discover the 15 best options that promise...

healthier caffeine free mushroom coffees healthier caffeine free mushroom coffees
Vetted4 months ago

14 Best Caffeine-Free Mushroom Coffees for a Healthier Brew

Mushroom coffees offer a healthier brew alternative—discover the 14 best caffeine-free options that might just transform your morning routine!

top bathroom fans 2024 top bathroom fans 2024
Vetted4 months ago

15 Best Bathroom Fans of 2024 – Quiet, Efficient, and Stylish Options

You won't believe the stylish and efficient bathroom fans of 2024 that promise quiet operation and enhanced ventilation—discover your perfect...

adaptogenic mushroom coffee benefits adaptogenic mushroom coffee benefits
Vetted4 months ago

15 Best Adaptogenic Mushroom Coffees to Boost Your Wellness Routine

The 15 best adaptogenic mushroom coffees promise to elevate your wellness routine—discover how these blends can transform your health and...

mushroom coffee pods selection mushroom coffee pods selection
Vetted4 months ago

15 Best Mushroom Coffee Pods to Boost Your Morning Brew

Uncover the top 15 mushroom coffee pods that can transform your morning routine and unleash a new level of energy...

Trending