Tips and Tricks
Mr. Coffee Mastery: How to Assemble a Mr. Coffee Maker!
Take your coffee game to the next level with this step-by-step guide on assembling your Mr. Coffee maker!
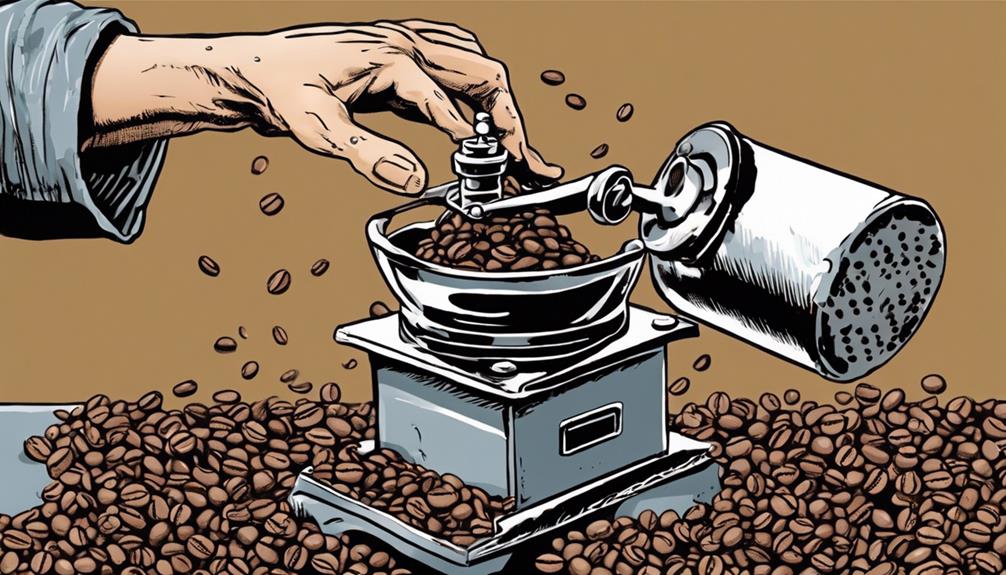
To assemble your Mr. Coffee maker, start by cleaning components like the carafe and filter basket. Then, install the reusable filter and add coffee grounds evenly. Fill the water reservoir up to the marked level. Position the carafe on the warming plate correctly. Plug in the coffee maker, add water and grounds, then press brew. Remember, regular cleaning and maintenance are key. Mastering the process will lead to that perfect cup of coffee. Next, ensure that the lid is securely in place on the carafe and that the filter basket is properly lined up. It’s also important to regularly descale the coffee maker to prevent any buildup of mineral deposits. Additionally, when it comes to achieving the perfect cup of coffee, consider aligning coffee grinder burrs to ensure a consistent grind size. This attention to detail will result in a delicious and well-balanced brew every time.
Key Takeaways
- Disassemble components for cleaning and maintenance.
- Position reusable filter properly in the compartment.
- Add coffee grounds evenly in the filter basket.
- Fill water reservoir to marked maximum capacity.
- Secure carafe on warming plate with handle facing outward.
Clean and Prepare Components
Disassemble your Mr. Coffee maker to clean and prepare its components for the best brewing performance.
Start by removing the carafe, filter basket, and water reservoir. Wash these parts with warm, soapy water. It's crucial to make sure they're thoroughly dried before reassembly.
Take a closer look at the water reservoir for any mineral deposits, and descale it if necessary to maintain top functionality.
Next, inspect the filter basket for any leftover coffee grounds or residue. It's crucial to clean it meticulously to prevent any potential clogs during the brewing process.
Once all the components are clean and dry, reassemble them carefully to make sure they fit properly.
Install Reusable Filter
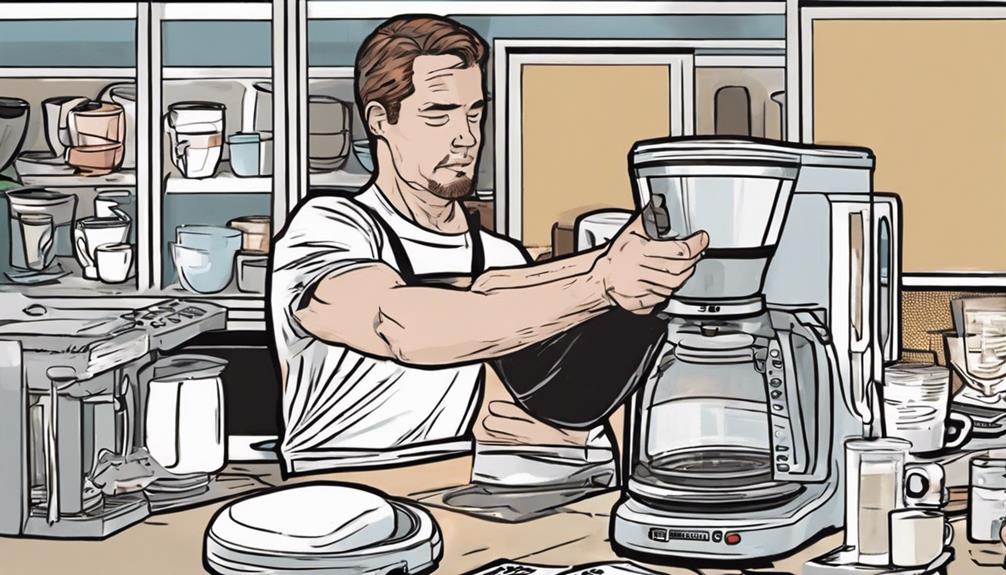
To improve your brewing experience and reduce waste, easily install the Mr. Coffee reusable filter in the designated compartment of the coffee maker.
Follow these steps for a smooth installation:
- Open the Filter Compartment: Locate the filter compartment on your Mr. Coffee maker and make sure it's clean and dry.
- Position the Reusable Filter: Place the reusable filter securely in the designated compartment, ensuring it fits snugly.
- Close the Compartment: Gently close the compartment to secure the filter in place before brewing.
- Enjoy Sustainable Brewing: With the reusable filter properly installed, you can now enjoy eco-friendly coffee brewing that reduces waste and is cost-effective.
Add Coffee Grounds
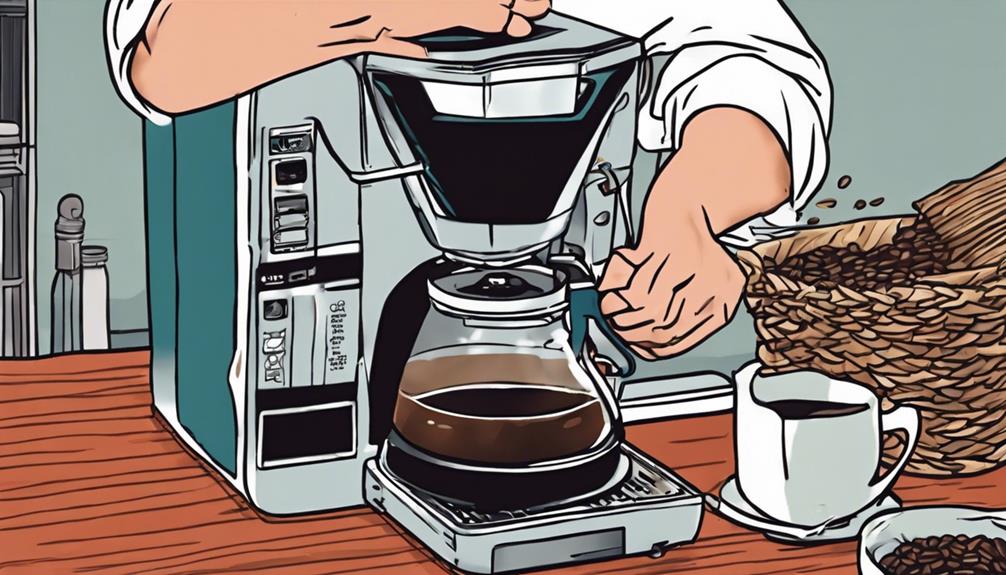
When adding coffee grounds to your Mr. Coffee maker, use the included measuring scoop for accurate portions.
Make sure you select the right amount based on your desired brew size of 6, 8, 10, or 12 oz.
This step sets the foundation for a perfect cup of coffee every time.
Grounds Placement
For best brewing results, evenly distribute the appropriate amount of coffee grounds using the included measuring scoop in the filter basket of your Mr. Coffee Maker.
Here are some tips to make sure your grounds are placed properly:
- Use the Measuring Scoop: Scoop the correct amount of coffee grounds using the measuring scoop provided with your Mr. Coffee Maker to achieve the ideal coffee-to-water ratio.
- Evenly Spread the Grounds: Spread the coffee grounds evenly in the filter basket to guarantee a consistent extraction of flavors during the brewing process.
- Follow the Coffee-to-Water Ratio: Adhere to the recommended coffee-to-water ratio specified in your user manual for a well-rounded and flavorful brew.
- Avoid Overfilling: Be mindful not to fill the filter basket with coffee grounds excessively to prevent any spillage or clogging issues while the coffee maker is in operation.
Measuring Scoop Instructions
Use the included measuring scoop to accurately add coffee grounds to the filter basket of your Mr. Coffee Maker. The measuring scoop guarantees you achieve the ideal amount of grounds for a rich and flavorful cup of coffee.
Remember to follow the recommended measurements based on the desired brew size, whether you prefer 6, 8, 10, or 12 oz of coffee. This step is essential as it helps you achieve consistent results with each brew, making sure a delicious cup every time.
Adjust the amount of coffee grounds in the measuring scoop based on your personal preference for strength and flavor. If you enjoy a stronger brew, you may want to add a bit more coffee grounds, while for a milder flavor, use a bit less.
The measuring scoop simplifies the process, making it easy to experiment and find the perfect balance that suits your taste buds. Happy brewing!
Fill Water Reservoir
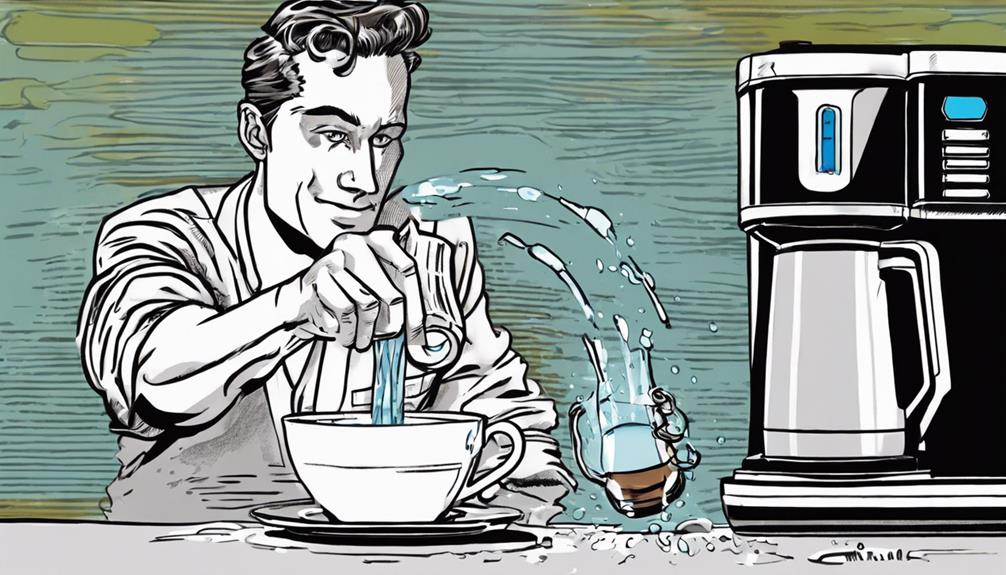
To fill the water reservoir of your Mr. Coffee maker, locate the clear marking indicating the maximum water level capacity.
Here's a simple guide to help you fill the water reservoir effectively:
- Locate the water reservoir: Find the water reservoir at the back of the Mr. Coffee maker.
- Open the reservoir: Lift the lid or slide the cover to access the water reservoir.
- Fill with water: Pour cold, clean water into the reservoir up to the marked maximum capacity.
- Avoid overfilling: Be careful not to exceed the maximum water level to prevent any spills or malfunctions.
Position Carafe Correctly
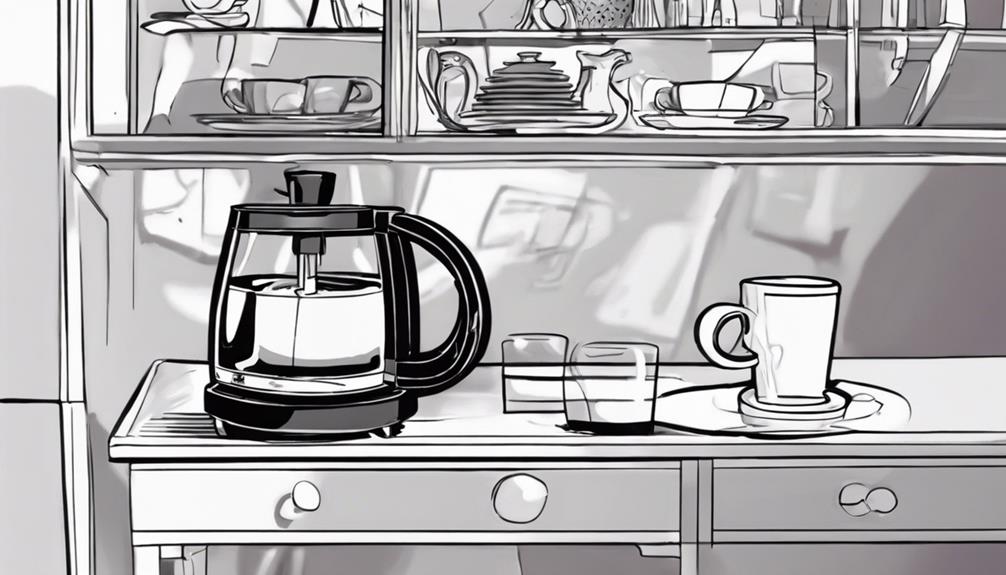
Position the carafe securely on the warming plate, making sure the handle faces outward for easy pouring.
Before brewing, it's crucial to check that the carafe lid is closed tightly to prevent any potential spills during the brewing process. Additionally, ensure that the carafe is centered under the brew basket for proper coffee dispensing into the carafe.
Placing the carafe correctly on the warming plate not only guarantees the coffee stays warm but also prevents any accidental spills or mishaps. The handle of the carafe should always be facing outward for convenient pouring once the coffee is brewed.
Remember to keep the carafe clean and free from any obstructions to uphold the quality of your coffee.
Plug in the Coffee Maker
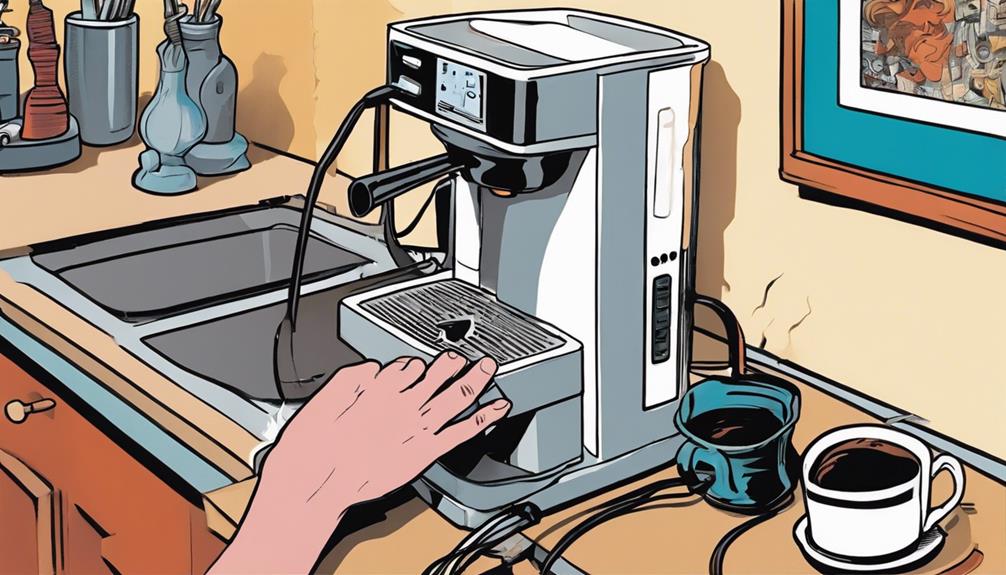
Before proceeding with the next step, make certain the coffee maker is unplugged for safety. Once you have verified that the coffee maker is disconnected from the power source, follow these steps to plug it in:
- Locate the Power Cord: Find the power cord attached to the coffee maker. It's usually located at the back of the machine.
- Plug into a Grounded Outlet: Identify a grounded outlet near your workspace. Make certain the outlet can handle the power requirements of the coffee maker.
- Check Power Switch: Before plugging in, confirm that the power switch on the coffee maker is in the 'off' position to prevent any mishaps.
- Plug in the Coffee Maker: Insert the plug of the power cord into the grounded outlet securely. Once plugged in, you're one step closer to enjoying freshly brewed coffee.
Remember to wait a few minutes for the coffee maker to heat up after plugging it in.
Always prioritize safety by following the manufacturer's instructions for proper use.
Set Programmable Features
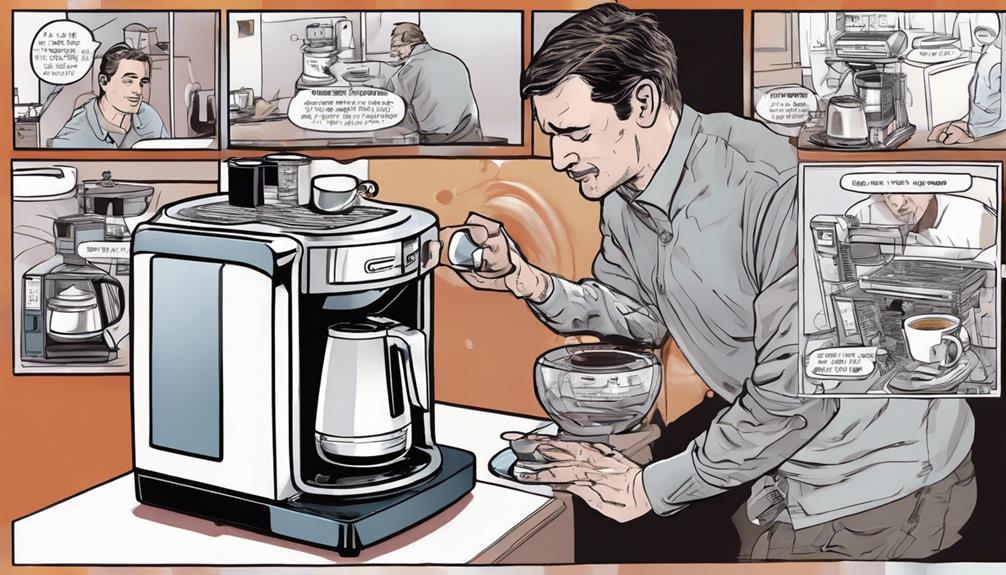
Customize your brewing experience by utilizing the programmable features of your Mr. Coffee maker. Set the brew time to make certain your coffee is ready when you need it, whether it's the moment you wake up or when you come home from a long day.
Adjust the brew strength according to your preference, whether you crave a bold or regular cup of coffee. The automatic shut-off feature not only enhances safety but also helps save energy.
Embrace the convenience of programming your coffee maker to start brewing later, adding ease to your busy mornings or making sure a fresh pot awaits you when you return home. With these programmable features, you can tailor your coffee brewing experience to suit your schedule and taste preferences effortlessly.
Start Brewing Process
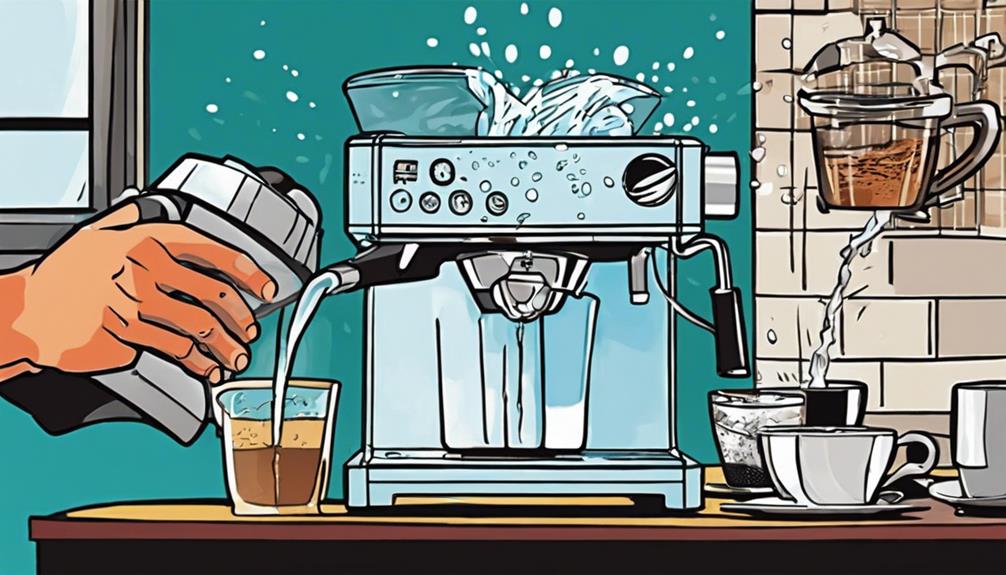
Now that your Mr. Coffee Maker is all set up and ready to go, it's time to start brewing!
The brewing process involves setting up your equipment correctly and following the initial brewing steps.
Let's walk through the key points to guarantee you brew the perfect cup of coffee every time.
Brewing Equipment Setup
Place the brew basket firmly into the coffee maker before inserting a #2 cone filter to kickstart the brewing process. Here's how to set up your brewing equipment:
- Secure the Brew Basket: Confirm the brew basket is correctly positioned inside the coffee maker to hold the filter and coffee grounds.
- Insert the Cone Filter: Place a #2 cone filter into the brew basket. This filter will capture the coffee grounds and make cleanup a breeze.
- Add Coffee Grounds: Use the measuring scoop provided to add the desired amount of coffee grounds into the filter. The scoop helps you achieve the perfect coffee-to-water ratio.
- Fill the Water Tank: Pour water into the water tank of your coffee maker up to the level recommended for the amount of coffee you wish to brew. The tank's level indicators guide you in this step.
Once you have completed these steps, you're ready to power on your coffee maker and begin the brewing process according to the specific instructions for your model.
Initial Brewing Steps
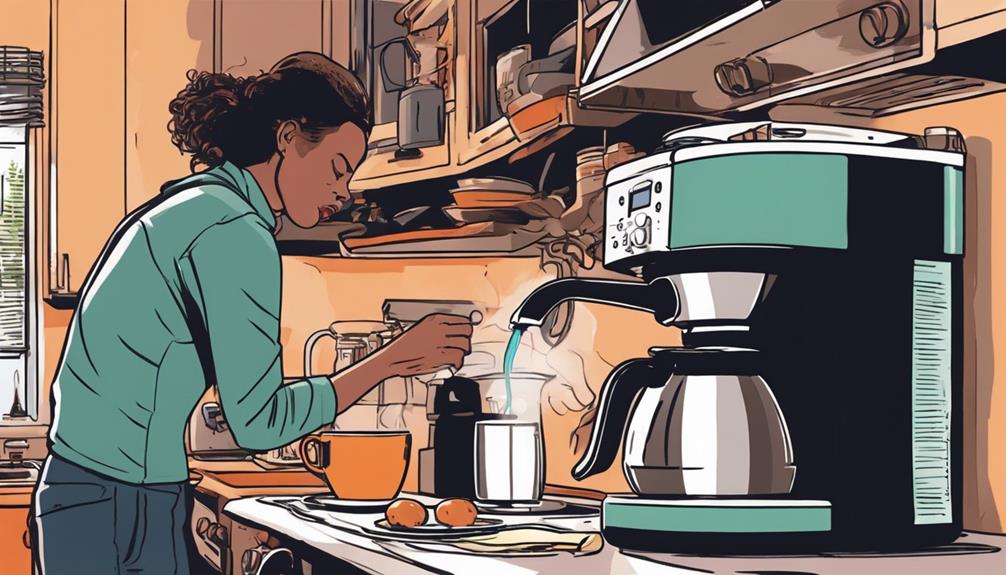
Begin by plugging in your Mr. Coffee maker and ensuring it's turned on before proceeding with the brewing process. Fill the water reservoir with the desired amount of water according to the number of cups you plan to brew. Use the provided measuring scoop to add the appropriate amount of coffee grounds to the filter basket for a perfect brew. Once the coffee grounds are in place, insert the filter basket into its designated slot in the coffee maker.
Now, it's time to initiate the brewing process. Press the brew button on your Mr. Coffee maker to kickstart the magic. The machine will then begin its work, swiftly turning water into a delightful coffee blend.
Within minutes, you'll be savoring a freshly brewed cup of coffee, ready to uplift your senses and kickstart your day. So, go ahead, press that brew button, and let the aroma of freshly brewed coffee fill your space.
Regular Cleaning and Maintenance
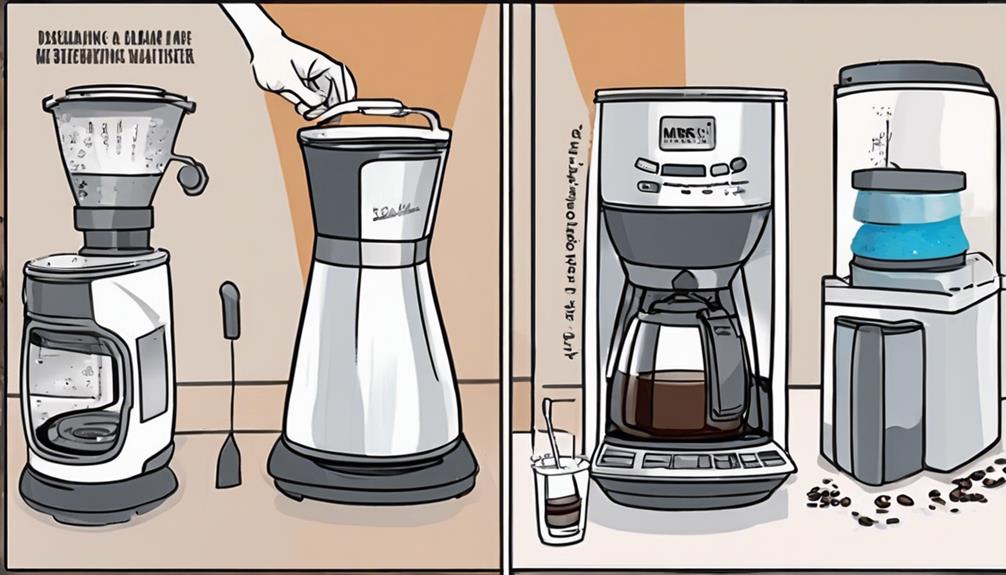
To maintain your Mr. Coffee maker in top-notch condition, it's essential to regularly clean and perform maintenance tasks to guarantee its durability and performance. Follow these steps for regular cleaning and maintenance:
- Clean the brew basket, carafe, and water reservoir:
Remove these components and wash them regularly to prevent any buildup that could affect the taste of your coffee.
- Descale with vinegar and water:
Use a mixture of vinegar and water to descale your coffee maker and remove mineral deposits that may have accumulated over time.
- Wipe down the exterior:
Keep the exterior of your coffee maker clean by wiping it down with a damp cloth to maintain its appearance.
- Check components for wear and tear:
Regularly inspect the coffee maker's components for any signs of damage or wear, and replace any worn-out parts following the manufacturer's instructions to ensure peak performance and longevity.
Frequently Asked Questions
How Do You Set a Mr Coffee Coffee Maker?
To set a Mr. Coffee coffee maker, fill the water reservoir, add a filter and coffee grounds, close securely, place the carafe, press power, select brew size, and let it brew. Enjoy your freshly brewed coffee!
Should I Clean a New Coffee Maker Before First Use?
Yes, you should clean a new coffee maker before first use. Doing so helps remove residue and oils, ensuring peak performance and delicious coffee. Follow the manufacturer's guidelines for specific cleaning instructions. It's a small step for great results!
How Do You Use a 12 Cup Mr Coffee Maker?
To use a 12-cup Mr. Coffee maker, fill the reservoir with water and add a filter and coffee grounds. Close the lid, select brew size, and press the brew button. When it's done, pour yourself a cup and enjoy!
How to Make Coffee When the Coffee Maker Is Broken?
When your coffee maker is broken, improvise by using a pour-over method with near-boiling water over grounds. Try a French press or stovetop espresso maker for different flavors. Experiment with reusable filters or alternative methods like cold brew or AeroPress.
Conclusion
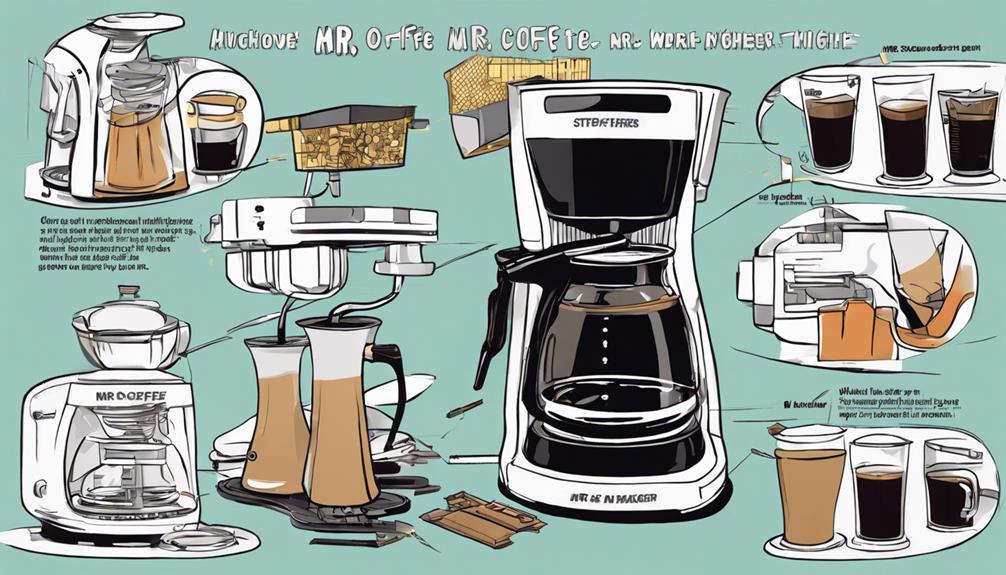
You're now the master of your Mr. Coffee maker. Just like a conductor leading a symphony, you have successfully assembled all the components and brewed the perfect cup of coffee. Next, you can take pride in your new skill set by sharing your expertise with friends and family. You have mastered the art of coffee making, and now you can confidently guide others in assembling your coffee maker and brewing their own delicious cups of joe. You are now a true coffee aficionado, ready to take on any coffee-making challenge that comes your way. As you continue to elevate your coffee-making abilities, don’t forget to experiment with adjusting coffee machine settings to customize the flavor and strength of your brew. From grind size to water temperature, there are countless ways to fine-tune your coffee maker to suit your preferences. Share your newfound knowledge with others and continue to refine your skills as a master coffee maker. Embrace the endless possibilities and enjoy the satisfaction of creating the perfect cup of coffee every time.
Keep practicing and soon you'll be a coffee maestro, creating delicious brews with ease. Enjoy your coffee journey and savor every sip of your homemade masterpiece.
Cheers to your newfound coffee mastery!
Tips and Tricks
Funny and Flirty: How to Ask a Girl for a Coffee Date in a Hilarious Way!
Need a witty way to ask her out for coffee? Discover hilarious coffee-themed pick-up lines to charm her in this playful guide!
Want to invite her for a coffee date with a touch of humor? Begin by injecting some charm and wit into your proposal. Utilize clever pick-up lines centered around coffee to bring a smile to her face. Strike a balance between being funny and flirty to demonstrate your playful side. Capture her interest with a memorable and witty approach. Remember, using humor helps break the ice and establishes a fun atmosphere. If you’re looking for tips on crafting an exciting coffee date invitation, continue your search for creative and playful methods to grab her attention!
Key Takeaways
- Use coffee-themed pickup lines to add humor and charm to your invitation.
- Incorporate playful wordplay to make the ask memorable and engaging.
- Balance between funny and flirty to create a lighthearted atmosphere.
- Show genuine confidence when delivering the invitation.
- Make the interaction enjoyable with shared moments of laughter.
Clever Coffee Date Invitations
For clever coffee date invitations, consider using humor and wordplay to make your invitation memorable and enjoyable. Incorporate coffee-themed pickup lines like 'You must be a French press because you've got me pressing for more of you' to ask a girl out for a coffee date.
Adding a flirty touch with lines such as 'If you were coffee, you'd be a triple shot of espresso' can make for a hilarious invitation.
To infuse cuteness and humor, try saying, 'You're the cream in my coffee, the sugar in my tea, and the only one I want to be with me.'
Engaging in clever wordplay like 'You must be a latte? Because I can't resist your frothy goodness' can create a connection and make the invitation stand out.
Playful Pickup Line Approaches
When choosing a playful pickup line, consider ones that showcase your humor and personality.
Engage in conversation with witty and light-hearted openers that can lead to a fun coffee date invite.
Amusing approaches can set the tone for a memorable and enjoyable interaction.
Humorous Pickup Line Selection
Selecting playful pickup lines can infuse humor and charm into your approach when asking a girl out for a coffee date.
When choosing your humorous pickup line, consider the following:
- Originality: Opt for a unique and witty pickup line that will make you stand out and show off your creativity.
- Relevance: Make sure your pickup line relates to the context of asking for a coffee date to keep the conversation flowing naturally.
- Tone: Aim for a balance between funny and flirty to create a lighthearted and memorable interaction.
Engaging Conversation Starters
Engage her effortlessly with a playful pickup line that will leave her smiling and intrigued about your coffee date invitation. Use witty and clever lines to spark a connection and set the tone for a fun conversation.
For instance, you could say something like, 'If I were a barista, I'd definitely give you free refills because you're just my cup of tea… I mean coffee!' By incorporating humor and playfulness through engaging conversation starters, you can make a memorable impression and show your interest in a lighthearted way.
Flirting in person can be nerve-wracking, but with the right funny quotes and playful banter, you can create a comfortable atmosphere for both of you to enjoy. Remember, the goal is to make her laugh and feel excited about the prospect of a coffee date with you.
Amusing Coffee Date Invites
Spark her interest with a clever and amusing pickup line when inviting her for a coffee date, setting a playful and lighthearted tone for your interaction. Using playful pickup lines can infuse humor and charm into the process of asking someone out, especially for a casual coffee date.
Here are some amusing invites that can make the experience enjoyable and engaging:
- 'Are you a coffee bean? Because you've got me grinding on you.'
- 'If you were coffee grounds, you'd be espresso because you're so fine!'
- 'Is your name Wi-Fi? Because I'm really feeling a connection here.'
Incorporating humor into your invitation not only showcases your fun side but also helps in breaking the ice and making the interaction more relaxed and entertaining.
Flirty Coffee Date Invites
When asking her out for a coffee date, consider coming up with clever coffee date ideas that showcase your playful and flirty side.
Use a playful invitation approach that incorporates humor and witty jokes to make the invite engaging and fun.
Aim to create memorable date moments by being creative and unique in your approach, expressing your interest in getting to know her better over a cup of coffee in a lighthearted manner.
Clever Coffee Date Ideas
To add a touch of charm and humor to your coffee date invitation, consider incorporating clever coffee-related phrases or playful puns. Here are some ideas to make your invite stand out:
- Say something like, 'You're my favorite blend of funny and flirty. How about being my coffee date?'
- Try a playful approach with, 'If we were coffee beans, we'd make the perfect brew together. What do you say to a coffee date?'
- Use a clever pun like, 'I like my coffee like I like my dates: hot, sweet, and leaving me wanting more. Care to grab a cup with me?'
Playful Invitation Approach
Injecting humor and playfulness into your coffee date invitation can add a charming and engaging touch to your ask. To make your invitation memorable and flirty, consider using clever wordplay and witty jokes that will put a smile on her face. For instance, you could say something like, 'Let's espresso our feelings over a latte love and a side of laughter. How about a coffee date to brew something special between us?' This light-hearted and fun twist on asking for a coffee date sets a positive atmosphere and shows your playful side.
Adding coffee-related puns or references to coffee culture can also make your invite cute and hilarious. You might try something like, 'Life without you is depresso! Let's espresso our chemistry over a cup of coffee together.'
Memorable Date Moments
To create a memorable and flirty coffee date invite, infuse humor and playfulness into your ask, making it engaging and light-hearted. Incorporate witty wordplay and playful language to add a fun and enjoyable touch to your invitation.
Consider referencing coffee-related jokes or puns to bring a smile to her face and create a shared moment of laughter. Personalize your invite by including inside jokes or mentioning shared interests to make it more special and unique to your connection.
Keeping the tone light and flirty will showcase your playful side and make the ask more enjoyable for both of you.
- Use witty wordplay to add humor and charm to your invitation.
- Include inside jokes or shared interests to create a personal connection.
- Maintain a light and flirty tone throughout the invite to set the mood for a fun coffee date experience.
Using Humor in Asking Someone Out
Incorporating humor into your approach when asking someone out can add a playful and engaging touch to the interaction. Using a funny pickup line can make the request for a coffee date more memorable and flirty. Your humorous and witty approach can showcase your personality and creativity, making the ask more enjoyable for both parties.
Making the person laugh with a clever invitation can notably increase the chances of receiving a positive response. By adding a playful twist to your coffee date request, you can create a lighthearted and fun atmosphere that sets the tone for a great time together.
Funny Text Invitations
Sprinkle some humor into your text invitations when asking a girl out for a coffee date to create a memorable and engaging interaction. Begin by incorporating playful emojis and witty wordplay to set a light-hearted tone for the conversation.
Consider adding a coffee-related joke or pun to make the ask for a coffee date more fun and memorable. Keep the text short, sweet, and humorous to catch her attention and bring a smile to her face.
Reference a shared interest in coffee or a cute coffee shop that you both enjoy to personalize the invitation and show thoughtfulness. End the text with a playful question or suggestion to keep the conversation flowing and build excitement for the upcoming coffee date.
Creative In-Person Invites
Consider infusing creativity and personal flair into your in-person invitations to make a lasting impression when asking a girl out for a coffee date. Use humor to break the ice and add a playful touch by incorporating coffee-related puns or jokes into your invite. For a memorable approach, think about using props or visual aids that tie into the coffee theme.
Whether it's a funny coffee mug or a quirky sign, these little details can make your invitation stand out. When delivering your in-person invite, be confident and genuine. Show your personality and let your sense of humor shine through. Keeping the tone light-hearted and fun will create a positive and enjoyable interaction.
Frequently Asked Questions
How to Ask for a Coffee Date to a Girl?
You can ask for a coffee date by starting with a playful coffee-related joke or pun. Suggest a specific café you'd love to take her to and show genuine interest in getting to know her over coffee.
How to Cleverly Ask a Girl Out?
Want to cleverly ask a girl out? Keep it light and witty. Incorporate humor and creativity to make your invitation memorable. Show your playful side and suggest a coffee date to connect over a shared love for coffee.
How to Flirt on a Coffee Date?
Flirting on a coffee date? Keep it light, playful banter to charm her. Compliment sincerely, notice details, maintain eye contact, and sprinkle humor. Listen actively, show interest in her thoughts. Enjoy the witty dance!
How to Ask a Girl Out in Creative Ways?
Get her attention with humor and charm. Use clever wordplay or a funny scenario to invite her for coffee. Personalize the ask based on shared interests to create a connection. Be unique and memorable.
Conclusion
Now that you have some funny and flirty ways to ask a girl for a coffee date, go ahead and give it a try! Remember, humor and creativity can go a long way in making a memorable invitation. If she’s someone you’ve been wanting to get to know better, asking her out for a casual coffee date is a great way to start. You’ll have the opportunity to have a relaxed conversation and see if there’s a connection worth pursuing. So put your best foot forward, and don’t be afraid to take a chance on asking out a coffee shop girl!
So, whether you use a clever pickup line, a playful text message, or a creative in-person invite, just have fun with it and let your personality shine.
Who knows, you might just charm your way into a fantastic coffee date!
Tips and Tricks
Glass Top Tips: How to Attach a Glass Top to Your Coffee Table!
Intrigued about attaching a glass top to your coffee table? Find out how to do it securely and maintain stability for a stylish finish!
Attach a glass top to your coffee table using methods such as a table base adapter, Velcro tape, or super glue for maximum durability. Ensure stability by regularly checking the connections and keeping spare materials on hand. Follow safety precautions and consider seeking professional guidance for more complex issues. To prevent any sliding, install rubber bumpers or glass top adapters. For added stability, strategically place adhesive rubber bumpers and silicone pads. Inspect attachment points regularly for signs of wear and tear as maintenance is key to keeping your glass top secure. For more information on attachment, maintenance, and recommended materials, visit: Assemble glass coffee table by carefully following the manufacturer’s instructions and using the appropriate tools. Make sure all components are securely fastened and level to prevent any accidents. It’s advisable to have a second person help during the assembly process for added safety.
Key Takeaways
- Choose a suitable attachment method from Velcro, adhesive tape, or clamps.
- Ensure stability with proper support to prevent glass sliding.
- Regularly inspect and maintain attachments for durability.
- Consider using rubber bumpers or non-slip pads for added security.
- Seek professional advice for complex attachment issues.
Wood Table Base Attachment
To securely attach a glass top to your coffee table's wood base, consider using transparent silicone sealer. This adhesive provides flexibility, allowing the wood to move without causing strain on the glass table top.
When attaching the glass top to the wood base, it's important to account for the natural movements of the wood due to factors like humidity. By utilizing a transparent silicone adhesive, you can guarantee a secure attachment that minimizes the risk of breakage during these wood shifts.
Transparent silicone sealers are ideal for this task because they can flex along with the wood, preventing any undue pressure on the glass table top. This flexibility is vital in maintaining the structural integrity of the attachment over time.
Metal Table Base Attachment
For attaching a glass top to a metal table base, opt for using super glue or a high-quality adhesive to guarantee stability and durability. When securing glass to a metal table, consider these essential tips to assure a reliable attachment:
- Cushion the Glass: Provide proper support for the glass to prevent stress caused by metal expansion and contraction.
- Avoid Screws: Skip using screws and opt for adhesive that can handle weather-induced movements of the metal for a secure bond.
- Weight Capacity: Choose adhesive methods that can withstand the weight of the glass top and maintain a strong connection with the metal base.
- Consider Design: Keep in mind the design and aesthetics of the metal base when selecting the attachment method for the glass top.
Steel Table Base Solutions
Consider opting for a Modern Style Hydra base for a hassle-free attachment method on your steel table base.
Utilize a specially designed table base adapter to guarantee a secure fixing for your glass top without the need for traditional adhesives.
Choose solutions that can accommodate any potential expansion or contraction of the steel base for a stable and durable setup.
Glue-Free Steel Base Fixing
Looking for a glue-free solution to firmly attach your glass top to a steel table base? Consider opting for the Modern Style Hydra base, a reliable alternative that provides stability without the hassle of adhesive.
Here's why the Modern Style Hydra base could be the perfect fit for your table:
- Secure Platform: The Modern Style Hydra base offers a secure and stable platform for your glass table top, guaranteeing it stays in place without the need for glue.
- Designed for Steel Bases: Specifically created for steel bases, this solution minimizes the risk of your glass top sliding or moving.
- Sleek Design: With a sleek and minimalist design, the Modern Style Hydra base complements the contemporary look of steel table bases.
- Easy Installation: Opting for a glue-free solution like the Modern Style Hydra base ensures straightforward installation and removal of the glass top when needed.
Modern Style Hydra Solution
Opt for the Modern Style Hydra base as a reliable and glue-free solution for firmly attaching your glass top to a steel table base. This specialized solution is designed to provide a sturdy and reliable attachment method without the need for traditional adhesives or glues.
The Hydra base offers a practical and efficient choice for securing glass tops on steel table bases, ensuring stability without the mess of glues. Specifically tailored to meet the unique requirements of steel table bases, the Modern Style Hydra base stands out as an innovative solution in the domain of table base attachments.
Preventing Glass Sliding Techniques
To prevent your glass top from sliding on the coffee table, consider using the following methods for added stability:
- Rubber bumpers
- Velcro adhesive tape
- Glass top adapters
These techniques will help secure the glass in place and prevent any unwanted movement.
Regularly checking and maintaining these attachments is vital to guarantee the glass remains securely in place.
Sliding Prevention Methods
Consider incorporating rubber bumpers, adhesive pads, anti-slip mats, suction cups, non-slip rubber pads, or Velcro strips as effective methods for preventing glass sliding on your coffee table.
When looking to secure your glass table top, here are some practical sliding prevention methods to keep in mind:
- Rubber Bumpers or Adhesive Pads: Strategically placing these at the corners of your glass top can help stabilize it and prevent sliding.
- Anti-Slip Mats or Liners: Adding these between the glass and the table surface can provide an extra layer of grip to keep the glass in place.
- Suction Cups: By creating a vacuum seal, suction cups can effectively prevent any unwanted movement or sliding of the glass top.
- Non-Slip Rubber Pads: Placing these at key contact points between the glass and the table can help keep the glass securely in place.
Secure Glass Techniques
Using rubber stoppers, Velcro sticky tape, or glass top adapters can effectively prevent glass sliding on various table bases.
When dealing with wooden bases, applying transparent vinyl stoppers or Velcro tape creates a non-slip surface that helps keep the glass top securely in place.
For a more permanent solution, consider using silicone sealer, super glue, or sticky pads to guarantee a strong attachment between the glass and the base.
Specialized options such as rubber gaskets, metal clips, or custom brackets can provide added stability, especially for larger or heavier tabletops.
It's important to regularly inspect and maintain the attachment to make sure that the glass top remains securely affixed to the table base.
DIY Glass Table Top Stability
For improved stability of your glass table top, strategically place adhesive rubber bumpers to prevent sliding on your wood coffee table.
To enhance the stability further, consider using clear vinyl spacers to elevate the glass from the table surface.
Here are some DIY tips to guarantee your glass tabletop stays secure:
- Secure the glass top with silicone pads or dots to provide cushioning and prevent movement.
- Opt for double-sided tape for a secure attachment of the glass top to your coffee table.
- Utilize felt pads strategically placed to help prevent sliding and provide additional stability.
Maintaining Secured Glass Table Tops
Regular examination of the attachment points of your glass table top is crucial to secure ongoing stability and safety. Inspect for any indications of wear and tear where the glass meets the wood or metal table base underneath.
Utilize suitable cleaning products on these attachment areas to sustain adhesion and prevent slippage. It's also prudent to have spare attachment materials on hand for swift replacements if necessary, guaranteeing the glass remains firmly in place.
If you own a metal or steel table, pay careful attention to how the glass is fastened to the frame. Seek expert advice for intricate attachment issues to ensure the long-term durability and safety of your glass table top.
Adhering to manufacturer guidelines for maintenance and replacement of attachment materials will enhance the lifespan of your glass table top, offering you a secure and steady surface for years to come.
Glass Top Attachment Methods
Consider different attachment methods when securing a glass top to your coffee table base for best stability and safety. Depending on the material of your table base, there are various options available to secure the glass top effectively:
- Silicone Sealer or Polyurethane Adhesive: Ideal for wood table bases, providing a strong and durable bond.
- Super Glue or Adhesive Pads: Suitable for metal table bases, offering a secure attachment without the need for drilling.
- Table Base Adapter or Modern Style Hydra Base: Perfect for steel table bases, allowing for a stable glass top without the use of glue.
- Velcro Adhesive Tape: Offers instant and long-lasting attachment for glass tops on various bases, providing flexibility for adjustments.
Maintenance and Replacement Tips
Maintain you regularly check the connection of your glass top to your coffee table base to sustain its stability over time. Inspect for wear and tear, and verify the area is clean for proper adhesion.
Keep spare connection materials like super glue on hand for quick replacements to uphold the security of your glass top. Seek professional advice for any complex connection issues and always follow manufacturer guidelines for maintenance.
Test the durability of the connection method to guarantee it can endure daily use and potential stress. Make certain the connection materials are compatible with both the base material, such as wood, and the type of glass used to prevent any detachment or accidents.
Frequently Asked Questions
How Do You Secure a Glass Top to a Coffee Table?
To secure a glass top to a coffee table, apply silicone sealer or polyurethane adhesive for a wooden base, super glue or a table base adapter for a metal base. Use rubber bumpers or Velcro tape to prevent sliding.
Which Glue Is Best for a Glass Table Top?
For attaching a glass table top, the best glue options are silicone adhesive for flexibility, epoxy resin for strength, UV-curing adhesive for speed, polyurethane adhesive for durability, and clear silicone sealant for transparency and longevity.
How Do You Get a Glass Table Top to Stick?
To get a glass table top to stick, align it precisely, clean surfaces well, and follow product instructions. Use silicone sealer or polyurethane adhesive. Employ suction cups or magnets for a robust attachment. Safety first!
How to Keep a Glass Table Top in Place?
To keep a glass table top in place, try using rubber bumpers or adhesive pads to prevent sliding. Consider Velcro adhesive tape or glass top adapters for a secure attachment. Maintain a gap between the glass and base to prevent damage.
Conclusion
To wrap things up, attaching a glass top to your coffee table is like giving your table a sleek and modern makeover. By following these tips and techniques, you can guarantee that your glass top stays secure and stable for years to come. When it comes to glass table assembly, it’s important to take your time and make sure all the components are properly aligned and fastened. Using the right tools and materials, such as rubber or plastic spacers, can also help prevent the glass from shifting or cracking. Finally, be sure to regularly inspect the table for any signs of wear or stress, and address any issues promptly to keep your glass top in top condition.
So don't hesitate to add a touch of elegance to your living space with a beautifully attached glass top coffee table!
Tips and Tricks
Furniture Refresh: How to Bring a Coffee Table Back to Life!
Liven up your coffee table with a gentle restoration method that preserves its historical charm – discover how to transform it effortlessly!
Revitalize your coffee table quickly with a mahogany restoration method. Preserve its historical charm and integrity without harsh sanding. Easily remove the shellac finish using gentle techniques for wood protection. Enhance the color and texture with a wax application, safeguarding against dust and scratches. Embrace efficient furniture transformation, highlighting the beauty of the wood. Choose gentle steps in wood treatment to maintain its allure. Finish with a high-quality wax application, buffing for a smooth shine. Your coffee table’s revival awaits with these gentle yet effective techniques!
Key Takeaways
- Gentle removal of existing finish for wood integrity.
- Application of high-quality wax for color enhancement.
- Buffing for a smooth, lustrous finish.
- Preservation of historical significance through gentle techniques.
- Rapid transformation without aggressive sanding methods.
Mahogany Coffee Table Restoration
To restore a mahogany coffee table, gently remove the shellac finish using methylated spirits, wire wool, and a nylon abrasive pad.
Mahogany wood, introduced from the Americas in 1720, boasts exceptional quality and historical significance in furniture craftsmanship.
The shellac removal process, which avoids harsh chemicals and sanding, safeguards the wood's integrity.
After stripping the finish, make sure the wood is dry before applying wax to enrich the table's color and texture.
This efficient restoration method can revive a damaged mahogany coffee table in just 3 to 5 minutes, eliminating the need for aggressive sanding and yielding a stunning outcome.
Shellac Finish Removal Process
You can start the shellac finish removal process by using methylated spirits to melt the finish.
Follow this with gentle techniques like wire wool and a nylon abrasive pad to break through without sanding. This method aims to preserve the wood's historical significance and beauty while efficiently transforming the coffee table within minutes.
Shellac Removal Techniques
Removing a shellac finish from a mahogany coffee table involves gently melting the finish using methylated spirits. This process allows for the gradual breakdown of the shellac without causing damage to the underlying wood.
Once the shellac begins to soften, you can use a nylon abrasive pad to carefully remove the finish layer by layer, ensuring that the wood's integrity is maintained throughout the process. Utilizing fine wire wool further aids in the precise removal of the shellac, eliminating the need for harsh chemicals or abrasive sandpaper.
After successfully removing the shellac finish, it's essential to thoroughly dry off the wood before applying a coat of wax. This final step not only enhances the wood's color but also helps preserve its natural beauty.
With this efficient restoration technique, your coffee table can be rejuvenated within just 3 to 5 minutes, avoiding the use of rough sanding methods that could potentially harm the wood's surface.
Gentle Finish Restoration
Consider using a gentle restoration method to remove the shellac finish from your mahogany coffee table, preserving its historical value and natural beauty.
Start by utilizing methylated spirits, wire wool, and a nylon abrasive pad to delicately strip away the shellac finish from the wood, avoiding the use of harsh chemicals or sanding that could damage the piece's historical significance.
As you work, you'll witness a remarkable transformation within just 3 to 5 minutes as the shellac dissolves, revealing the exquisite natural grain of the mahogany.
Once the finish is removed, carefully dry off the wood and apply wax to enhance its color, buffing the surface to achieve a smooth and undamaged finish.
This sympathetic restoration approach not only revitalizes your coffee table efficiently but also guarantees that its unique character and charm remain intact, without the need for aggressive sanding methods.
Efficient Wood Revival
Effortlessly restore the wood's natural beauty by utilizing a gentle shellac finish removal process involving methylated spirits, wire wool, and a nylon abrasive pad. By melting the shellac finish with the spirits and gently scrubbing with wire wool, you can revive the wood's original charm within 3 to 5 minutes. Follow up this process with a nylon abrasive pad to guarantee a smooth finish that retains the wood's authenticity. Once the shellac is removed, consider applying a coat of wax to enhance the wood's color and texture, leaving you with a stunning, undamaged result.
Wood Revival Steps | Time Required | Additional Tips |
---|---|---|
Methylated Spirits + Wire Wool | 3-5 minutes | Gently scrub in circular motions. |
Nylon Abrasive Pad | – | Ensure uniform and thorough coverage. |
Wax Application | – | Buff for a glossy sheen finish. |
Wood Treatment Techniques
To effectively revive your mahogany coffee table, gently remove the shellac finish using methylated spirits and nylon abrasive pads. This method helps preserve the wood's integrity by avoiding harsh chemicals and sandpaper during the finish removal process.
After drying off the wood, apply wax to enhance the color and achieve a smooth finish. Buffing the wood will bring out its natural beauty and protect it from damage.
With this technique, you can achieve a rapid transformation from damaged to beautiful wood within 3 to 5 minutes without the need for rough sanding.
Historical Mahogany Significance
Explore the historical significance of mahogany in furniture making, particularly its desirable and fashionable presence in high-quality pieces imported as early as 1720. Originating from the Americas, mahogany, especially Cuba mahogany, was highly sought after for its rich color and durability, making it a top choice for crafting exquisite furniture pieces. Its introduction marked a shift towards elegance and sophistication in furniture design, with mahogany becoming synonymous with luxury and prestige.
The gentle restoration process of a mahogany coffee table involves delicately removing the shellac finish with methylated spirits and wire wool. By opting for this method over sanding and employing wax for color enhancement, you can efficiently revive the coffee table's original beauty. This approach allows for a quick transformation within 3 to 5 minutes, preserving both the historical significance and aesthetic appeal of the mahogany wood.
Efficient Furniture Transformation
How can you efficiently transform your furniture without the need for extensive sanding or harsh chemicals? You can achieve a remarkable result by following a gentle restoration process that preserves the wood's integrity while enhancing its appearance. Consider using methylated spirits to eliminate the shellac finish and a nylon abrasive pad to facilitate penetration. Opt for a sympathetic restoration approach with fine wire wool to remove the finish gently. After the restoration process, apply wax to enrich the color and smoothness of your coffee table, and buff gently for a polished look. This method allows for a rapid transformation within 3 to 5 minutes, using simple materials for an efficient wood restoration technique.
Efficient Furniture Transformation | ||
---|---|---|
Remove shellac finish with spirits | Break through with nylon pad | Use wire wool for gentle finish removal |
Apply wax for enhanced color | Buff gently | Rapid transformation in 3-5 minutes |
Gentle Wood Restoration Steps
You can gently restore the wood of your coffee table by utilizing methylated spirits to dissolve the shellac finish. Employ a nylon abrasive pad and fine wire wool for a delicate removal process. This method helps avoid damaging the wood while effectively getting rid of the old finish.
By gently rubbing the surface with these tools, you can reveal the natural beauty of the mahogany without causing harm. This process is essential in maintaining the historical significance of the piece while giving it a fresh look.
Once the old finish is removed, you can proceed to the next step of applying wax to enhance the color and overall appearance of the wood. Remember to buff the surface after waxing for a smooth finish.
These gentle restoration steps can efficiently transform your coffee table within a few minutes, providing a new life to your beloved piece without resorting to harsh chemicals. You can start by wiping down the table with a mixture of mild soap and water to remove any dirt or grime. Then, use a wood polish or conditioner to restore its natural shine and luster. Lastly, avoid bleaching a coffee table as it can damage the wood and strip away its natural color. Instead, opt for gentle restoration methods to preserve the beauty of your furniture.
Wax Application for Enhancement
To enrich the color and natural beauty of your coffee table, consider applying a high-quality wax designed for wooden furniture. Wax not only enhances the wood's hue but also provides protection against moisture, dust, and scratches, prolonging the table's lifespan. When selecting a wax, opt for one specifically formulated for wooden surfaces to ensure best possible results.
Before applying the wax, make sure the coffee table is clean and dry. Using a soft cloth, apply a thin, even layer of wax in the direction of the wood grain. Allow the wax to dry completely, following the manufacturer's recommended drying time.
Once the wax has dried, buff the surface using a clean, dry cloth or a buffing pad. Buffing will help distribute the wax evenly and create a smooth, lustrous finish on the coffee table.
Regular waxing not only enhances the table's appearance but also maintains its overall condition, making it a valuable investment in preserving your furniture's beauty.
Buffing for Smooth Finish
Buffing for a smooth finish is an important step in enhancing the color and shine of your coffee table after applying the wax. This vital process involves using a soft cloth or buffing wheel to gently work the wax into the wood.
By buffing in a circular motion, you help distribute the wax evenly, filling in any minor imperfections or scratches on the surface. The act of buffing brings out the natural beauty of the wood, leaving behind a glossy, polished look.
Not only does this step enhance the appearance of your coffee table, but it also adds a professional touch to the restoration process, making your furniture look rejuvenated and refreshed.
The final result of a well-buffed coffee table is a piece that gleams with a renewed shine and radiates its original charm. So, take the time to buff your coffee table properly, and witness the transformation of your furniture.
Preservation of Wood Beauty
To preserve the beauty of your wood furniture, focus on enhancing its color and appearance while using gentle restoration techniques.
By avoiding harsh chemicals and sandpaper, you can maintain the historical significance and quality of the wood.
Efficient restoration methods, like applying wax and buffing, can help you achieve a smooth finish and bring your coffee table back to life without compromising its natural beauty.
Wood Color Enhancement
Enhance the natural beauty of your wood furniture by carefully applying wax to bring out its rich colors and luster. Begin by gently removing the existing finish with methylated spirits and wire wool before applying the wax. This process helps to reveal the true color of the wood and revitalizes its appearance.
When working with quality woods like mahogany, it's essential to avoid harsh chemicals or sanding to preserve the wood's inherent beauty. To achieve a smooth and lustrous finish on your coffee table, remember to buff the wax after application. This extra step adds depth to the color and enhances the overall shine of the wood.
Gentle Preservation Techniques
Revitalize your coffee table's appearance through the gentle preservation techniques that focus on enhancing the natural beauty of the wood without resorting to harsh chemicals or sanding.
By following these steps, you can maintain the integrity of the wood while bringing out its inherent charm:
- Remove the shellac finish: Using methylated spirits, wire wool, and a nylon abrasive pad, carefully strip away the existing finish to reveal the natural beauty of the wood.
- Dry the wood and apply wax: After removing the finish, make sure the wood is thoroughly dried before applying a coat of wax. The wax not only enhances the color and texture but also provides protection for the wood.
- Buff for a smooth finish: Once the wax is applied, gently buff the surface to achieve a smooth finish that highlights the wood's beauty. This final step adds a lustrous sheen to your coffee table, showcasing its renewed allure.
Efficient Restoration Methods
Efficiently restore the beauty of your coffee table by employing proven methods that prioritize the preservation of the wood's natural allure and historical significance.
Begin by delicately removing the shellac finish using methylated spirits, wire wool, and a nylon abrasive pad.
Embrace the historical significance of mahogany wood, originating from the Americas in 1720, specifically Cuba, renowned for its exceptional quality in furniture crafting.
Opt for a gentle wood restoration process that sidesteps sanding and harsh chemicals, safeguarding the wood's innate beauty and historical worth.
Witness the remarkable transformation of a worn coffee table into a stunning piece within 3 to 5 minutes using straightforward materials and efficient techniques.
Achieve a refined and lustrous finish by buffing wax onto the wood, illustrating the effectiveness of this restoration approach in upholding the wood's integrity and charm.
Frequently Asked Questions
How Do You Bring an Old Table Back to Life?
To bring an old table back to life, start by gently restoring it with simple materials like nylon abrasive pads. Enhance the wood's color and texture with wax, preserving its historical significance. Enjoy a rapid transformation!
How Do I Make My Table Look New Again?
Want to make your table look new again? Revive it by gently removing the old finish with methylated spirits and a nylon abrasive pad. Preserve its history and enhance its beauty with wax. Buff gently for a stunning result.
How to Restore a Weathered Wood Table?
To restore a weathered wood table, gently remove the old finish with an abrasive pad and spirits. Use wire wool if needed. Dry the wood and apply wax for color enhancement and protection. Buff for a lustrous finish.
How to Make a Dull Wood Table Shine?
To make a dull wood table shine, gently remove the old finish with methylated spirits, wire wool, and a nylon abrasive pad. Dry the wood, apply wax for color enhancement, and buff for a smooth, shiny finish.
Conclusion
Now that you've learned how to bring your coffee table back to life, remember that mahogany is one of the most prized woods for furniture due to its durability and rich color.
In fact, did you know that mahogany trees can grow up to 150 feet tall and live for over 350 years?
By following these simple restoration steps, you can preserve the beauty of your coffee table for years to come. Happy restoring! If your coffee table has stubborn stains or discoloration, you may want to consider bleaching it to restore its original color. Here is how to bleach a coffee table: First, mix equal parts of bleach and water in a spray bottle. Then, thoroughly spray the solution onto the surface of the table and let it sit for a few minutes before wiping it off with a clean cloth. Repeat the process as needed until the desired results are achieved. Remember to wear protective gloves and work in a well-ventilated area when using bleach. With these restoration steps and a little bit of elbow grease, your coffee table will look as good as new.
-
Ryze Coffee1 day ago
Ryze Mushroom Coffee Vs Other Brands – How Does It Compare?
-
Vetted6 days ago
15 Best Lavazza for Espresso
-
Industry News1 week ago
Does Jacobs Coffee Support Israel?
-
Ryze Coffee2 days ago
Ryze Mushroom Coffee Vs Everyday Dose – Which Is Better for You?
-
Vetted6 days ago
15 Best Instant Espressos for Drinking Anytime, Anywhere – Taste Test Results & Reviews
-
Industry News1 week ago
Does Coffee Bean Support Israel?
-
French Press1 week ago
Understanding How French Press Coffee Makers Work
-
Brewing Guides1 week ago
Brew Perfectly: How to Make Coffee with Coffee Maker