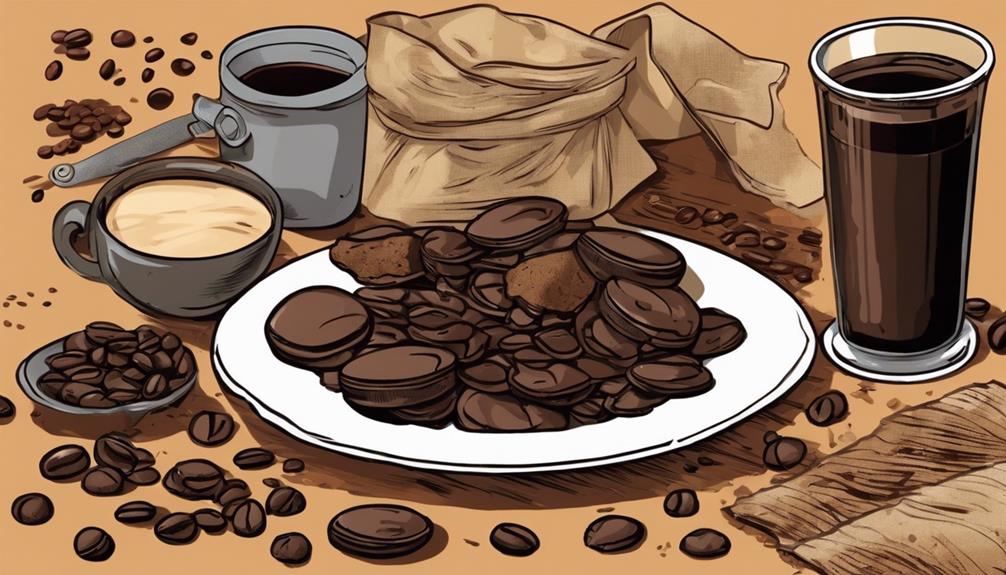
Connect with us

Tips and Tricks

Cookie Heaven: How to Bake Coffee Cookies!

Craving a delicious blend of coffee and cookies?

Published

on

bake delicious coffee cookies

You're in for a treat with coffee cookies! Start by preheating the oven and whisking flour, baking soda, and salt. Cream butter and sugar, then add eggs, vanilla, and chocolate chips. Let the dough chill. And when you immerse yourself, the blend of coffee and cookie flavors will be truly heavenly.

Key Takeaways

  • Use fine instant espresso powder for intense coffee flavor.
  • Ensure all ingredients are at room temperature for optimal dough consistency.
  • Chill dough before baking to prevent cookies from spreading.
  • Balance coffee strength and chocolate chips for a harmonious taste.
  • Store cooled cookies in an airtight container for lasting freshness.

Ingredients

When making coffee cookies, gather your butter, sugar, eggs, flour, chocolate chips, and coffee flavoring as the key ingredients.

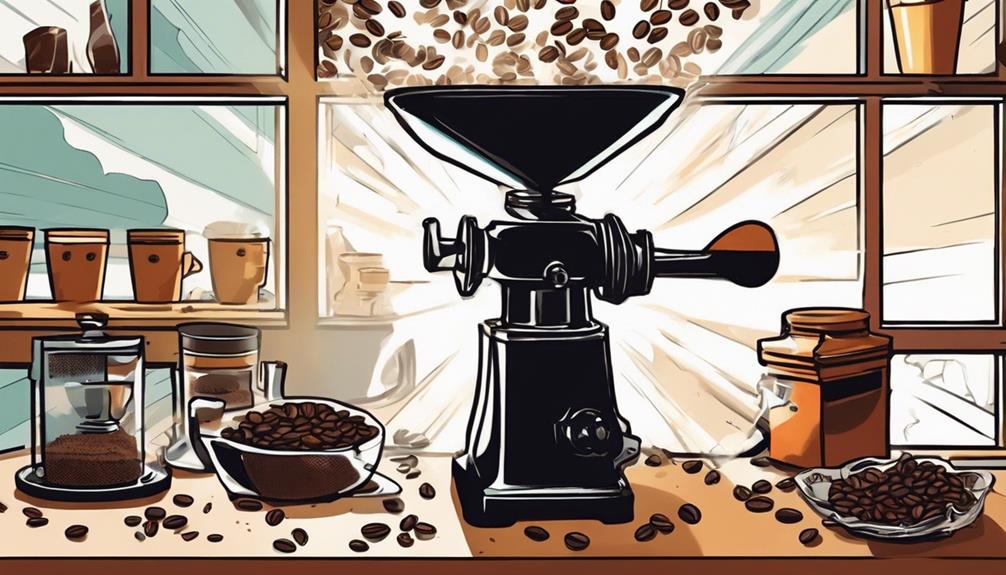
To infuse your cookies with a rich coffee taste, consider using instant espresso coffee or espresso powder.

The butter plays a vital role in creating a soft and moist texture for your cookies.

For a delightful burst of sweetness, choose chocolate chips that complement the coffee flavor – whether you opt for semisweet, dark, or milk chocolate.

The espresso powder adds a deep coffee undertone that enhances the overall flavor profile of your cookies.

Advertisement

When measuring out your ingredients, precision is essential to achieving the perfect balance of flavors.

Whether you experiment with dairy-free butter, gluten-free flour, or vegan egg substitutes, make sure that you maintain the integrity of the cookie's texture and taste.

Recipe Steps

cooking instructions in detail

Now that you have your ingredients ready, let's talk about the recipe steps.

The STEPS we'll cover include the baking process overview, essential ingredient details, and handy baking tips and tricks to guarantee your coffee cookies turn out perfect.

This discussion will guide you through each step, making the baking experience smooth and enjoyable.

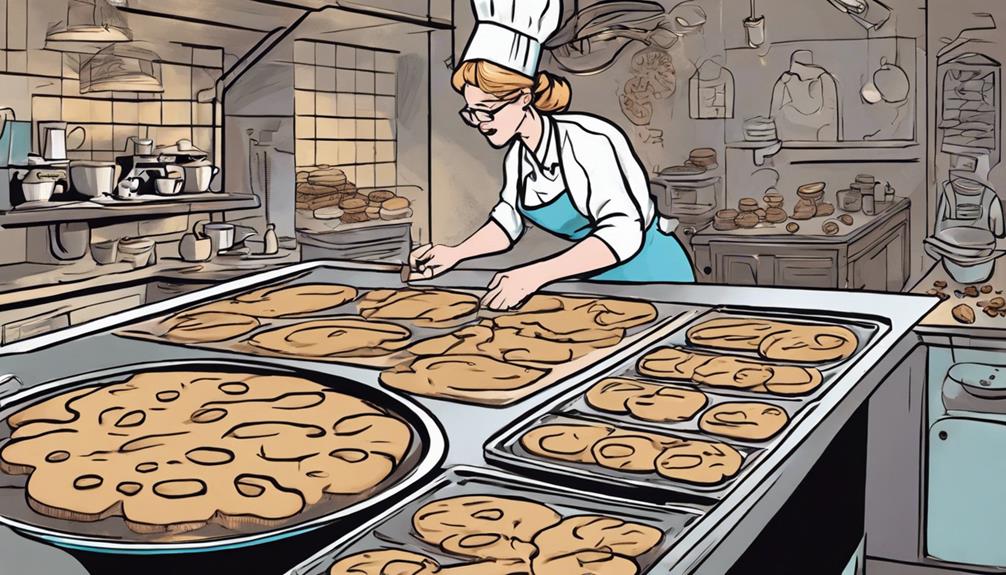
Baking Process Overview

Begin by preheating the oven to the specified temperature and lining baking sheets with parchment paper to prepare for making chewy coffee cookies.

Advertisement

While the oven preheats, whisk together flour, baking soda, and salt in a separate bowl to prepare the dry ingredients for the cookie dough.

In another bowl, cream together butter and sugars until light and fluffy. Then, add eggs and vanilla extract to create a rich and flavorful base for your cookies.

Gradually incorporate the dry ingredients into the wet mixture, making sure everything is well combined. Don't forget to mix in semisweet chocolate chips for that extra touch of sweetness and decadence.

Once the dough is ready, chill it in the refrigerator to help the flavors meld and the texture firm up.

After chilling, portion the dough into cookie dough balls and place them on the prepared baking sheets.

Advertisement

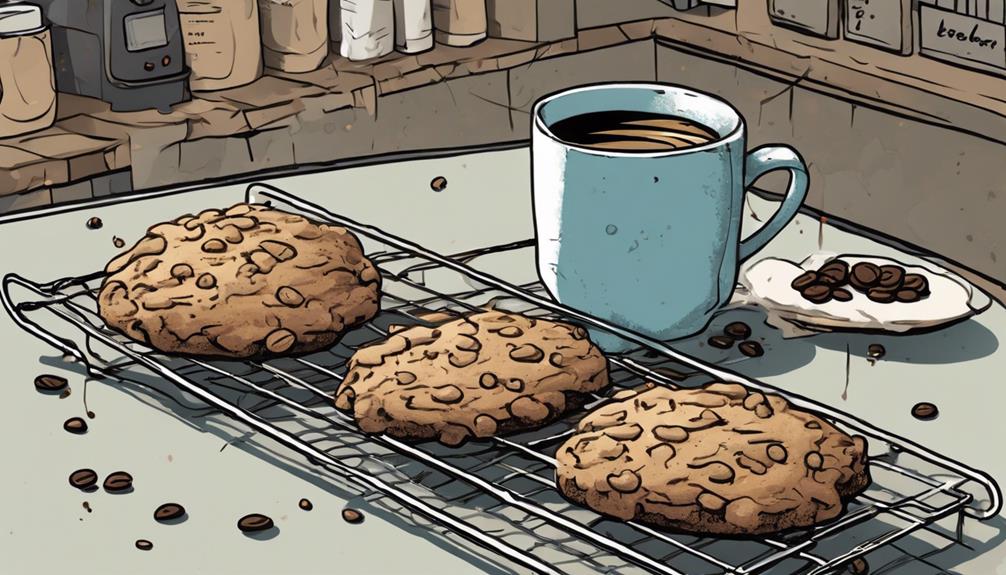
Bake the cookies until the edges are set and golden brown.

Enjoy your delicious homemade coffee cookies straight from the oven!

Essential Ingredient Details

For the best results, it's crucial that your butter and eggs are at room temperature before starting the coffee cookie recipe. When preparing your coffee cookies, keep in mind these vital ingredient details:

  • Instant Espresso Powder: Infuse your cookies with a rich coffee flavor by using instant espresso coffee or espresso powder.
  • Chocolate Chips: Add a delightful chocolatey element to your cookies by incorporating chocolate chips into the dough.
  • Room Temperature Ingredients: To ensure proper mixing and texture, it's vital to use ingredients like butter, eggs, and sugars at room temperature.
  • Vanilla Extract: Enhance the overall flavor profile of your cookies with the addition of vanilla extract.
  • Dark Brown Sugar and Granulated Sugar: Achieve the perfect balance of sweetness and depth of flavor by combining dark brown sugar and granulated sugar in the recipe.

Following these ingredient details will help you create delicious coffee cookies that are packed with flavor and texture.

Baking Tips and Tricks

To achieve perfect coffee cookies, make certain you preheat the oven and line your baking sheets for even baking and easy cleanup. Whisk together dry ingredients like flour, baking soda, and salt to guarantee proper distribution in your cookie dough. When creaming the butter and sugars, beat them until light and fluffy before adding eggs and vanilla for a rich base. Gradually incorporate the flour mixture into the wet ingredients, mixing only until just combined to avoid overworking the dough. Remember to chill the cookie dough before portioning and baking to maintain the cookies' shape and texture. Here's a handy table summarizing these essential baking tips for your coffee cookie recipe:

Baking Tip Description
Preheat oven and line baking sheets Ensures even baking and easy cleanup
Whisk dry ingredients together Properly distributes flour, baking soda, and salt in the dough
Cream butter and sugars before adding wet ingredients Creates a light and fluffy base for the cookies

Baking Instructions

baking a delicious treat

Mix the prepped dry ingredients into the butter and sugar mixture until well combined. Once you have achieved a smooth dough, follow these baking instructions for perfect coffee cookies:

  • Preheat the Oven: Verify your oven is set to the specified temperature for the coffee cookies recipe to guarantee even baking.
  • Whisk Dry Ingredients: Whisk the dry ingredients together, making sure the espresso powder is evenly distributed for a balanced flavor.
  • Cream Butter and Sugars: Cream the butter and sugars until light and fluffy to create a delightful texture in your cookies.
  • Chill the Dough: Before baking, chill the cookie dough to prevent spreading and maintain a chewy consistency.
  • Portion Uniform Balls: Portion the dough into uniform balls to secure consistent baking results and evenly sized cookies.

Expert Tips

expert advice for success

When baking coffee cookies, remember to measure flour accurately for the perfect texture.

Use a maximum of 1.5 tablespoons of espresso to enhance the coffee flavor.

Advertisement

Be cautious not to over-mix the dough to maintain a soft and chewy consistency.

Baking Techniques

For superior coffee cookies, guarantee accurate flour measurement for the best texture. Properly measuring flour by spooning it into the measuring cup and leveling it off ensures your cookies turn out just right.

Chill your cookie dough for at least 30 minutes before baking to prevent flat cookies and maintain a chewy consistency.

Using room temperature ingredients like butter and eggs aids in better incorporation and texture of your coffee cookies.

Don't forget to check the expiration date of your baking soda to ensure proper leavening and rising of the cookies.

Advertisement

Lastly, opt for fine instant coffee or espresso powder to enhance the coffee flavor in your cookies.

  • Properly measure flour: Spoon flour into the measuring cup and level it off for the ideal texture.
  • Chill cookie dough: Refrigerate the dough for at least 30 minutes to prevent flat cookies.
  • Room temperature ingredients: Use butter and eggs at room temperature for better texture.
  • Check baking soda: Ensure the baking soda isn't expired for proper leavening.
  • Use fine coffee powder: Opt for fine instant coffee or espresso powder to enhance the coffee flavor.
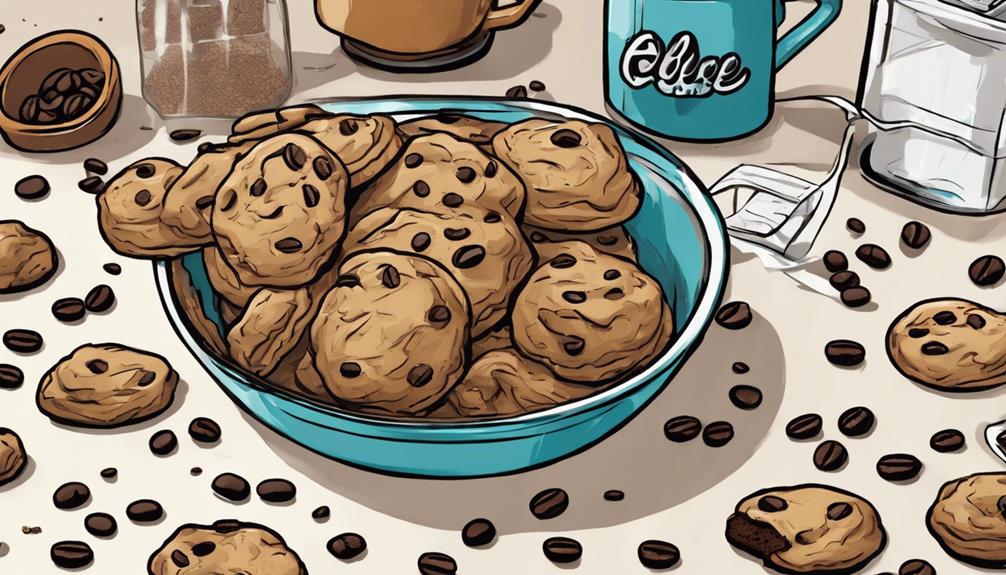
Flavor Enhancements

To elevate the coffee flavor in your cookies, consider incorporating brewed black coffee, dry coffee granules, or espresso powder as expert tips for enhancing the taste profile.

By using brewed coffee or coffee extract instead of vanilla extract, you can achieve a more robust coffee taste in your cookies.

Experimenting with different types and flavors of coffee allows you to personalize the taste of your coffee cookies to your liking.

Instant coffee can be a convenient option to make brewed coffee for your recipe, while espresso powder provides a more concentrated coffee flavor.

These various coffee options and flavorings offer a range of possibilities to enhance the coffee profile in your cookies, catering to your individual preferences.

Advertisement

Don't be afraid to get creative and play around with different coffee elements to create a truly delightful coffee cookie experience.

Storage Guidelines

proper food storage practices

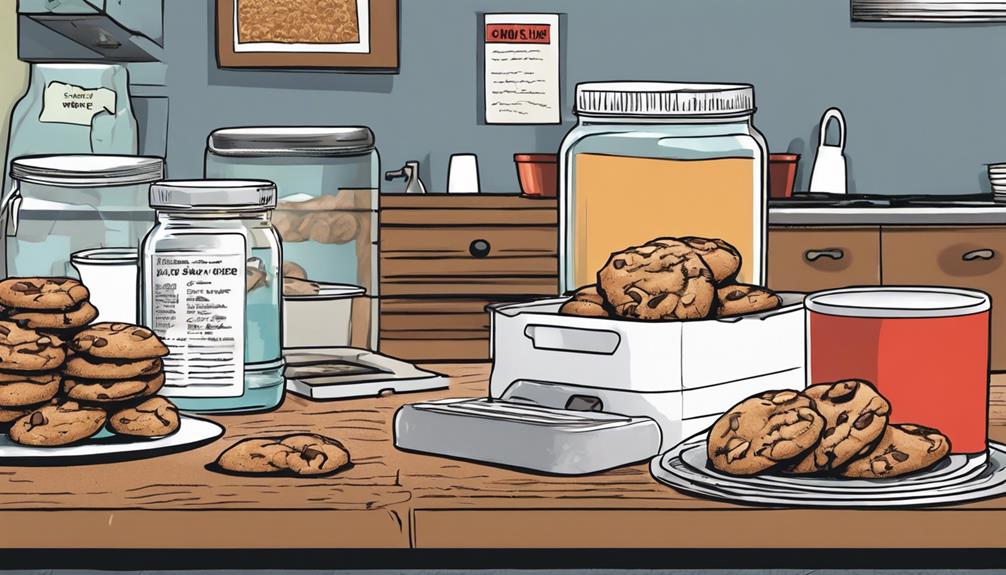
Properly storing coffee cookies is essential for preserving their taste and texture. To safeguard your coffee cookies stay fresh and delicious, follow these storage guidelines:

  • Cool Before Storing: Allow your coffee cookies to cool completely before storing them. This helps uphold their texture and prevents them from becoming soggy.
  • Airtight Container: Store your baked coffee cookies in an airtight container. This helps prevent moisture from seeping in and keeps the cookies from drying out.
  • Refrigerate Unbaked Dough: If you have leftover unbaked coffee cookie dough, refrigerate it to maintain its quality and prevent it from spoiling.
  • Reheat for Warm Treats: When you're ready to enjoy a warm coffee cookie, simply pop it in the oven for a quick reheat.
  • Freeze Unbaked Dough: For future use, freeze unbaked coffee cookie dough. This way, you can have freshly baked cookies whenever you desire.

Additional Cookie Recipes

great christmas cookie ideas

You can expand your baking repertoire with a variety of cookie options and discover new baking techniques.

Try out Funfetti Sugar Cookies, Snickerdoodle Cookies, or Chocolate Chip Pretzel Cookies for different flavor profiles.

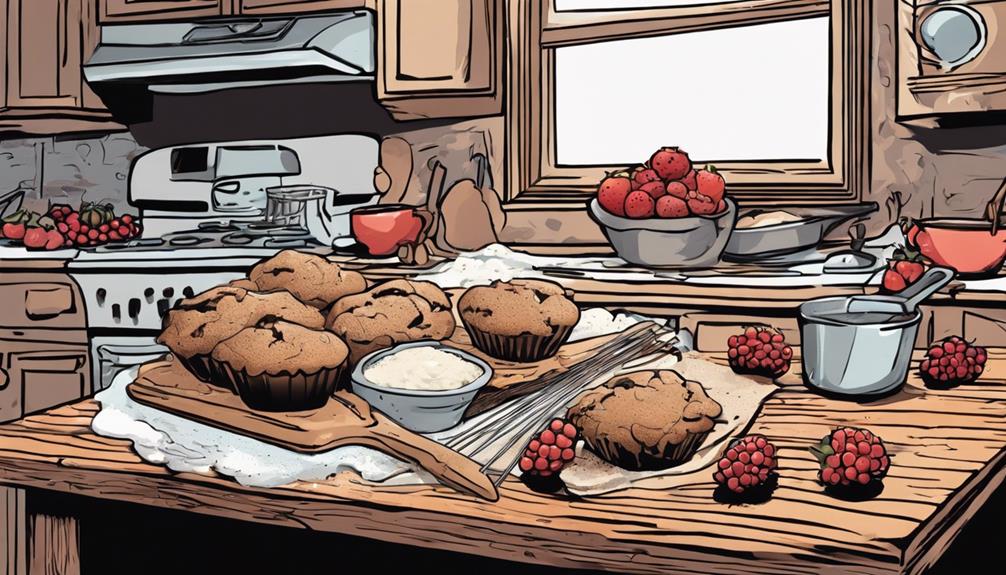
Experiment with unique recipes like Vegan Peanut Butter Chocolate Chip Cookies or White Chocolate and Raspberry Cookies to add a twist to your classic cookie lineup.

Cookie Variety Options

Explore a diverse selection of cookie recipes, including Vegan Peanut Butter Chocolate Chip Cookies and Strawberry Cheesecake Cookies, to add excitement to your baking repertoire. These additional cookie recipes offer a range of flavors and textures, perfect for various preferences and occasions.

Each recipe puts a unique spin on the classic cookie, bringing creativity and diversity to your baking endeavors. Trying out these different cookie options can be a fun way to discover new tastes and techniques in the kitchen.

Advertisement

Experimenting with a variety of cookie recipes not only allows you to find your personal favorites but also gives you the opportunity to share delicious treats with your loved ones.

  • Vegan Peanut Butter Chocolate Chip Cookies
  • Strawberry Cheesecake Cookies
  • White Chocolate and Raspberry Cookies
  • Snickerdoodles Without Cream of Tartar

Each recipe provides a unique twist on classic cookies.

Baking Techniques Highlighted

For enhanced flavor and texture in your coffee chocolate chip cookies, consider incorporating fine instant coffee or espresso powder as the primary ingredient. These baking techniques will infuse your cookies with a robust coffee flavor while adding a subtle richness that complements the chocolate chips perfectly.

To achieve a chewy texture, make sure all your ingredients are at room temperature before mixing them together. This step helps create a uniform dough that spreads evenly during baking, resulting in soft and chewy cookies with every bite.

Experiment with different types of coffee to customize the flavor profile of your cookies. Whether you prefer the intensity of brewed black coffee or the convenience of dry coffee granules, each option offers a unique twist to your recipe.

Additionally, proper storage techniques, such as placing the cookies in an airtight container, will help preserve their freshness for 3-5 days, allowing you to enjoy these delectable treats longer.

Advertisement

Don't forget that ingredient substitutions like espresso powder for ground coffee or unsweetened applesauce for eggs provide versatile alternatives to accommodate various dietary preferences.
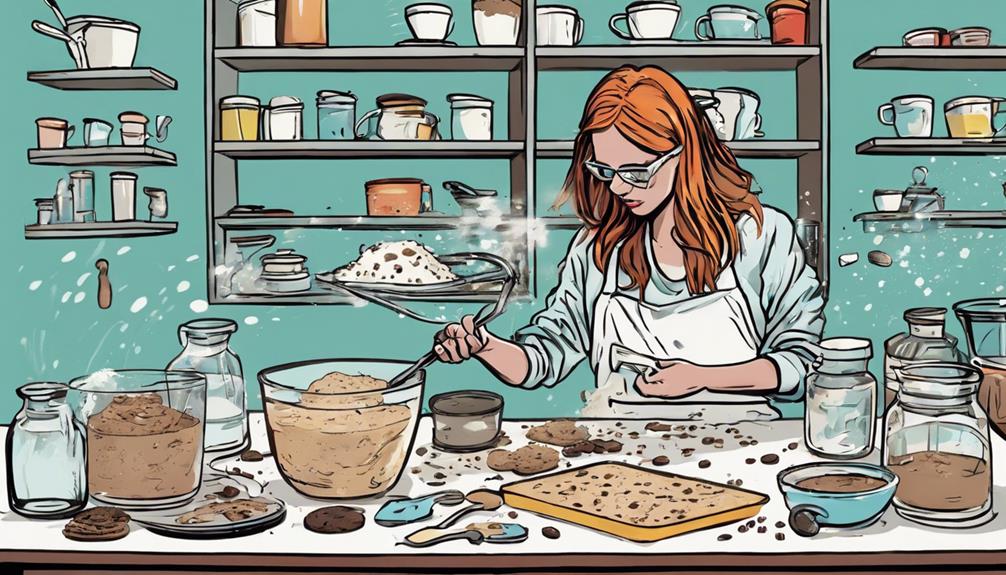
Video Tutorial

how to edit videos

The engaging video tutorial vividly illustrates the process of baking delectable coffee cookies. As you watch the tutorial, you'll see:

  • The step-by-step instructions for creating delicious coffee cookies.
  • The importance of proper flour measurement and how it impacts the texture of your cookies.
  • Tips on using coffee in your cookie recipe to enhance the flavor.
  • Suggestions for ingredient substitutions to customize the cookies to your liking.
  • Guidance on storage techniques to keep your coffee cookies fresh and flavorful.

Nutritional Information

healthy eating information provided

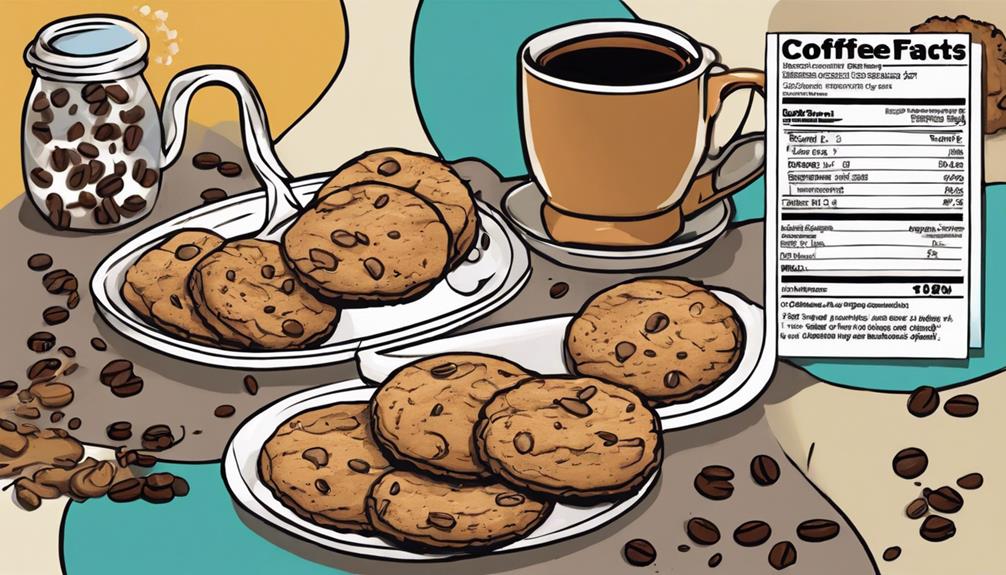
Discover the nutritional content of these delightful coffee cookies to make informed choices about your consumption. One serving of these coffee cookies contains approximately 229kcal, making it a moderate-calorie treat.

Concerning carbohydrates, each serving packs around 36g, providing a source of energy. If you're looking to boost your protein intake, these cookies offer about 4g per serving.

Regarding fat content, expect around 8g, which contributes to the rich texture of the cookies. Additionally, the sodium levels in these coffee cookies are approximately 98mg per serving.

Being aware of the nutritional information can help you balance your diet and enjoy these coffee cookies in moderation. Remember that moderation is key when indulging in treats like these, especially if you're keeping an eye on your calorie and carbohydrate intake.

Ingredient Variations

creating unique recipe twists

Consider experimenting with different ingredient variations to customize your coffee cookies according to your preferences and dietary needs. Here are some options to tailor your recipe:

  • Espresso Powder: Choose between regular or decaf espresso powder to adjust the coffee intensity in your cookies.
  • Dairy-Free: Opt for dairy-free or vegan butter as an alternative for those with dietary restrictions.
  • Egg Replacer: Swap out eggs with a flax egg for a vegan-friendly version of the recipe.
  • Flour Choices: Select between all-purpose flour or gluten-free flour to cater to gluten sensitivities.
  • Chocolate Chip Selection: Personalize your cookies by using semisweet, milk, or dark chocolate chips based on your taste preferences.

Taste and Texture

tasting the creamy dessert

For best flavor and texture in your coffee cookies, adjusting the coffee strength and experimenting with different ingredients can enhance your baking experience. When aiming for a chewy texture, consider the balance of coffee flavor and chocolate chips in your cookies. The sweet, buttery taste of the cookie combined with the rich coffee infusion creates a delightful treat. Here's a table to help you understand the importance of each component:

Texture Coffee Flavor Chocolate Chips
Chewy Robust Complementary
Soft Rich Optional
Moist Balanced Enhancing
Delicate Aromatic Varied

Experimenting with instant espresso powder or brewed coffee can intensify the coffee flavor. Additionally, chilling the dough before baking guarantees the cookies maintain their shape, resulting in a perfect chewy consistency. If you want to emphasize the coffee flavor, try omitting the chocolate chips for a unique twist on your coffee cookies.

Advertisement

Frequently Asked Questions

What Is the Golden Rule in Baking Cookies?

Avoid overmixing the dough when baking cookies to prevent toughness. Properly measure flour for ideal texture. Chill the dough to control spread. Use room temperature ingredients for consistent results. Follow recommended time and temperature for perfect cookies.

How to Bake Packaged Cookies?

Preheat your oven to the recommended temperature on the cookie package for even baking. Place the pre-portioned cookie dough on a parchment-lined baking sheet to prevent sticking. Follow the suggested baking time provided for perfectly baked cookies.

How Do You Bake Cookies in Minecraft?

Just like a warm hug on a chilly day, baking cookies in Minecraft is a comforting experience. Combine two wheat and one cocoa bean to craft a cookie. Enjoy restoring hunger points and feeding parrots!

How to Use Oven for Cookies?

To use an oven for cookies, preheat it to the specified temperature, line baking sheets with parchment, place cookie dough on them, rotate sheets halfway through baking, follow recommended time, and let cookies cool on sheets.

Conclusion

Indulge in the rich flavors of coffee cookies, where each bite is a taste of heavenly goodness.

Advertisement

Let the warm aroma of freshly baked treats fill your home, creating a cozy and inviting atmosphere.

These cookies are perfect for sharing with loved ones or enjoying a quiet moment with a cup of coffee.

Embrace the simple pleasure of baking and savoring these delectable cookies – a true delight for the senses. Looking for a new recipe to try? Look no further than this coffee biscuits recipe. These cookies are perfect for a mid-afternoon pick-me-up or a cozy late-night snack. The aroma of coffee combined with the sweet, buttery taste of the cookies is sure to make them a hit with anyone who tries them. So gather your ingredients and get ready to enjoy the simple pleasure of baking and savoring these delectable coffee biscuits.

Continue Reading
Advertisement

Tips and Tricks

Pallet Project: How to Build a Coffee Table From Pallet Wood!

Want to transform pallet wood into a stunning coffee table?

Published

on

By

diy coffee table project

Create a charming coffee table from pallet wood by disassembling pallets and salvaging top boards. Construct a sturdy base with scrap 2x4s and secure them using a brad nailer. Trim for your desired size. Finish by torching the wood for a rustic feel, sanding, and applying a protective finish. Craft sturdy legs using 4×4 pieces and fasten securely. Enhance aesthetics with metal accents. Remember safety gear and ventilation when torching wood. Follow our step-by-step guide for a unique and personalized furniture piece.

Key Takeaways

  • Disassemble pallets, salvage wood, and construct a sturdy base.
  • Torch wood for a rustic look and sand for a smooth finish.
  • Select and attach 18-20 inch 4×4 legs securely.
  • Apply protective finish, metal accents, and experiment with designs.
  • Prioritize safety gear, ventilation for torching, and fire extinguisher readiness.

Disassembling the Pallets

To begin constructing your coffee table from pallet wood, make certain to carefully disassemble the pallets by separating the top boards from the rest of the structure. The first step involves prying the pallets apart to salvage the usable wood. Using a hammer, pry bar, or nail puller, remove any nails from the top pieces to guarantee a clean surface for your coffee table project.

After separating the top boards, gather scrap 2×4 pieces to create a sturdy base for the table. This base will provide the necessary stability and support for your coffee table. When assembling, use a brad nailer to securely attach the top boards to the base, creating a solid foundation for the table.

As you progress with the project, remember to trim any excess wood from the pallets using a circular saw. This step will allow you to achieve the desired size and shape for your coffee table.

Finishing the Top

completing the roof installation

Skirt the edges of the pallet wood coffee table top with remaining pieces to add a polished finishing touch. This step will give your table a clean and cohesive appearance.

Consider torching the wood surface for a rustic look that adds character. By lightly burning the wood, you can enhance the depth and texture of the grain, creating a unique and artistic finish.

After torching, make sure to sand the pallet wood surface thoroughly. This step is essential to achieving a smooth and visually appealing finish. Utilize an orbital sander to darken the wood, enhancing the overall aesthetic appeal of the coffee table.

Advertisement

The dark finish won't only look great but also provide a protective layer. By following these steps, you can transform your pallet wood into a stunning coffee table that will be a focal point in any room.

Creating the Legs

building prosthetic legs carefully

To create the legs for your coffee table, you'll need to carefully select sturdy 4×4 pieces of wood for stability.

Adjust the legs to your desired height, typically between 18-20 inches, for comfort and functionality.

When attaching the legs to the table base, consider various techniques to securely support the weight of the table and any items placed on top.

Leg Material Selection

Consider using robust 4×4 pieces of wood for the legs when crafting your coffee table from pallet wood to ensure stability and resilience. This choice of material guarantees that the legs can support the weight of the table and endure regular use without wobbling or breaking.

Trimming the legs to a height between 18 to 20 inches will offer the ideal proportions for your coffee table, allowing for comfortable use while seated on a standard couch or chair.

Advertisement

To enhance the visual appeal of your coffee table, you may want to torch the legs to create a textured and rustic look that complements the pallet wood top.

Once you have selected and prepared the legs, firmly attach them to the table frame to establish a sturdy and dependable foundation. For an added touch of industrial style, consider incorporating metal fasteners or brackets, which can both enhance the overall aesthetic and provide additional structural support to your coffee table.

Leg Height Adjustment

Crafting the legs for your coffee table involves cutting 4×4 wood pieces to a height between 18 to 20 inches for best comfort and stability. This height range guarantees that your table isn't too low or too high, making it ideal for both lounging and working purposes.

Once you have decided on the height, consider torching the legs to give them a textured and rustic appearance that complements the pallet wood top of the table beautifully.

To make sure that the legs can adequately support the weight of the table, it's important to securely attach them to the table base. You can explore using industrial-style fasteners or accents to add a unique and personalized touch to the legs, enhancing the overall aesthetic appeal of your coffee table.

Advertisement

Leg Attachment Techniques

Fasten the legs securely to the coffee table base using appropriate hardware to guarantee stability and support for the tabletop. Opt for 4×4 pieces of wood to maintain a sturdy foundation. Cut the legs to a height between 18-20 inches for balanced proportions. To enhance the rustic aesthetic, torch the legs for a textured finish that complements the pallet wood tabletop.

When securing the legs, choose hardware that can withstand the weight of the tabletop. Consider industrial-style fasteners or brackets to not only reinforce the attachment but also add a unique design element to the coffee table. Verify that the attachment is secure to prevent any wobbling or instability.

Final Assembly

final product assembly process

Securely attaching the legs to the table is essential for providing stability and durability in the final assembly of your pallet wood coffee table. Once the legs are firmly fixed, you can move on to the finishing touches that will make your creation stand out.

Here are some steps to contemplate for the final assembly:

  1. Protective Coat: Apply a clear coat to your coffee table to safeguard it from everyday wear and tear while also giving it a sleek, glossy appearance.
  2. Enhance Wood Grain: Bring out the natural beauty of the wood by treating it with a suitable finishing product that enriches the grain patterns.
  3. Metal Accents: For an industrial and rustic look, ponder incorporating metal accents or fasteners into the design, adding an extra touch of character to your table.
  4. Share Your Creation: Be proud of your unique pallet wood coffee table and share your DIY journey with others to inspire creativity and showcase your skills.

Additional Tips

text details and tips

For additional tips to enhance the appearance and resilience of your pallet wood coffee table, consider experimenting with different finishes such as stains, paints, or varnishes. These finishes not only safeguard the wood but also allow you to achieve the desired aesthetic for your table. Personalizing the design is another way to make your coffee table stand out.

Add unique touches like metal accents, decorative hardware, or a custom inlay to give it a personalized touch that reflects your style.

When it comes to assembly, consider using alternative methods like wood glue, dowels, or screws to guarantee your coffee table is sturdy and long-lasting.

Advertisement

Enjoy the process of creating furniture from pallet wood as a rewarding DIY project that showcases your creativity and woodworking skills.

Share your results and experiences with others on social media, DIY forums, or at home gatherings to inspire fellow DIY enthusiasts to engage in their own pallet wood projects.

Tools and Materials Needed

preparing for a project

Gather the necessary tools and materials to begin constructing your pallet wood coffee table. Here's what you'll need:

  1. Tools:
  • Circular saw
  • Brad nailer
  • Torch
  • Orbital sander
  • Clear coat
  1. Materials:
  • Pallet wood
  • Scrap 2×4 pieces
  • 4×4 pieces for legs
  • Industrial-style fasteners

To trim the excess wood from the pallet pieces, you'll use the circular saw. The brad nailer will come in handy for securing the different parts together.

If you want to add a rustic texture to the legs and top of the table, the torch will be your go-to tool.

Once the construction is complete, applying the clear coat won't only protect your coffee table but also give it a glossy finish.

With these tools and materials at your disposal, you'll be all set to start creating your own unique pallet wood coffee table.

Advertisement

Safety Precautions

safety during pandemic period

Make sure to always wear safety goggles and gloves when using power tools to keep your eyes and hands protected.

It's essential to use a dust mask during sanding and cutting to safeguard against inhaling harmful particles.

Remember to maintain proper ventilation when working with torches or finishes to steer clear of fume exposure.

Safety Gear Importance

Prioritize your safety by ensuring you have the necessary gear when working with pallet wood, including gloves, safety glasses, and a dust mask. Here are some key safety gear items to keep in mind:

  1. Gloves: Protect your hands from splinters, cuts, and rough surfaces while handling pallet wood.
  2. Safety Glasses: Shield your eyes from flying debris, dust, and potential eye injuries caused by tools or wood particles.
  3. Dust Mask: Prevent inhalation of wood dust, which can irritate your respiratory system and cause health issues.
  4. Closed-Toe Shoes: Wear sturdy footwear to safeguard your feet from falling objects, sharp nails, or tools.

Hazard Identification Tips

Inspect pallets thoroughly before starting your project to identify any potential hazards such as nails, splinters, or damage that could lead to accidents during the woodworking process.

Wear gloves, goggles, and a mask to protect yourself from splinters, dust, and eye injuries.

Before dismantling the pallets, check for nails, splinters, and damage to avoid accidents.

Advertisement

Use a sturdy work surface and clamps to secure wood pieces while cutting, torching, or assembling to prevent slipping or injuries.

Verify tools like saws, nailers, and torches are in good working condition to minimize the risk of accidents or malfunctions during the project.

When torching wood, work in a well-ventilated area to prevent harmful fumes, and keep a fire extinguisher nearby as a precaution.

Inspiration and Ideas

encouraging creativity and innovation

Explore a variety of design inspirations for your pallet wood coffee table, from rustic to modern styles, to kickstart your creative process. Here are some ideas to get you inspired:

  1. Rustic Charm: Embrace the natural look of pallet wood by keeping the design simple with a distressed finish and visible wood grains.
  2. Industrial Edge: Incorporate metal accents, such as hairpin legs or industrial piping, to give your coffee table a modern industrial vibe.
  3. Hidden Gems: Consider adding hidden compartments or built-in storage solutions to maximize functionality without compromising style.
  4. Personal Touch: Infuse your personality into the design by customizing the table with engravings, a splash of color, or other unique details.

Frequently Asked Questions

Can You Make a Table From Pallets?

Yes, you can create a table from pallets by disassembling them, using scrap wood for the base, and brad nailing the top. Customize the legs with torched 4x4s, secure them well, and add industrial-style fasteners for flair.

Can You Make Furniture Out of Pallet Wood?

Yes, you can make furniture from pallet wood. It's a popular choice for DIY projects due to its charm, affordability, and sustainability. Repurpose pallets to create unique pieces that match your style and decor perfectly.

How Do You Make a Pallet Bed Step by Step?

To make a pallet bed, gather pallets, disassemble them, cut wood, sand for smoothness, assemble with screws or nails, and finish with a clear coat or paint. Confirm dimensions fit your mattress for a sturdy frame.

Advertisement

How Do You Prepare Pallet Wood for Projects?

When prepping pallet wood for projects, start by gently separating the pallets and removing nails to salvage usable wood. Secure scrap 2x4s for stability, use a brad nailer for assembly, and trim with a circular saw for the perfect piece.

Conclusion

Now that you've tackled this pallet project and built your own unique coffee table, sit back and enjoy the fruits of your labor.

Remember, every piece of wood has a story to tell, just like the memories you'll create around your new table.

Let your creativity flow as you continue to repurpose and craft with pallet wood.

The possibilities are endless, just like the grains in the wood itself.

Advertisement

Happy building!

Continue Reading

Tips and Tricks

Leg Day: How to Build Coffee Table Legs for a Sturdy Base!

Prepare to transform your coffee table with sturdy legs and expert finishing techniques in this comprehensive guide.

Published

on

By

building sturdy coffee table

To craft sturdy coffee table legs, start by sanding pine for a smooth surface. Opt for gel stain to achieve a sleek, professional finish. Smooth tabletops with coarse, then fine sandpaper before sealing. Use foam brush for even sealant application. Strengthen legs with biscuit joinery and apply polyurethane coats. Employ pocket screws strategically for a strong base. Add decorative hardware to personalize your table. Mastering these steps guarantees a robust base for your coffee table.

Key Takeaways

  • Use biscuit joinery with beech wood biscuits for strength.
  • Incorporate pocket screws strategically for sturdy leg attachment.
  • Sand legs for smooth finish before assembly.
  • Secure legs with clamps for precise screwing.
  • Ensure proper alignment for a stable coffee table base.

Pine Leg Preparation

Prepare the pine legs by sanding them to create a smooth surface for applying the gel stain. Since we've got repurposed pine for the coffee table legs, sanding is important to make sure the stain adheres well and the finish looks professional.

Once the legs are sanded, it's time to move on to the gel staining process.

The repurposed pine provides a sturdy and cost-effective base for the coffee table legs. By sanding them down, you'll create a clean canvas for the gel stain application. This step is necessary to achieve a sleek black finish that enhances the overall look of the legs.

After sanding, the gel stain should be evenly applied using a brush or rag. Make sure to coat the legs thoroughly to maintain a consistent color. Allow the stain to sit for 5-10 minutes before wiping off any excess for a smooth and flawless finish.

These prepared pine legs are designed to complement the tabletop, adding a modern touch to your coffee table project.

Advertisement

Gel Staining Technique

wood furniture makeover method

For achieving a rich and uniform color on your wooden coffee table legs, gel staining is a highly effective technique. Gel staining allows for a more even finish compared to traditional liquid stains as it sits on the wood's surface. By using a brush or rag to apply the gel stain, you gain better control and coverage over the legs. To achieve the desired color intensity, let the gel stain sit for a few minutes before wiping off the excess. This technique can result in a professional-looking black finish that enhances the overall appearance of your coffee table.

Gel Staining Technique
Advantages Application Tips
– Provides even color finish – Use a brush or rag for control
– Sits on wood surface – Let stain sit for a few minutes
– Enhances overall appearance – Wipe off excess for intensity

Tabletop Sanding Process

refining wood surfaces smoothly

To ensure a smooth and even surface for staining and sealing, start the tabletop sanding process with coarse sandpaper to eliminate any existing finish or imperfections. Begin by sanding the tabletop thoroughly, paying close attention to the edges and corners to make sure they're free of rough spots.

As you progress, switch to finer grit sandpaper to achieve the desired smoothness for the final finish. Remember that proper sanding is essential for achieving a professional and polished look on the tabletop of your coffee table.

After sanding, make sure to eliminate any dust or debris from the tabletop before proceeding to apply a sealant to protect the wood. This step is vital to ensure the sealant adheres properly and provides long-lasting protection for your tabletop.

Sealant Application Method

precise sealant application process

Using a foam brush, evenly apply the sealant on the bottom surface of the tabletop to guarantee complete protection against moisture and stains. Ensure that every inch of the wood is covered to create a barrier that shields it from potential damage.

Let the sealant dry thoroughly before proceeding with the next steps to ensure its effectiveness. If you feel like an extra layer of protection is needed, don't hesitate to apply a second coat of sealant for added durability.

Markdown List to Evoke Emotion:

  1. Feel the satisfaction of knowing your hard work is safeguarded against spills and wear.
  2. Embrace the peace of mind that comes with protecting your coffee table from moisture damage.
  3. Experience the sense of accomplishment as you see the beautiful finish that the sealant provides.

Leg Joinery With Biscuits

strong precise biscuit joinery

How can biscuit joinery enhance the strength and alignment of your coffee table legs?

Biscuit joinery is a fantastic technique that can greatly improve the durability and stability of your woodworking projects, including your coffee table legs. By using small, oval-shaped wooden biscuits and corresponding slots, you can ensure that the legs aren't only aligned correctly but also reinforced with additional strength when glued together.

Advertisement

The specialized tool known as a biscuit joiner, or plate joiner, is essential for cutting precise slots to accommodate the biscuits in the wood pieces. These biscuits, typically made of compressed beech wood, expand when they come into contact with glue, forming a tight and secure bond in the joint.

This method is widely employed in furniture making due to its ability to create robust and nearly invisible joints in tabletops, cabinets, and various woodworking projects.

Polyurethane Coating Steps

applying protective coating process

Now, it's time to focus on the essential steps of sanding between coats and buffing with paste wax for a flawless polyurethane finish on your coffee table.

Sanding will guarantee a smooth application, while buffing with paste wax will enhance the protective shine.

Remember to follow these steps diligently for a durable and attractive tabletop coating.

Sanding Between Coats

To achieve a smooth and even finish on your coffee table legs, sanding between coats of polyurethane is necessary for removing imperfections and guaranteeing better adhesion of subsequent layers. Here's why this step is vital:

Advertisement
  1. Smooth Perfection: Sanding between coats using a fine-grit sandpaper, like 220 grit, helps eliminate any rough spots or imperfections, resulting in a flawless surface for your coffee table legs.
  2. Enhanced Durability: By sanding between coats, you allow the subsequent layers of polyurethane to adhere better to the surface. This enhances the durability and longevity of the finish, making your coffee table legs more resistant to wear and tear.
  3. Professional Finish: The sanding process not only removes any dust particles or drips but also guarantees a consistent sheen and texture across the legs. This attention to detail translates into a professional-looking final product that you can be proud to showcase in your home.

Buffing With Paste Wax

After applying three coats of polyurethane, enhance the finish of your coffee table legs by buffing with paste wax for added shine and protection. Using a clean, soft cloth, apply a thin layer of paste wax in a circular motion over the polyurethane-coated surface.

Let the paste wax dry for a few minutes before buffing with another clean cloth to achieve a smooth, lustrous finish. Buffing with paste wax not only provides an extra layer of protection but also helps to highlight the natural beauty of the wood grain.

This final step adds a professional touch to your coffee table legs, ensuring a durable and attractive finish that will stand the test of time. By incorporating paste wax into your finishing process, you aren't only protecting your hard work but also elevating the overall aesthetic appeal of your DIY coffee table.

Pocket Screw Assembly

compact fastening method used

You can enjoy the benefits of using pocket screws for assembling your coffee table legs. These fasteners provide a strong and secure connection, ensuring your table is sturdy and durable.

Follow some key assembly tips to make sure your pocket screw joints are effectively created.

Pocket Screw Benefits

Pocket screws offer a reliable and discreet method for creating strong joints when securing coffee table legs to the tabletop. The benefits of using pocket screws for building your coffee table legs are numerous:

  1. Strength: Pocket screws provide excellent holding power and stability, ensuring that your coffee table has a sturdy base that can withstand daily use without wobbling or loosening joints.
  2. Convenience: The easy disassembly and reassembly facilitated by pocket screws make it convenient to transport or move your coffee table when needed, allowing for hassle-free maintenance.
  3. Professional Finish: The angled design of pocket screws enables you to secure the legs at precise angles, resulting in a polished and professional appearance without visible fasteners detracting from the overall aesthetic.

Assembly Tips

For a strong and stable coffee table base, ensure strategic placement of the pocket screws when attaching the legs to the tabletop.

To achieve this, pre-drill pilot holes to prevent splitting and verify accurate screw placement. Use clamps to secure the legs in position while driving in the pocket screws, ensuring a precise and snug fit that enhances stability.

Advertisement

When tightening the pocket screws, be thorough to prevent any potential wobbling or instability in the coffee table structure.

Final Coffee Table Touches

adding decorative items carefully

The final touches on the coffee table included adding decorative hardware to enhance its overall appearance. This step not only adds a touch of elegance but also provides a functional element to the piece.

Here are three key elements that will elevate the look and feel of your coffee table:

  1. Choose eye-catching knobs or pulls: Opt for hardware that complements the style of your coffee table. Whether you prefer sleek modern handles or vintage-inspired knobs, the right choice can tie the whole look together.
  2. Consider metal accents: Adding metal corner brackets or decorative accents can give your coffee table an industrial edge or a touch of glamour, depending on the finish you choose.
  3. Personalize with a custom engraving: Make your coffee table truly unique by adding a custom engraving or plaque. Whether it's a meaningful quote, your family name, or a special date, this personal touch will make your table one of a kind.

Frequently Asked Questions

How Do You Stabilize Coffee Table Legs?

To stabilize coffee table legs, make sure they're cut evenly and have a flat surface. Add cross bracing or corner brackets for support. Use hardwood for durability. Install adjustable feet for uneven floors. Reinforce with blocks or stretchers between legs.

How to Make Stable Table Legs?

To make stable table legs, choose sturdy wood like pine or oak. Use joinery techniques like biscuits or mortise and tenon joints. Apply plenty of wood glue for solid adhesion. Guarantee precise alignment when attaching legs for a sturdy base.

What Table Legs Are Most Stable?

Looking for stability in table legs? Tapered legs offer a modern flair and sturdiness. Chunky legs are your go-to for heavy tabletops. Metal hairpin legs scream stability with a sleek look. X-shaped legs distribute weight evenly.

How to Secure Legs to Tabletop?

Align and space the legs correctly before using a drill to create pilot holes for pocket screws. Tighten the screws firmly to prevent wobbling and guarantee stability. Confirm the legs are securely attached to the tabletop.

Advertisement

Conclusion

Now that you've built sturdy coffee table legs, you're one step closer to enjoying a beautiful piece of furniture in your home.

Did you know that on average, Americans spend over 4 hours a day sitting at a table?

With your new coffee table, you'll have a strong and stylish place to gather with family and friends for years to come.

Keep up the great work and enjoy your handcrafted creation!

Advertisement
Continue Reading

Tips and Tricks

Creative Reuse: How to Build a Coffee Table Out of Pallets!

Craft a stunning coffee table from pallets in this guide, starting with disassembly and assembly tips – a must-read for DIY enthusiasts!

Published

on

By

repurposing pallets for furniture

To build a coffee table out of pallets, start by carefully disassembling and preparing the wood. Trim and gather pieces for a sturdy base, then assemble using a brad nailer for efficiency. Finish the table top by skirting edges and experimenting with different treatments for a personalized touch. Create and attach sturdy legs using 4×4 wood pieces and secure them to prevent wobbling. For the final assembly, evaluate balance and apply a clear coat for protection. You can further customize with metal components for an industrial-rustic look. Discover more ways to enhance your coffee table creation!

Key Takeaways

  • Disassemble pallets carefully, trim wood, and gather sturdy pieces for the base.
  • Skirt edges for a polished look, sand thoroughly, and apply desired finishes.
  • Use 4×4 wood for stable legs, torch for rustic look, and secure attachment.
  • Secure legs with industrial-style connectors, evaluate balance, and apply clear coat.
  • Experiment with staining, painting, or waxing finishes for personalization.

Disassembling the Pallets

To start building your coffee table out of pallets, make sure to take the first step of carefully separating the pallets from the top boards by prying them apart. This process requires precision to avoid damaging the wood.

Once you have successfully disassembled the pallets, the next step is to remove any nails from the top pieces. Using a hammer or nail puller will help prevent any wood damage during this step.

After separating the pallets and removing the nails, gather some scrap 2×4 pieces to create a sturdy base for your coffee table. Utilizing a brad nailer will make the assembly of the disassembled pallet pieces more efficient.

Remember to trim any excess wood from the pallets using a circular saw to achieve the desired dimensions for your table.

Finishing the Top

completing the final touches

Skirt the edges of the pallet top with remaining pieces to give it a polished and finished appearance. This step adds a touch of refinement to your coffee table project. Once the edges are neatly covered, you can consider torching the wood to achieve a rustic look and enhance the texture.

Sand the surface of the pallet top thoroughly to guarantee a smooth finish before moving on to any additional treatments. For those aiming for a deeper wood grain effect, burning the wood with a torch can enhance its visual appeal. Conversely, if you prefer a darker, more polished finish, using an orbital sander on the pallet top can help achieve this look.

Advertisement

These techniques provide different aesthetic options, allowing you to customize your coffee table to fit your style preferences. Experiment with these finishing touches to create a unique and personalized piece that will be a conversation starter in your living space.

Creating the Legs

building sturdy table legs

Consider using sturdy 4×4 pieces of wood to create the legs for your pallet coffee table, providing essential stability and support. Cut the legs to your desired height, typically ranging from 18 to 20 inches, ensuring the table is at a comfortable level. To add a textured and rustic look that complements the design, you might want to torch the legs. Securely attach the legs to the table structure, making sure they are level and won't wobble or shift. For an industrial flair, think about incorporating industrial-style fasteners into the leg design to enhance the overall aesthetic of the coffee table.

Creating the Legs Tips Description
Use 4×4 wood pieces Provides stability and support for the table.
Cut legs to 18-20 inches Ensures the table is at a comfortable height.
Torch the legs for a rustic look Adds texture and complements the table's design.

Final Assembly

innovative manufacturing techniques

Fasten the firmly attached 4×4 legs to the table structure with industrial-style connectors to secure stability and balance in the final assembly of your pallet coffee table. Make certain the legs are securely attached to prevent any wobbling or instability. Once the legs are in place, step back and evaluate the overall balance of your creation to verify it sits level on the floor.

After fixing the legs, apply a clear coat to the coffee table. This not only shields the wood from wear and tear but also provides a shiny finish that enhances the natural wood grain. Take your time to evenly cover the entire surface, allowing the wood's beauty to radiate.

To achieve an industrial and rustic look, the pairing of pallet wood with metal components is essential. Embrace the difference between the rough-hewn wood and the smooth metal to add character to your piece. Appreciate the unique and handmade aspect of your coffee table design by showcasing it proudly in your home decor.

Additional Tips

useful travel advice tips

Experiment with various finishes such as staining, painting, or waxing to achieve the desired appearance for your pallet coffee table. These finishes not only enhance the look but also provide protection against wear and tear.

Personalize your design by including unique elements like metal accents, glass inserts, or custom engravings to add character and make the table uniquely yours.

When putting together your coffee table, consider alternative methods like using wood glue, screws, or brackets for added stability and durability. These choices guarantee that your table can withstand daily use and remain in excellent condition for years to come.

Advertisement

Embrace the creativity and satisfaction that come with crafting furniture from pallets; it's a rewarding DIY project that showcases your skills and style. Share your progress and insights with others, either online or in person, to inspire fellow DIY enthusiasts to explore the world of pallet furniture. Your experiences can ignite creativity and motivate others to engage in their own upcycling adventures.

Tools and Materials Needed

tools and materials list

Gather the necessary tools and materials to begin constructing your pallet coffee table. You will need a circular saw, brad nailer, orbital sander, and torch. For materials, gather pallets, scrap 2×4 wood pieces, 4×4 wood for the legs, clear coat finish, and industrial-style fasteners.

Tools:

  • Circular Saw: Essential for cutting and shaping the pallet wood.
  • Brad Nailer: Perfect for securely fastening the pieces together.
  • Orbital Sander: Ideal for smoothing out rough edges and surfaces.
  • Torch: Used to add a textured finish to the 4×4 leg pieces.

Materials:

  • Pallets
  • Scrap 2×4 wood pieces
  • 4×4 wood for the legs
  • Clear coat finish
  • Industrial-style fasteners

These tools and materials will help you repurpose pallets into a stylish coffee table that combines an industrial look with rustic charm. Prepare your workspace with these items to begin the creative process.

Safety Precautions

safety first always prepared

Make sure to wear safety goggles and gloves when handling tools and materials for your pallet coffee table project.

Confirm your workspace is well-ventilated, especially when using heat sources like torches.

Keeping your work area clean and organized is vital to prevent accidents and injuries.

Safety Gear Essentials

Make sure proper safety gear essentials like goggles, ear protection, dust mask, first aid kit, and gloves are worn to safeguard yourself during the construction of the pallet coffee table.

Advertisement
  • Safety Goggles: Protect your eyes from flying debris while using tools.
  • Ear Protection: Prevent damage to your hearing from loud power tools.
  • Dust Mask: Avoid inhaling sawdust and wood particles that can irritate your respiratory system.
  • First Aid Kit: Keep it handy in case of minor injuries or accidents during the building process.
  • Gloves: Protect your hands from splinters, cuts, and blisters while handling rough materials.

When working on your pallet coffee table project, make sure you have these safety essentials on hand and properly worn. Safety gear is essential to prevent accidents and injuries, making your DIY experience safer and more enjoyable.

Workspace Preparations

Before starting work on your pallet coffee table project, ensure your workspace is prepared with necessary safety precautions to prevent accidents and promote a safe DIY experience.

Clear the area of clutter and debris to avoid tripping hazards, especially when using power tools.

Adequate ventilation is essential to disperse any fumes that may arise during the torching process.

Don the appropriate safety gear, including safety goggles, gloves, and a mask, to shield yourself from splinters, dust, and fumes.

Have a fire extinguisher within reach in case of emergencies during torching.

Advertisement

Take time to familiarize yourself with the operation and safety guidelines of all tools and equipment you'll be using in the workspace.

Frequently Asked Questions

Can You Make a Table From Pallets?

You can definitely make a table from pallets. By disassembling them and using the wood for the top and base, along with 4×4 pieces for legs, you can create a cost-effective and eco-friendly DIY project.

How Do You Make Wooden Pallets Usable?

To make wooden pallets usable, separate them, remove nails, and gather wood for repurposing. Use a brad nailer for assembly, a circular saw for trimming, and finish by sanding. Torch for a rustic look, secure legs, level them, and add a clear coat.

Can You Reuse Pallet Wood?

Sure, you can totally reuse pallet wood! Just grab those overlooked pallets and get creative. Clean, sand, treat them for safety, and voila! Transform them into unique furniture pieces. Embrace the DIY spirit!

How Do You Make Stuff Out of Old Pallets?

To make stuff out of old pallets, disassemble them, gather materials, finish the top and create legs, assemble securely, and add protective coat. Experiment with finishes, personalize the design, enjoy the process, and share your results for a unique creation.

Advertisement

Conclusion

Now that you've taken the time to repurpose those old pallets into a stylish coffee table, you've truly turned trash into treasure. By thinking creatively and putting in a little effort, you've transformed something ordinary into something extraordinary.

Keep up the good work and continue to see the potential in everyday items – you never know what masterpiece you might create next!

Continue Reading
Advertisement

Affiliate disclaimer

As an affiliate, we may earn a commission from qualifying purchases. We get commissions for purchases made through links on this website from Amazon and other third parties.

Advertisement

Vetted

Tanpopo Konditorei Café Munich Tanpopo Konditorei Café Munich
Vetted3 weeks ago

Indulge in Delights at Tanpopo Konditorei Café Munich

Savor the exquisite pastries and serene ambiance at Tanpopo Konditorei Café Munich, your go-to spot for a sweet retreat in...

Vetted4 weeks ago

Here’s a new version of the review for “The Creative Spark: Unleashing Your Inner Artist”:

Book Review: “The Creative Spark: Unleashing Your Inner Artist” Illuminating the Path to Creative Awakening Manifestation Journal – Goal &...

top shower scrubbers 2024 top shower scrubbers 2024
Vetted2 months ago

15 Best Shower Scrubbers to Make Cleaning a Breeze in 2024

Discover the top 15 shower scrubbers of 2024 that promise effortless cleaning—find out which one will transform your scrubbing experience!

top storm doors 2024 top storm doors 2024
Vetted2 months ago

The 15 Best Storm Doors of 2024 – Enhance Your Home's Curb Appeal and Protection

Optimize your home's curb appeal and security with the 15 best storm doors of 2024—discover the unique features that could...

stylish outdoor dining sets stylish outdoor dining sets
Vetted2 months ago

15 Best Outdoor Dining Sets for Stylish Al Fresco Dining in 2024

Browse our curated list of the 15 best outdoor dining sets for stylish al fresco dining in 2024, and discover...

top cordless lawn mowers top cordless lawn mowers
Vetted2 months ago

15 Best Cordless Electric Lawn Mowers of 2024 – Power and Convenience Combined

Harness the power of convenience with the 15 best cordless electric lawn mowers of 2024—discover which one will revolutionize your...

top stackable washer dryers top stackable washer dryers
Vetted2 months ago

15 Best Stackable Washer Dryers of 2024 – Space-Saving Solutions for Your Laundry Room

Get ready to discover the 15 best stackable washer dryers of 2024 that will transform your laundry room into a...

ultimate comfort chair massagers ultimate comfort chair massagers
Vetted2 months ago

15 Best Back Massagers for Your Chair: Ultimate Comfort and Relief

Have you been searching for the perfect back massager to elevate your comfort? Discover the 15 best options that promise...

healthier caffeine free mushroom coffees healthier caffeine free mushroom coffees
Vetted2 months ago

14 Best Caffeine-Free Mushroom Coffees for a Healthier Brew

Mushroom coffees offer a healthier brew alternative—discover the 14 best caffeine-free options that might just transform your morning routine!

top bathroom fans 2024 top bathroom fans 2024
Vetted2 months ago

15 Best Bathroom Fans of 2024 – Quiet, Efficient, and Stylish Options

You won't believe the stylish and efficient bathroom fans of 2024 that promise quiet operation and enhanced ventilation—discover your perfect...

adaptogenic mushroom coffee benefits adaptogenic mushroom coffee benefits
Vetted2 months ago

15 Best Adaptogenic Mushroom Coffees to Boost Your Wellness Routine

The 15 best adaptogenic mushroom coffees promise to elevate your wellness routine—discover how these blends can transform your health and...

mushroom coffee pods selection mushroom coffee pods selection
Vetted2 months ago

15 Best Mushroom Coffee Pods to Boost Your Morning Brew

Uncover the top 15 mushroom coffee pods that can transform your morning routine and unleash a new level of energy...

Advertisement

Trending